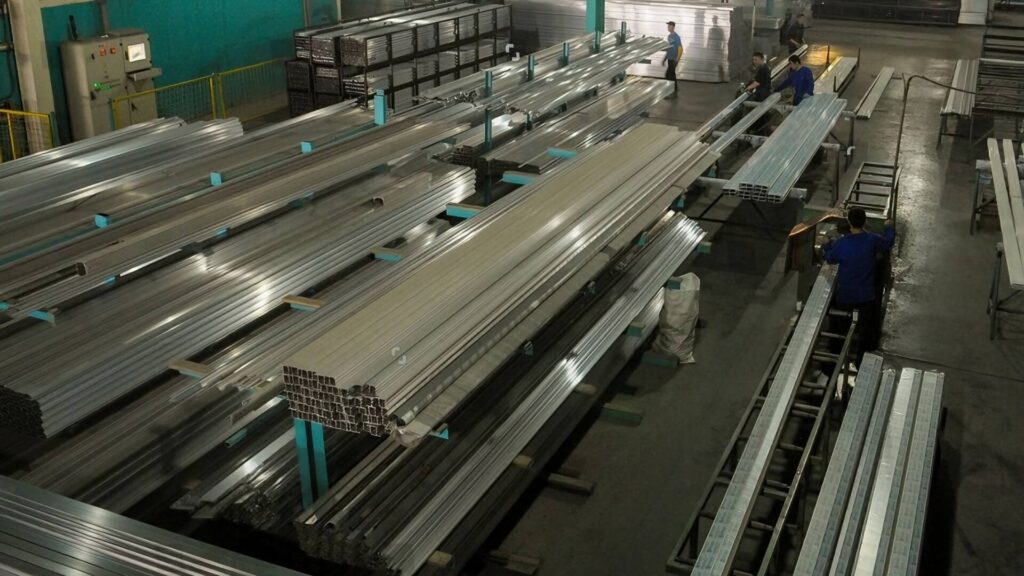
Metal warpage is a common frustration when welding. At ShincoFab, we process and weld thousands of sheet metal parts every month. After building custom frames, precision doors, and tight-tolerance sheet metal enclosures for industrial clients, our fabricators learned how to prevent heat distortion at a production scale.
In this guide, I will show you exactly how to prevent metal warpage during welding. You will get a step-by-step process to keep your projects flat. We will cover how to prep your metal, lock it down with clamps, dial in your machine, and use smart welding tricks to stop distortion before it starts.
Let’s fix this problem for good.
Why Does Metal Warp When You Weld It?
To stop metal warpage, you first need to understand why it happens.
Metal warpage during welding occurs due to thermal expansion and contraction. As the heat of the welding arc expands the metal, the subsequent rapid cooling causes the newly fused joint to shrink, creating severe internal tension that bends and distorts the material.
The Hot and Cold Cycle (Thermal Expansion)
When metal gets hot, it expands. When it cools down, it shrinks.
The weld puddle reaches over 2,500°F in seconds. The metal around your weld heats up rapidly and pushes outward.
Then, you stop welding. The metal cools and tries to shrink back to its original size.
But now, it is fused together. The metal wants to shrink, but the new weld holds it in place. This creates severe internal tension. That tension is the force pulling, bending, and twisting your project out of shape.
Why Thin Metal is Your Biggest Challenge
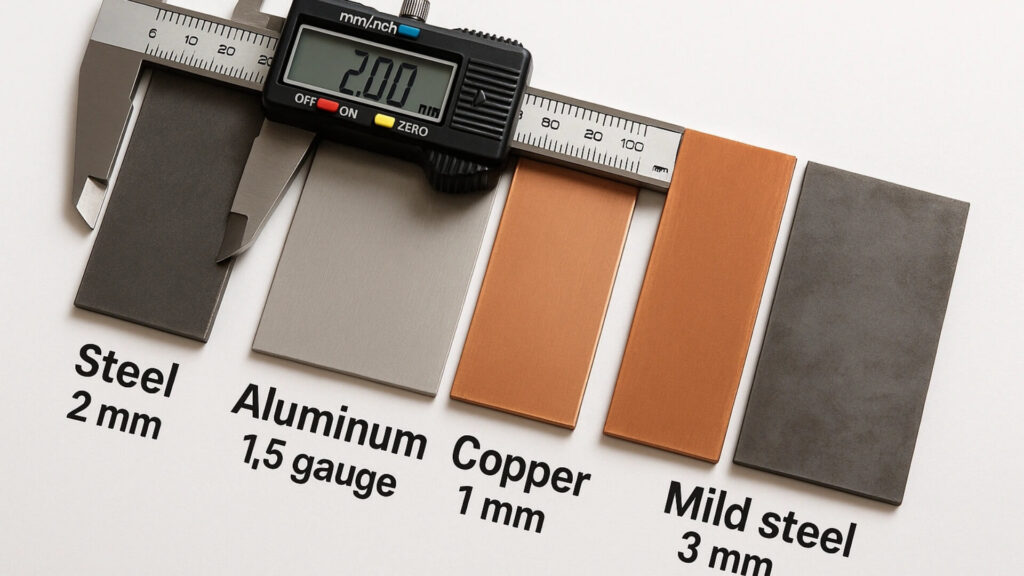
Thick steel plates are forgiving. Thin sheet metal is not.
A thick piece of metal acts like a sponge, absorbing heat and pulling it away from the weld zone safely. Thin metal lacks this extra mass, so the heat has nowhere to go.
When you weld thin metal, the following three things happen:
- It heats up too fast: The heat spreads wide, causing the entire panel to expand.
- It lacks strength: Thin gauge metal cannot fight back against the pulling force of a cooling weld.
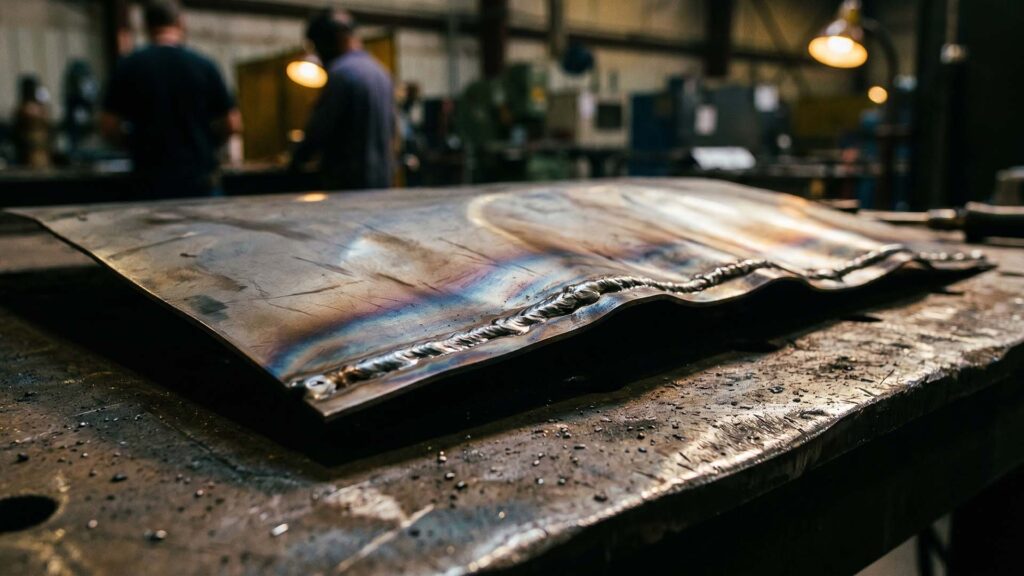
- It buckles easily: The competing hot and cold forces quickly make the surface wavy.
Metal-Specific Tricks You Need to Know
What works well on mild steel ruins other materials. Before you weld, you need to know exactly how your metal reacts to heat.
Aluminum: Fast Heating and Soft Edges
Unlike steel, aluminum does not glow red before it melts. It can look fine one second, and drop through the table the next.
We see this when fabricating 6061 aluminum chassis. Because it conducts heat fast, the heat races through the entire piece. If operators pump excess heat into an aluminum frame, the structure will twist out of square, rendering it useless for tight-tolerance assembly.
Stainless Steel: High Expansion and Trapped Heat
Stainless steel has low thermal conductivity.
Last year, we ran a large batch of 18-gauge 304 stainless food-grade enclosures. We learned that heat gets trapped right at the weld joint. According to metallurgical data, 304 austenitic stainless steel has a thermal expansion rate 50% higher than mild steel, while conducting heat at only one-third the rate. High heat trapped in one spot causes localized expansion. That combination makes thin stainless sheet metal difficult to keep flat without strict factory protocols.
Step 1: Prep Your Metal and Your Machine
Most welding distortion occurs from poor setup. Proper prep work prevents warped metal later.
Clean Metal Welds Cooler
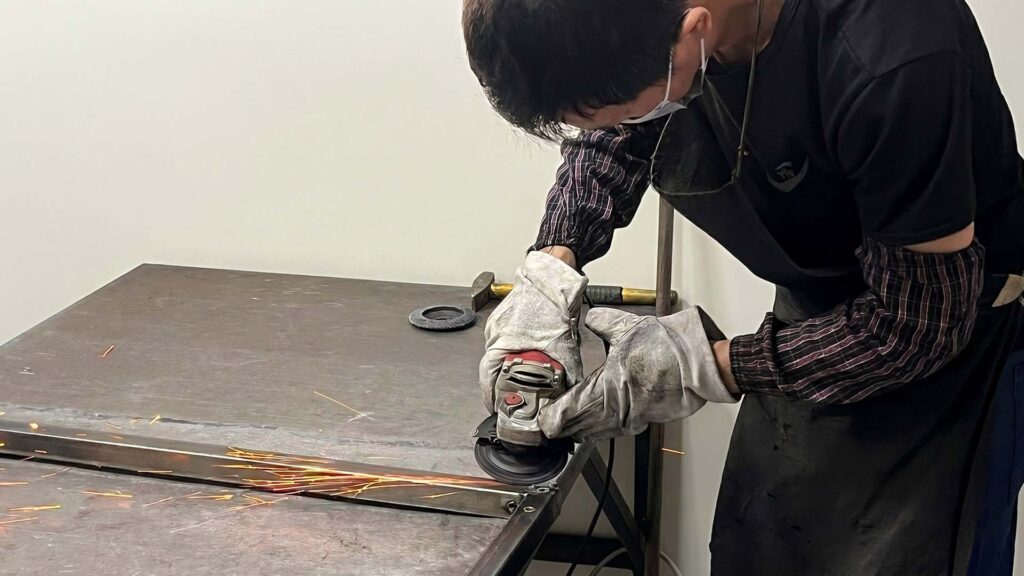
Start with a grinder. Clean metal is happy metal. On the ShincoFab floor, our rule is simple: if there’s mill scale, oil, or rust, the torch stays off.
If you use a thick filler wire on thin sheet metal, you are setting yourself up to fail. You have to crank up your welder’s heat just to melt that thick wire. The solution is simple. Drop down a wire size. For instance, if our guys are MIG welding thin sheet metal with .035 wire, we mandate they swap it out for .023 wire, adhering to industry best practices for minimizing heat input on thin-gauge sheet metal. A smaller wire melts at a much lower temperature, meaning a flatter, warp-free final product.
Grab a wire brush or a flap disc. Clean the edges down to shiny, bare metal. The cleaner the joint, the faster you can move your torch. Fast movement means a cooler, flatter part.
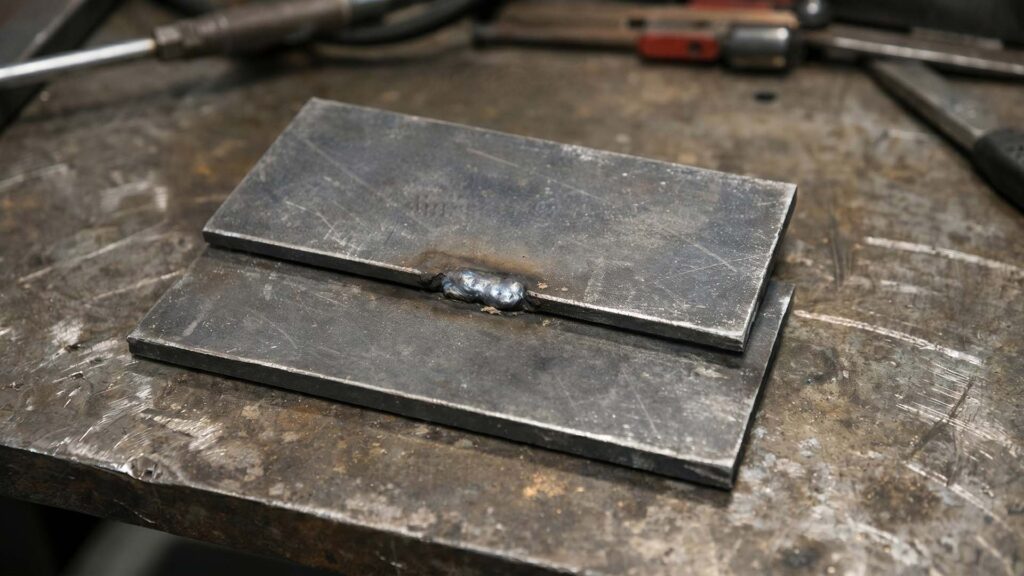
Get Your Fit-Up Perfect (No Gaps Allowed)
You cannot bridge big gaps without pumping in excess heat.
Filling an open gap requires building a bridge of molten metal, which increases heat input.
Follow these three steps to ensure a tight, gap-free metal fit-up:
- Measure twice to avoid short cuts.
- Grind your edges straight.
- Push the parts flush before you clamp them.
The tighter the fit, the less heat it takes to make a strong weld.
Does Your Filler Wire Size Matter? (Yes, Here’s Why)
Many welders focus on base metal thickness and ignore filler wire size.
If you use a thick filler wire on thin sheet metal, you have to turn up your welder’s heat to melt the wire. The solution is to drop down a wire size. For instance, if our operators are MIG welding thin sheet metal with .035 wire, we mandate they swap to .023 wire. A smaller wire melts at a lower temperature, resulting in a flatter final product.
Step 2: The Scrap Metal Test Run
Do not guess your welder settings. Adjusting settings on your actual project is risky. If your machine is too hot, you will warp or burn through your good metal.
Why You Should Never Guess Your Settings
Test settings on scrap metal first. Guessing voltage and wire feed can bow a flat panel in seconds.
Our rule in the ShincoFab shop: No scrap test run, no arc on the final product. Taking five minutes to run a test bead removes that risk entirely and saves laser-cut pieces from the scrap bin.
Dialing in Voltage and Travel Speed on Trash Metal
Test pieces must come from the same batch as your project, matching the exact thickness and material.
Follow these four steps to properly dial in your welding machine settings on scrap metal:
- Set up a test joint: Clamp two scrap pieces together like your project.
- Run a quick bead: Watch the puddle and listen to the arc.
- Check your heat: Is the weld sinking too deep? Turn your voltage down.
- Adjust your speed: Move your hands fast enough to keep the heat low, but slow enough to fuse the metal.
Play with the dials until the weld looks right. Once your settings are locked in, do not touch them.
Step 3: Pull the Heat Away with Heat Sinks
Thin metal gets hot fast. You need a way to pull heat out of the panel before it causes damage. A heat sink does exactly that.
How Copper Backing Bars Save Thin Metal
Copper backing bars act as heat sinks for thin sheet metal. At ShincoFab, we machine custom 1/2-inch thick by 2-inch wide copper backing blocks—typically in 12-inch and 24-inch lengths—for high-volume production runs.
Copper has exceptional thermal conductivity, transferring heat significantly faster than carbon or stainless steel. When you place a thick copper bar behind your weld, it acts as a massive thermal sponge, sucking the intense heat right out of the weld zone before it can warp the surrounding metal.
Positioning Heat Sinks for Maximum Effect
A heat sink requires tight, flat contact to create a thermal pathway.
Follow these three steps to set up your heat sinks for maximum thermal transfer:
- Back the seam: Place the copper bar directly behind the joint.
- Clamp it hard: Use clamps to press the copper tight against the steel. If there is an air gap, heat cannot transfer.
- Watch your clearance: Position the clamps close to the joint without blocking your welding torch.
If you do not have a copper bar, a thick block of aluminum works well.
Step 4: Lock Everything Down (Physical Restraints)
Cooling metal creates strong pulling forces. You must physically lock your parts down so they cannot move.
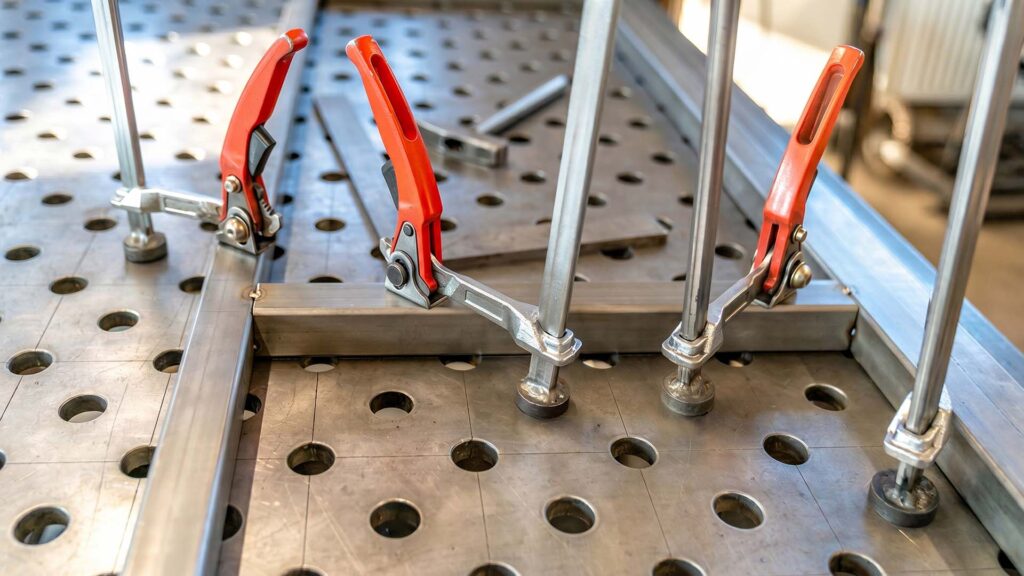
Use Heavy-Duty Clamps and Jigs
As the weld cools, it will pull with strong force.
You need heavy-duty clamps to hold the material. For repeat industrial work, our engineering team designs custom welding jigs. Jigs hold pieces in alignment every time. If the metal slips, it will warp.
Weld Temporary Braces and Stiffeners
For pieces too big for a clamp, use temporary braces.
If making a 90-degree frame, the corner will try to pull closed as it cools. Tack a piece of scrap metal diagonally across the inside corner to create a rigid spine.
Use these two methods to add temporary stiffeners and stop the metal from bowing:
- Keep large panels flat: Tack a piece of thick angle iron right next to your weld seam.
- Stop side-to-side movement: Weld scrap pieces perpendicular to your joints.
Once the project is cold, cut the braces off and grind the spots smooth.
Tack Weld Your Piece Directly to the Table
Sometimes clamping metal to the workbench is not strong enough. The metal will try to lift when it gets hot.
Tack weld your project directly to your metal work table. You only need three or four small tacks around the outside edges. When your final welds cool, slice the tacks loose with a cut-off wheel.
Step 5: Master Your Tack Welds
Tack welds act as the foundation of your project.
Why Tacks are Your First Line of Defense
Tacks hold everything in alignment. They give metal the strength to resist the pulling forces of your final weld.
Make your tacks about 1/4 inch long. You want enough strength to hold the pieces together. Making them too big pumps in excess heat.
Check gaps after tacking. If the gap looks wider in certain spots, add extra tacks to lock it down.
The Center-Out Tack Sequence
Starting tacks at the edge pushes the other end apart due to heat. Instead, use the center-out method.
Follow these three steps to execute the center-out tack sequence:
- Start dead center: Place your first tack in the middle of your joint.
- Move outward: Add next tacks progressively toward each edge.
- Space them evenly: Keep tacks roughly 2 to 4 inches apart for sheet metal.
The center-out sequence pushes stress toward the open ends of the metal. Shrinkage forces spread naturally instead of bunching up in one spot.
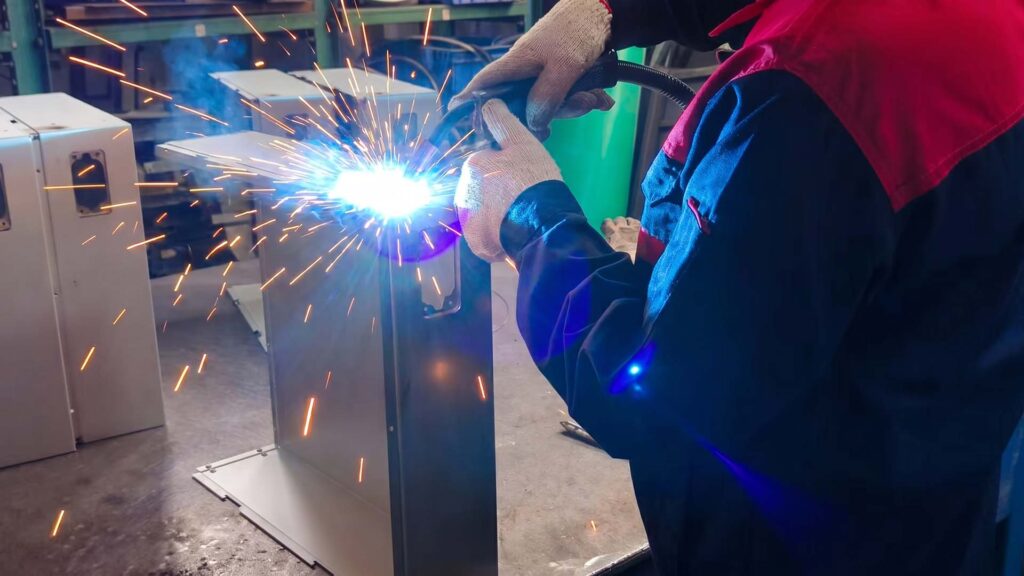
Step 6: Control Your Heat (Smart Welding Techniques)
How you lay your bead matters. To prevent warping, rethink how you move your torch.
Stop Continuous Welding (Use Short Stitches)
Instead of welding 24 inches continuously, break it down into segments.
Weld a two-inch segment, then stop. Leave a gap, jump ahead, and weld another two-inch stitch. This gives surrounding metal time to cool.
You can also alternate sides to balance stress. Weld three inches on the left side, then walk to the right side and weld three inches there. By bouncing back and forth, shrinkage forces counteract each other.
The Back-Step Method Explained
Instead of moving forward along the seam, weld backwards.
Start a few inches in from the edge. Weld backwards toward the starting point. Then, move a few more inches down the un-welded joint. Weld backwards again until you tie into your previous puddle.
This stops heat from plowing forward in one direction and breaks thermal stress into manageable segments.
Move Faster to Keep the Heat Low
If you move too slowly, heat soaks deep into the surrounding panel. Keep your travel speed high enough to keep the heat-affected zone narrow.
Avoid wide weaving motions, which spread high temperatures over a large area. Instead, use a tight, straight stringer bead.
Resist the urge to over-weld. A 3/16-inch joint does not need a large 1/4-inch weld bead. Extra filler metal adds excess heat and pulls the metal harder.
Step 7: Let It Cool (Can You Cool a Weld with Water or Compressed Air?)
Allow the completed weld to cool naturally. Do not speed up the cooling process.
Why You Should Never Quench Hot Metal
Never quench a fresh weld in water.
When you plunge a 1,000-degree weld into cold water, it triggers a violent thermal shock. As detailed in metallurgical guidelines for heat treatment and quenching, this rapid, uncontrolled cooling causes two terrible things to happen:
- It destroys the weld: The sudden shock makes the metal brittle, often cracking your new weld down the middle.
- It ruins the shape: The pulling forces twist the part so severely that it becomes unfixable.
Your only safe option is to let the metal cool naturally in the air.
The Hidden Damage of Compressed Air and Wet Rags
Do not use wet rags, compressed air, or fans to cool welds.
Forced cooling creates uneven temperatures across the panel.
Here is how forced cooling methods damage your hot metal sheet:
- Wet rags: Cool the top layer too fast, causing surface cracks.
- Compressed air: Freezes one side while the other stays hot, causing the metal to bow.
- Fans: Create uneven drafts that warp thin sheet metal.
Let room temperature cool the metal slowly and evenly.
What to Do If the Metal Still Warps?
If metal still bows after proper clamping, stitching, and cooling, you have two ways to fix it.
How Do You Fix Warped Metal After Welding?
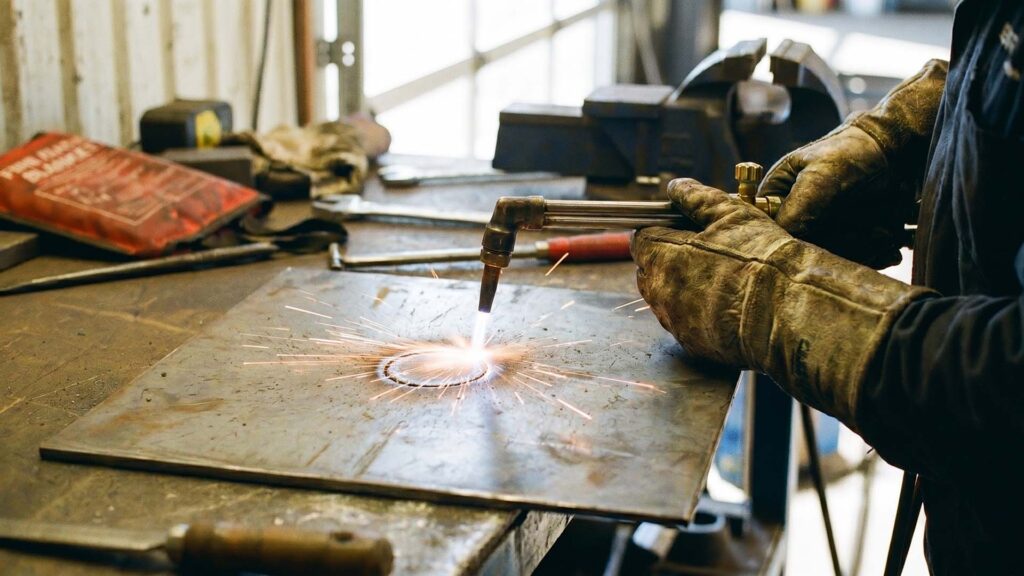
Thermal straightening uses heat to fix warpage.
When a panel warps, one side stretches out (the “long” side). You need to shrink that long side down.
Heat a small spot on the long side until it glows dull red. Take the torch away and let it air cool naturally. As the red-hot spot cools down, it shrinks. That contraction pulls the surrounding metal back into alignment.
Mechanical Pressing and Bending
If heat alone is not enough, use hydraulic presses combined with heavy-duty clamps to force a bent assembly into shape.
Follow these three steps to safely combine heat with mechanical force for straightening:
- Warm the bent area slightly with a torch, around 400 to 600°F.
- Apply pressure with the press very slowly.
- Push a little bit, stop, and check your alignment.
Conclusion
Stopping distortion before it starts is easier than bending a ruined frame into shape. Take the time to clean your edges, test your settings on scrap, and clamp everything down tight.
At ShincoFab, we process and weld sheet metal every day. These Standard Operating Procedures (SOPs) keep every part we build square and up to client spec. Whether you are welding a custom bracket or outsourcing a production run, controlling the heat is the priority.
Now, get out to the shop, lock down your fit-up, and lay some flat welds. If you need precision sheet metal fabrication at scale, you know where to find us.