In my years managing the production floor at ShincoFab, our team has ground down thousands of welds across everything from heavy industrial chassis to delicate custom enclosures. I have seen the good, the bad, and the completely ruined when inspecting parts that come through our quality control (QC) bays. I know what it takes to turn a messy joint into a high-quality piece of metal because we do it daily.
If you are tired of gouging your metal, burning through expensive abrasive discs, or wasting hours polishing parts that do not need it, you are in the right place.
In this guide, I will show you how we finish welds the right way here at ShincoFab. You will learn the simple four-step grinding process our apprentices use, how to handle tricky metals like aluminum and stainless steel, and how to fix common mistakes. Most importantly, I will teach you how to match your finish to your function so you can save time and money.
What is Weld Finishing (And Why Do You Need It?)
Weld finishing is the process of cleaning, grinding, sanding, or polishing a metal joint after the welding torch is turned off.
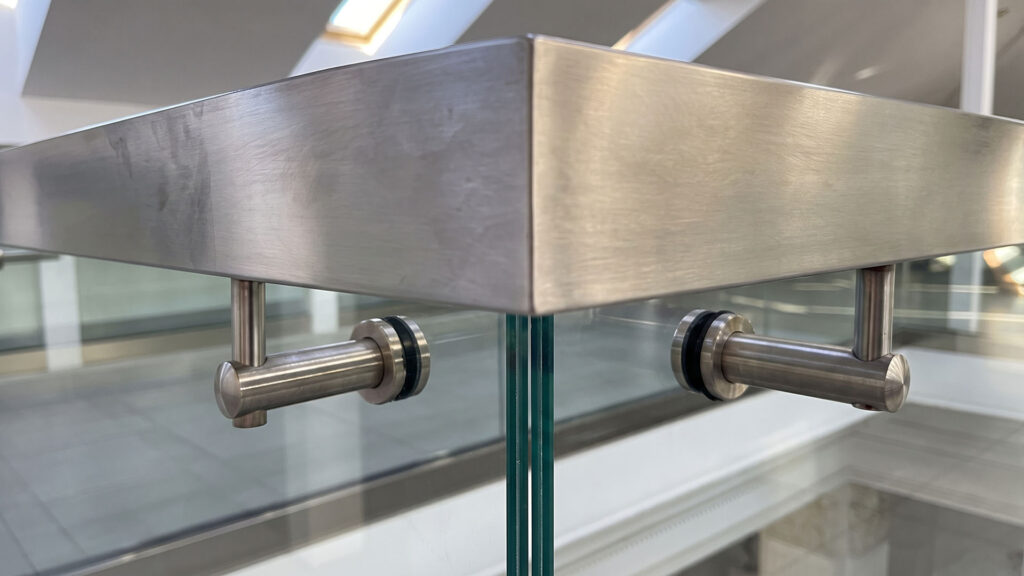
But here is a secret that will save you hours of work. This is a rule we strictly enforce during our project quoting phase at ShincoFab: You do not need to polish every weld to a mirror shine.
Stop wasting time over-processing your metal. Match the finish to the function. If a part lives inside a dark machine, leave it alone. If it sits on a showroom floor, make it shine.
When you do it right, weld finishing provides three massive benefits:
- It reduces rust: Smooth metal gives moisture and rust fewer places to hide.
- It looks great: A good finish turns a clunky joint into a seamless piece of metal.
- It keeps you safe: Grinding removes sharp edges and spatter that can cut hands or snag clothes.
Skipping this step on exposed metal is a bad idea. In fact, raw welds covered in scale and spatter can rust up to 50% faster than properly ground and cleaned joints.
The 3 Classes of Weld Finishes (A, B, and C)
To stop over-processing, you need to know your options. Like most professional fabrication shops, we at ShincoFab break weld finishes down into three simple classes for our clients.
Class A: The Seamless Look
This is the top tier. The metal is ground flat, sanded, and polished until the weld virtually disappears.
It looks amazing. It is perfect for medical tools, food-grade equipment, or high-end furniture that people will see up close. For instance, we recently processed a batch of stainless steel food hoppers at ShincoFab where passing a sanitary wipe test without snagging meant a Class A finish was non-negotiable.
But it comes at a steep price. Achieving a Class A finish takes serious effort. Depending on the complexity of the part, a Class A finish can easily double or triple your finishing labor costs, often taking up to 5 extra minutes per inch of weld compared to leaving it raw.
Class B: The Smooth Middle Ground
This is the workhorse finish and the one we recommend for about 70% of the powder-coated parts that leave our facility. You grind the weld down so it is smooth and flat, but you skip the final polishing steps.
It is an excellent choice if you plan to paint or powder-coat the metal. The coating will typically hide most minor scratches left behind by your grinding disc.
Can you save money by skipping the grinder and using a thick powder coat? Usually, no. Paint will not hide a chunky, uneven weld bead. If you want a flat surface under your coating, you generally need a Class B finish.
Class C: The Raw Weld
This is the untouched, as-welded finish. You turn off the torch, brush off the slag, and you are done. The weld bead stays raised and visible.
Use this for internal brackets, hidden frames, or structural parts where looks do not matter. Whenever a client at ShincoFab wants to cut costs on internal server rack frames, switching them to a Class C finish is one of the most effective ways to keep their budget intact.
What Safety Gear Do You Need for Weld Grinding?
Grinding metal is dirty, loud, and dangerous. You are throwing tiny shards of hot metal and toxic dust into the air.
Do not ruin your health to get a smooth weld. Every year, thousands of metalworkers suffer severe eye injuries, and OSHA regularly issues safety and ventilation citations with fines that can easily exceed $10,000 per violation.
At ShincoFab, if our operators aren’t wearing the proper protective equipment, they aren’t allowed on the floor.
The essential safety gear required for grinding metal includes:
- Face Shield and Safety Glasses: A face shield stops flying metal from hitting your skin. Wear safety glasses underneath it to keep fine dust out of your eyes.
- P100 Respirator: A cheap paper mask will not cut it. You need a half-mask respirator with P100 filters to help block hazardous airborne metal dust from reaching your lungs.
- Ear Protection: Grinders are incredibly loud. Wear earplugs or earmuffs to help protect your hearing.
- Heavy Gloves: Leather gloves will protect your hands from hot sparks and sharp edges.
How to Finish a Weld in 4 Steps
Achieving a high-quality finish requires a systematic approach. Follow these four steps to get consistent results.
Step 1: Prep and Inspect
First, look closely at your weld. How high is the bead? If it is a thick, heavy weld, you will need aggressive tools. If it is a thin weld, you can skip the heavy grinding. Pick your discs and lay them out before you start.
Step 2: Rough Grinding
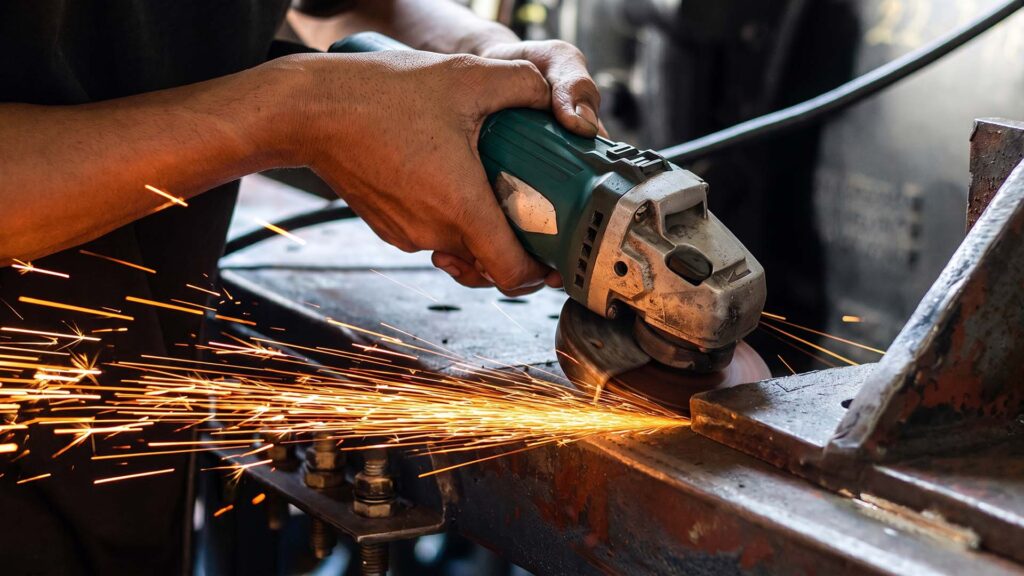
This is where you knock down the heavy metal. Before putting a hard grinding disc on your angle grinder, you must choose the specific abrasive material for your metal. Use Ceramic for fast, aggressive cutting on hard steel. Select Zirconia as a good, long-lasting middle ground, or choose Aluminum Oxide for softer metals. Hold the grinder at a 15 to 30-degree angle. Let the tool do the work. Do not push too hard, or you risk gouging the metal.
For the best results, use a 36-grit or 40-grit disc and run your grinder between 7,000 and 9,000 RPM.
Step 3: Leveling and Blending
Next, level the surface. Take off the hard disc and attach a flap disc. Make sure to match the flap disc’s abrasive grain to your material by choosing Ceramic, Zirconia, or Aluminum Oxide, just as you did in Step 2. A flap disc is softer and removes the deep scratches you just made. Run it over the weld to blend the edges smoothly with the base metal.
Step 4: Cleaning and Polishing
If you want a Class A finish, you must polish. Swap your flap disc for a sanding fleece or a polishing wheel. However, achieving a true mirror finish requires a strict grit progression and the right polishing compounds. You must progress systematically from 120-grit up to 320-grit or higher. Finally, switch to a buffing wheel using a cutting compound (like black emery) followed by a coloring compound (like green rouge for stainless steel). This final step removes any leftover heat marks and gives the metal a bright, clean shine.
How to Finish Different Types of Metal
Not all metals act the same under a grinder. You have to treat them differently to get a good result.
Stainless Steel
Stainless steel is very sensitive to heat. If you push too hard, you will leave ugly blue marks called heat tint. Our QA inspectors will immediately reject a part if they see this.
Stainless steel starts to heat tint the moment it reaches 400°F (200°C).
Stainless steel develops heat tint when welding heat causes surface oxidation, which can appear as colors ranging from straw to blue, purple, or black.
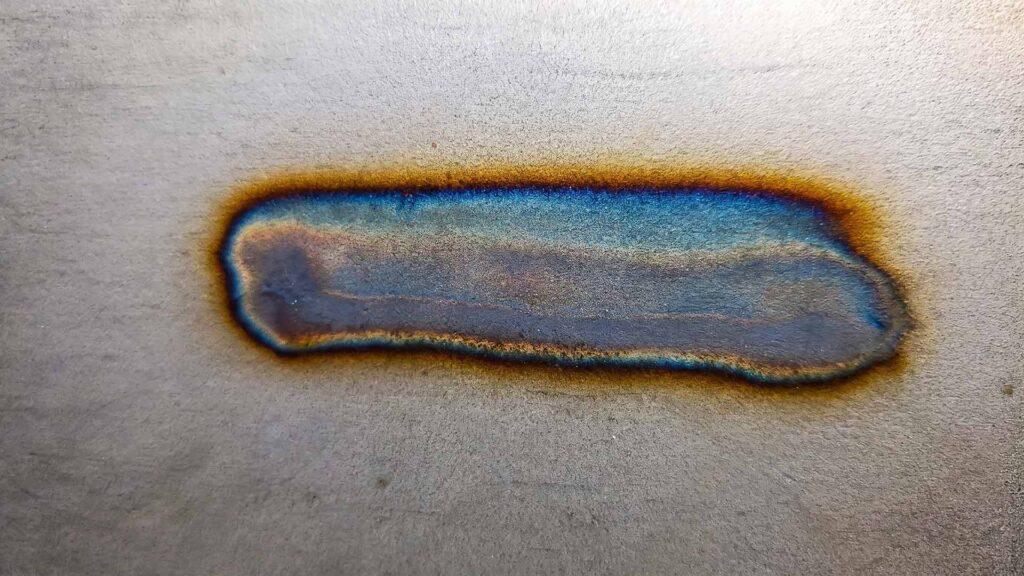
To avoid this, use very light pressure. Make short passes and take frequent breaks to let the metal cool down.
Aluminum
Aluminum is soft. It melts easily and can quickly clog up a standard grinding disc. When a disc clogs, it loses its cutting ability and often starts smearing the metal. To prevent this, you should use abrasives made specifically for non-ferrous metals. You can also apply a grinding wax to keep the disc clean and cutting fast.
Carbon Steel
Carbon steel is tough. You can grind it much more aggressively than aluminum or stainless. But do not get careless. If you grind too hard in one spot, the heat can warp thin pieces of metal. Keep your grinder moving constantly to spread the heat out.
Troubleshooting Common Weld Finishing Mistakes (And How to Fix Them)
Mistakes happen. Even our seasoned fabricators at ShincoFab have bad days. But you do not have to let them ruin your project.
The most common weld finishing mistakes and their solutions include:
- Grinding away the strength: Did you grind too much? If you dip below the surface of the base metal, you have a problem. This is called weld undercut, a groove at the weld toe that creates stress concentration and can reduce a welded joint’s fatigue strength. To fix it, you usually need to weld a new bead over the low spot before restarting the finishing process.
- Throwing away good discs: How do you know when to replace your abrasive disc? If the disc stops cutting, look closely at it. If the grit is covered in shiny metal, it is likely just clogged. You can clean it with a dressing stick. If the grit is completely worn down to the backing pad, it is finally dead.
It is estimated that many shops waste a significant portion of their abrasive budget, sometimes up to 30%, by throwing away discs that just needed a quick cleaning.
Manual vs. Automated Grinding: Which is Right for You?
Grinding welds is hard work. As your projects grow, you have to decide how to get the job done. Do you keep grinding by hand, or do you buy a robot? Because we handle both small custom runs and high-volume manufacturing at ShincoFab, we utilize both.
Doing It by Hand
Manual grinding is the classic way. It is relatively cheap to start and easy to learn.
You should consider manual weld grinding if:
- You are working on small batches.
- You are building custom, one-off parts.
- You have a tight budget for new tools.
But remember, doing it by hand takes a toll on your body. It also leaves room for human error.
Using Robotics
If you run a big shop, robots are a game-changer. They save time and save your back. A robot applies highly consistent pressure. This keeps your finish highly uniform across hundreds of parts.
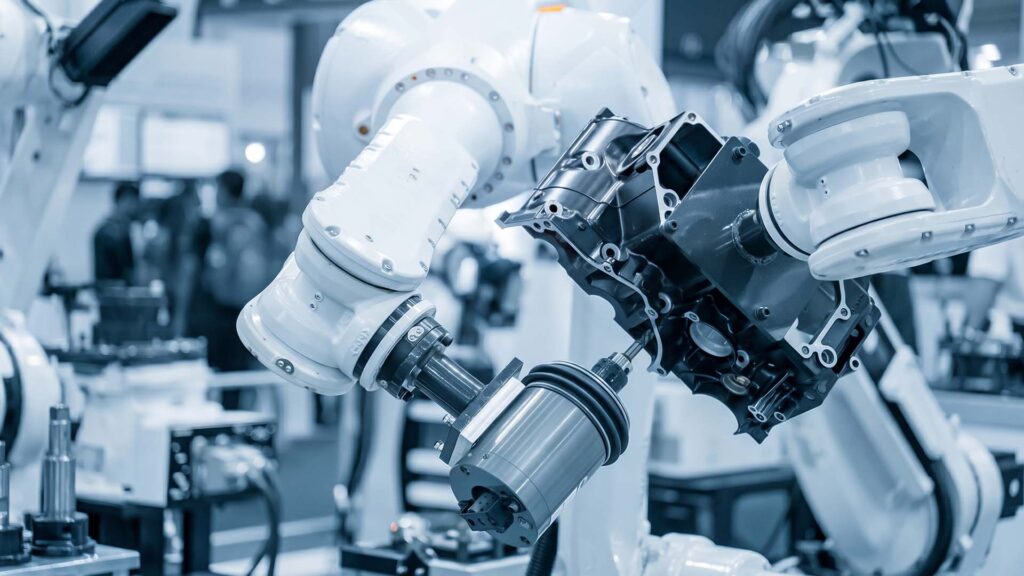
Automated grinding systems can increase throughput by up to 40%. For high-volume production lines, shops can often see a full return on investment (ROI) within 12 to 24 months.
DIY vs. Hiring a Pro: When to Outsource Your Weld Finishing
You do not have to finish every weld yourself. Sometimes, hiring a professional fabrication shop like ShincoFab is the smartest choice you can make. Here is a simple rule of thumb to help you decide.
You should tackle the weld finishing project yourself when:
- You are working on a small, weekend project.
- You only need a raw Class C or a smooth Class B finish.
- You plan to cover the metal with a thick layer of paint.
You should hire a professional fabrication shop for weld finishing when:
- You need a highly polished, mirror-like Class A finish.
- You are building aerospace parts or food-grade equipment.
- You have a massive batch of parts that will eat up all your time.
Depending on your region and the complexity of the material, expect to pay a professional fabrication shop an hourly rate ranging roughly between $75 and $150 for high-quality finishing work.
Yes, hiring a pro costs money upfront. But it saves you from buying expensive tools and spending hours breathing in metal dust.
Conclusion
Weld finishing does not have to be a guessing game. The biggest lesson you can take away from this guide is simple: stop over-processing your metal.
As a general rule, match the finish to the function. If the part is hidden, save your time and leave it as a raw Class C weld. If it is going on a showroom floor, put in the work to get that high-quality Class A shine.
Before starting your next project, take time to plan. Put on your safety gear, pick the right abrasive discs for your metal, and follow the four-step process.
Whether you are grinding by hand in your garage or setting up a robot in a massive shop, working smart is the key. Stop wasting time, protect your lungs, and go make some sparks. And if your project scales beyond what you can handle manually, the team at ShincoFab is always here to help.