Here on the production floor at ShincoFab, I have reviewed thousands of engineering drawings, and our team sees the same common mistake constantly. Buyers and engineers over-specify their metal finish standards and unnecessarily strain their budgets on vanity.
If you do not understand metal finish standards, you risk overpaying for parts. Even worse, if you pick the wrong finish, your parts are prone to rust, peeling, or failing in the field.
In this guide, I will teach you how to choose the right finish for your project based on our daily sheet metal fabrication operations at ShincoFab. You will learn the basic vocabulary, how to put the right specs on your drawings, and how to verify the final parts without expensive tools.
My rule for our clients is simple: function over vanity. Let’s dive in and help optimize your manufacturing spend.
What Are Metal Finish Standards?
A metal finish standard is a shared rulebook. It tells your manufacturer how rough, smooth, or clean a metal part needs to be.
Without a standard, smoothness is a guess. To you, it might mean a flawless mirror. To our machine operators at ShincoFab, it might mean they wiped off the heavy grease. Standards remove the guesswork between your CAD file and our CNC machines.
Why You Need to Care About Finishes
You might think the finish is a final detail. It isn’t. The right finish does three heavy-lifting jobs for your project:
- Optimizes your budget: Picking a basic, standard finish helps keep your manufacturing costs as efficient as possible.
- Stops rust: A proper finish seals the metal and blocks moisture.
- Ensures a proper fit: If a finish is too thick or too rough, your parts might not slide together easily on the assembly line.
Getting surface finishing wrong is expensive. According to AMPP’s IMPACT study on the global cost of corrosion, corrosion costs the global economy an estimated US$2.5 trillion annually, while proven corrosion-control practices could reduce those costs by 15% to 35%.
Cosmetic vs. Functional Finishes
There are two main reasons to finish a part. You either want it to look good, or you want it to work right.
Cosmetic finishes are for parts your customer sees. Think of the shiny outside of a kitchen appliance. Functional finishes are all about survival. They reduce friction, fight rust, or help paint stick to the metal.
Here is my biggest piece of advice when I consult with new ShincoFab clients: function over vanity. Stop paying for visual upgrades on a functional part.
Last month, a client sent us a design for internal server rack brackets requesting a costly mirror polish. I called them, switched it to a standard mill finish, and saved them a significant portion of their finishing budget. If a metal bracket lives inside a machine where it remains out of sight, do not pay for a mirror polish. Start with the raw material’s basic finish. Only pay for extra finishing if the part’s survival demands it.
Once you decide between function and cosmetics, you must communicate that to the factory using specific numbers. Avoid writing vague requests to make the part look nice on a drawing.
How We Measure Metal Finishes
You cannot measure a surface finish with a standard ruler. We are dealing with microscopic peaks and valleys on the metal.
To get what you want, you need to speak the factory’s language. Here are the three main ways we measure metal finishes on our inspection tables.
What Are Ra and Rz in Surface Roughness?
Ra stands for Roughness Average. It measures the microscopic highs and lows across a flat surface. The lower the Ra number, the smoother the part. At ShincoFab, we frequently use digital profilometers to verify these precise numbers before shipping.
While Ra gives you the average, Rz measures the extreme distance between the highest peak and the lowest valley.
Think of it like mowing a lawn. Ra is the average height of the grass. Rz is the difference between the tallest weed and the deepest hole in the dirt.
Here is a quick look at how Ra values compare:
- Standard CNC Milled Part: 3.2 µm (125 µin)
- Fine Machined Part: 0.8 µm (32 µin)
- Polished Mirror Finish: 0.1 µm (4 µin)
How Does the Grit Scale Work?
For purely visual requirements, you do not need a microscopic measurement. You want a specific look. That is where the grit scale comes in.
Grit refers to the abrasive pads used to sand the metal. The number tells you how many scratches there are per linear inch.
If you want the classic look of brushed stainless steel on a kitchen fridge, you are looking at a grit finish. In our finishing department, our operators scratch the metal in one consistent direction to achieve that aesthetic.
What is a Mill Finish?
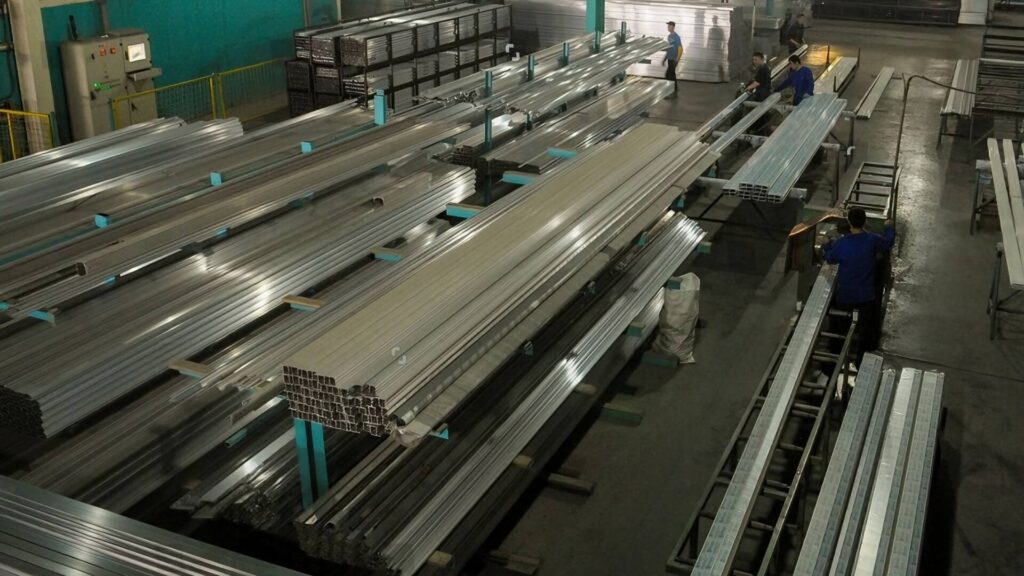
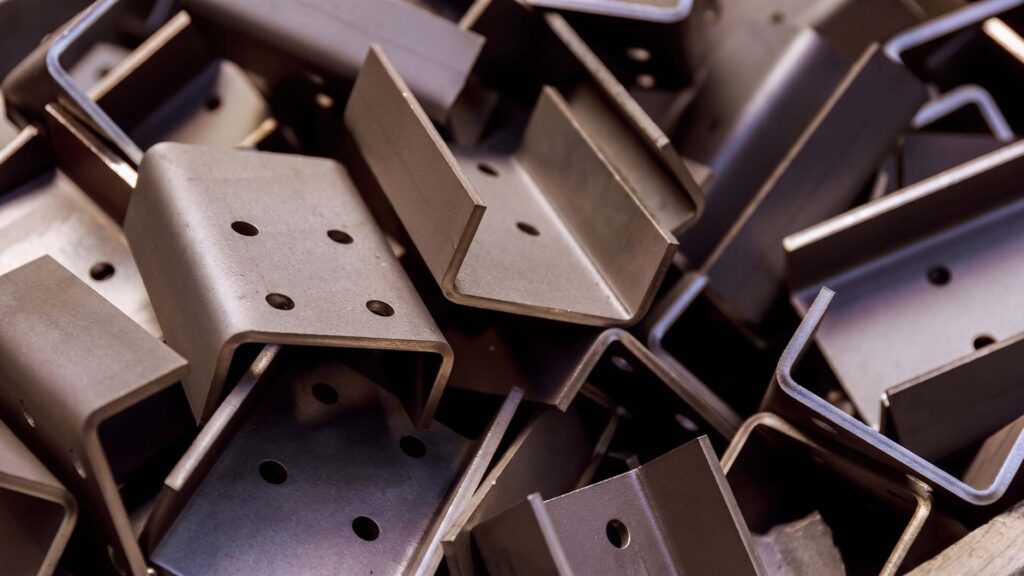
This is my favorite shortcut to recommend. A standard mill finish is the surface texture the metal has right when it leaves the steel mill and arrives at our sheet metal racks.
There is no extra polishing. There is no extra sanding. It is the raw metal.
If you buy a sheet of metal with a mill finish that already meets your visual requirements, you win. You can often skip the secondary finishing steps entirely. Starting with the right raw material is typically the easiest way to save time and money on your project.
How to Choose the Right Finish for Your Part
You do not need to be a metallurgist to pick a great finish. You ask yourself a few questions about what your part does.
The Most Practical Default Finish
If you are on a strict budget, stop overthinking it. Ask us for an as-machined surface or a standard mill finish.
This means our team at ShincoFab cuts your part and removes the sharp edges (deburring). It will have visible tool marks. It won’t win a beauty contest. Despite its rough appearance, it works exceptionally well for internal brackets and hidden components.
Do You Need Corrosion Resistance?
Bare metal and moisture are a terrible combination. If your part lives outside or near water, you must protect it.
Finishes like zinc plating, anodizing, or passivation act like a shield. They help stop rust before it starts.
- In standard salt-spray tests, bare steel begins to rust in under 24 hours.
- Zinc-plated steel can survive for over 96 hours before showing any signs of white rust.
Do You Need Paint to Stick?
An overly smooth surface makes paint adhesion difficult. If you plan to paint or powder coat your part, you need some texture.
Paint needs microscopic peaks and valleys to grab onto. This is known as a mechanical profile. When clients ask ShincoFab to handle powder coating, I routinely ensure the metal isn’t too smooth; otherwise, the coating is prone to peeling off. Always ask for a slightly rougher finish, like a light sandblast, before you apply powder coating.
Are You in a Strict Industry?
Some industries have strict regulatory requirements that limit your finishing options.
- Medical and Food: You typically need ultra-smooth, electropolished surfaces. Bacteria struggle to hide on a smooth surface, which makes the parts easier to sterilize.
- Aerospace: You need finishes that reduce friction and handle extreme temperatures. Hardcoat anodizing is a standard go-to here.
Eco-Friendly Finishes and Compliance
Environmental regulations continue to evolve, so manufacturers should monitor applicable compliance requirements, including the EU RoHS Directive.
In the past, factories used toxic chemicals like hexavalent chromium to prevent rust. Today, that chemical is banned in many countries. Ask your manufacturer for modern, eco-friendly alternatives like trivalent chromium. It works effectively and keeps you compliant with current regulations.
The Most Common Metal Finish Standards Explained
When you get a quote from a factory like ours, it will be full of codes and acronyms. Do not let them intimidate you. Here is a simple translation of the most common standards you will see on a ShincoFab estimate.
What Are the Standard Finishes for Stainless Steel?
Stainless steel has its own specific grading system. You will usually see ASTM (American) or EN (European) standards.
Here are the three main finishes you need to know:
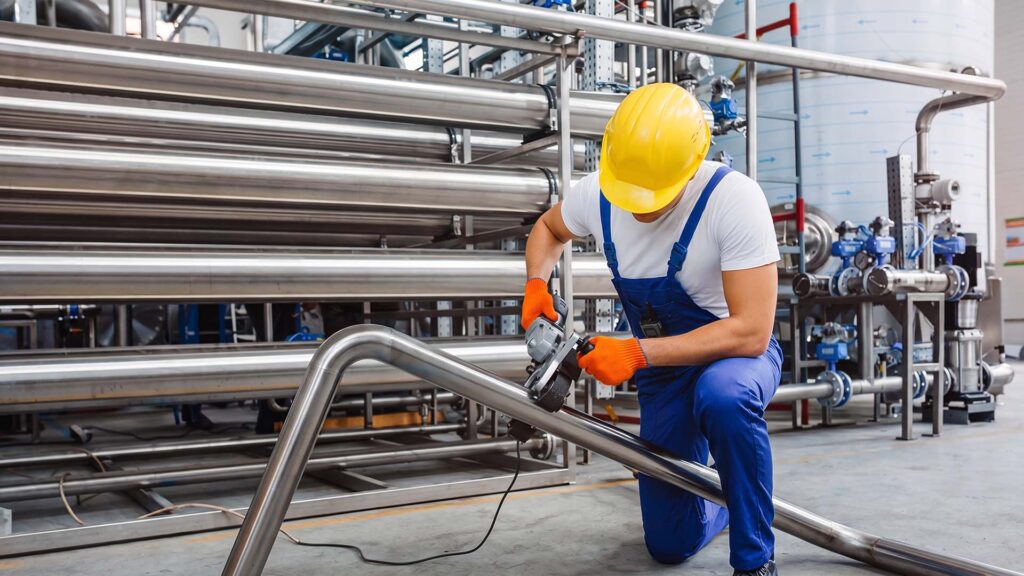
- 2B (Mill Finish): This is the standard, cold-rolled finish. It is smooth, slightly reflective, and suitable for general parts.
- #4 (Brushed Finish): This is the classic kitchen appliance look. It has a visible grain and hides fingerprints effectively.
- #8 (Mirror Finish): This is highly polished and reflective. It looks impressive, but it highlights scratches and smudges.
When Should You Use MIL-SPEC or ASTM Standards?
If your part needs to survive harsh conditions, you will likely use a MIL-SPEC (Military Specification) or ASTM standard.
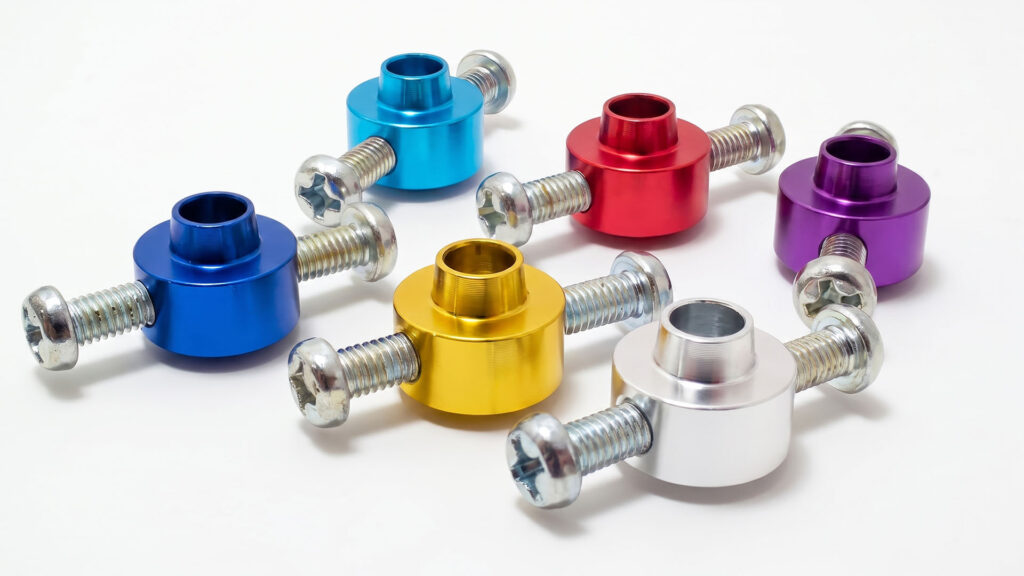
- Anodizing (MIL-A-8625): This turns the surface of aluminum into a hard, corrosion-resistant shield. Because anodizing builds a physical layer, it alters your part’s final dimensions. Standard Type II anodizing typically adds 0.0002 to 0.001 inches of thickness to your part. You must account for this in your tolerances.
- Passivation (ASTM A967): This chemical treatment for stainless steel removes free iron and other surface contaminants, helping improve corrosion resistance and reduce the risk of rust.
- Electropolishing (ASTM B912): This is the opposite of plating. It uses electricity to melt away microscopic peaks, leaving a highly smooth, clean surface.
What Are Abrasive Blasting Standards?
When you need to clean old metal or prep a surface for heavy paint, abrasive blasting comes in.
Blasting standards focus on surface cleanliness. They tell the factory how much rust or old scale to remove.
For example, a White Metal blast is the highest standard. It means the factory blasts the metal until it is visually free of rust, dirt, and paint. It leaves a uniform, gray-white surface prepped for a new coating.
The Cost vs. Finish Reality Check
Beyond the technical specifications, moving from a standard to a cosmetic finish can drastically impact your budget. Before you request a #8 mirror finish on your next drawing, let’s look at how finishing affects cost.
Generally, when you ask for a smoother finish, your price goes up. Machining a part takes time, but manual polishing can take significantly longer.
Many engineers assume a better finish only adds a few pennies to the part. This is a misconception. Depending on the part’s complexity, moving from a standard mill finish to a high-end cosmetic finish can notably increase your overall manufacturing costs.
Let’s look at an illustrative example based on typical cost structures at ShincoFab. Consider a hypothetical batch of stainless steel brackets. If the baseline price for a standard 2B mill finish is $500, requesting a labor-intensive #8 mirror finish on those exact same parts could easily push the final bill to $1,500 or more.
In many cases, you are paying a substantial premium purely for aesthetics.
How to Put Surface Finishes on Your Drawings
When a drawing hits our CAM department at ShincoFab, we can’t read your mind. If you want a specific finish, you must clearly note it on your drawing. Here is how to do it right.
Call Out the Source Finish
Avoid writing vague instructions to make it smooth. Be specific.
If you want a brushed look, write down the specific standard, like Stainless Steel #4 Finish. This tells our fabricators which abrasive pad to use and leaves minimal room for guessing.
Specify the Cosmetic Side
Most parts only have one side that the customer sees. Do not pay to polish the back of the part.
Clearly label the visible side as “Side A” on your drawing. Tell us to only apply the expensive finish to Side A, and leave Side B alone. This simple strategy can reduce your finishing costs considerably.
Note the Grain Direction
Brushed finishes have a grain, like wood. If you do not specify the grain direction on your CAD file, our laser cutting operators will nest the parts on the sheet metal to maximize material yield.
When you bolt those parts together later, the grains can clash and look unprofessional. Always draw an arrow on your print to show which way the grain should run.
How to Verify Your Finish Without Expensive Tools
When your parts arrive, you want to know if you got what you paid for. You do not necessarily need a high-tech lab to figure this out. You can use a few DIY tricks right on the receiving dock.
To check for rough machining, start with the fingernail test. If you asked for a smooth machined finish, lightly drag your fingernail across the surface. If your nail catches on the grooves, the finish is likely too rough. It is a surprisingly effective way to check for bad machining.
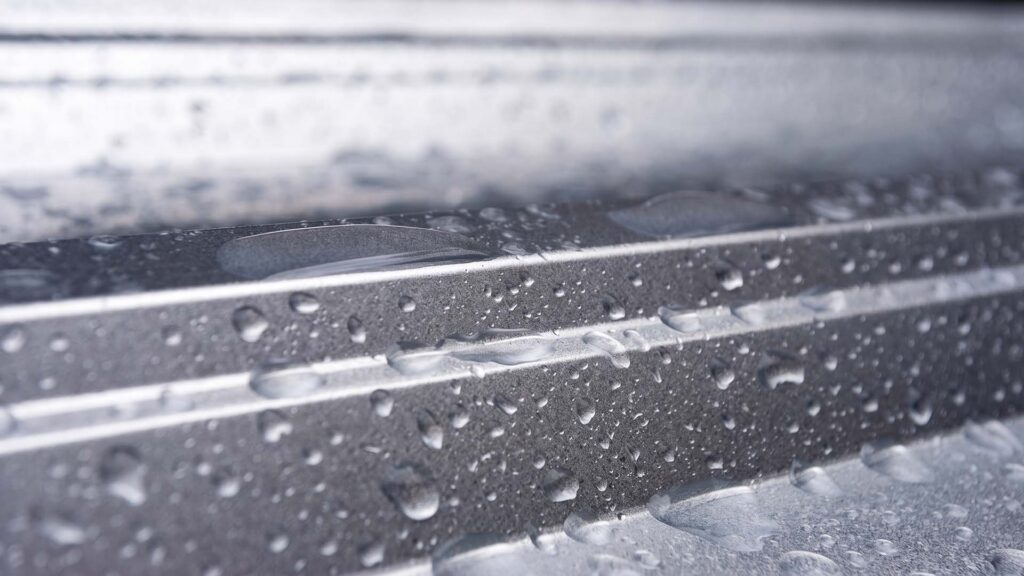
After verifying the surface texture, use the water drop test to check for cleanliness. Drop a little water on the metal. If the water beads up, there is likely still oil or grease on the part. If the water spreads out flat, the metal is generally clean and ready for paint.
These simple tests work. Recently, a buyer came to ShincoFab after a bad experience with another supplier. He had ordered 500 aluminum brackets that were supposed to be degreased for powder coating. When he did a quick water drop test on their delivery, he saw the water bead up immediately. He rejected the batch before painting, saving his company substantial rework costs. Now, he trusts our pre-paint prep process to get it right the first time.
While checking your parts upon delivery is crucial, preventing errors before you even place your order is the ultimate money-saver.
Common Mistakes That Will Cost You Money (And Cause Failures)
Even smart engineers make mistakes with metal finishes. Here are the most common traps we help our clients avoid that can inflate your budget and compromise your parts.
Over-Specifying the Finish
I see this frequently. People ask for a smooth, mirror-like finish on a part that sits out of sight.
This unnecessarily strains your budget. Extra polishing steps can add substantial labor time to your bill. Stick to the basic mill finish unless you genuinely need an upgrade.
Ignoring Failure Modes
What happens if you pick the wrong finish? Your part risks failure.
If you polish a part too much before powder coating, the paint is prone to peeling off in sheets. If you skip a protective coating on outdoor steel, it can rust in a matter of days. Do not ignore how your part will be used in the real world.
Mixing Metals (The Galvanic Corrosion Trap)
Putting two different bare metals together is a recipe for disaster. If you bolt an aluminum part directly to a steel frame, they can react with each other.
This process is known as galvanic corrosion, which occurs when dissimilar metals are electrically connected in the presence of an electrolyte, causing the more active metal to corrode faster. To reduce the risk, electrically isolate the metals with non-conductive washers, gaskets, or suitable barrier coatings; use zinc plating for steel or anodizing for aluminum where appropriate.
Forgetting the Material Match (Compatibility Guide)
Not all finishes work on all metals. If you ask a factory for a finish that does not match your material, they will likely reject your drawing and delay your project. Use this quick compatibility matrix before you send out a quote:
| Metal Type | Highly Compatible Finishes | Critical Warning (Avoid) |
|---|---|---|
| Aluminum | Anodizing, Chem Film (Alodine), Powder Coating | Cannot be passivated. |
| Stainless Steel | Passivation, Electropolishing, Bead Blasting | Cannot be anodized. |
| Mild / Carbon Steel | Zinc Plating, Galvanizing, Powder Coating | Rapidly rusts; do not leave bare. |
Getting your metal finish right does not have to be complicated. Focus on function, keep your drawings clear, and stop paying for vanity.
Conclusion
Choosing the right metal finish standard does not require a chemistry degree. It requires common sense and a reliable manufacturing partner.
Remember the golden rule we live by at ShincoFab: function over vanity. Start every project with a basic mill finish. Only pay for extra polishing, plating, or anodizing if the part needs to fight rust, hold paint, or impress a customer.
When you do need a specific finish, put it clearly on your drawing. Call out the specific standard, mark the cosmetic side, and note the grain direction.
Use these standards to help protect your parts, speed up your manufacturing, and keep your overall costs in check. If you’re ever in doubt, the engineering team at ShincoFab is always here to review your drawings and recommend the most cost-effective finishing strategy.