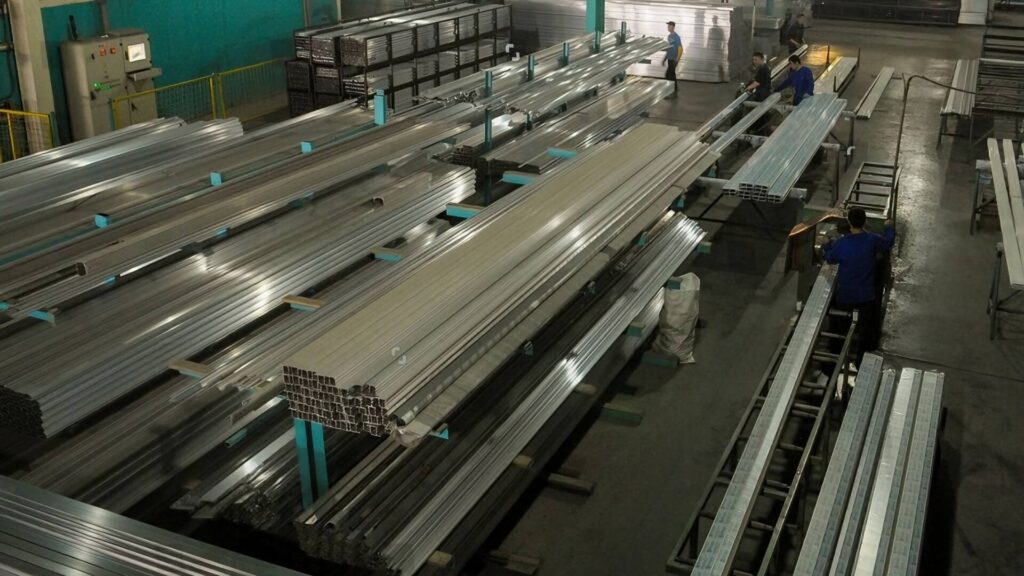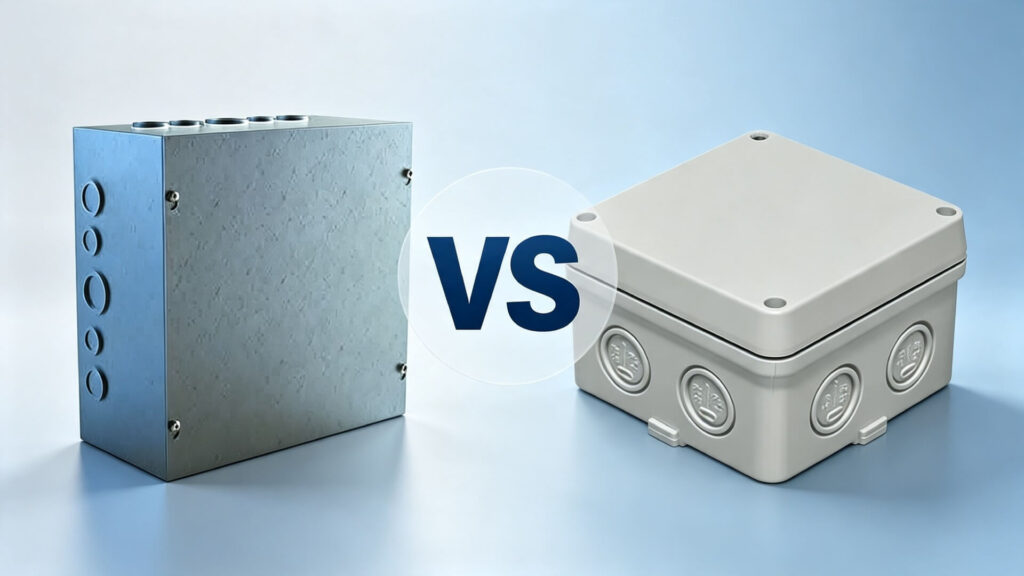
At ShincoFab, our sheet metal fabrication floor runs on precision and heavy machinery. Over the years of manufacturing custom enclosures and maintaining our own factory equipment, I have wired everything from simple warehouse lighting to complex CNC punch press control panels. I know firsthand what happens when you use the wrong electrical box on a bustling factory floor. It usually ends in wasted money, failed safety inspections, or even a dangerous electrical fire.
If you are stuck deciding between a junction box and a terminal box, you are in the right place.
In this guide, I will break down the differences between the two based on our real-world manufacturing experience. You will learn which box fits your specific project, how to avoid costly installation mistakes, and a clever DIY hack to get premium organization on a tight budget using standard sheet metal enclosures.
Let’s get straight to it.
The Short Answer: What’s the Difference?
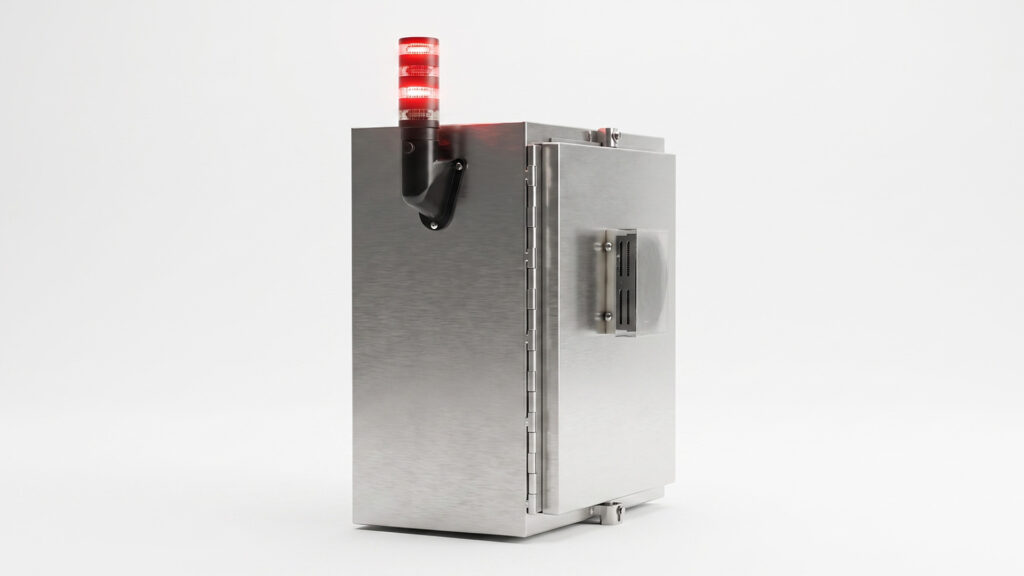
A junction box is an empty electrical enclosure where bare wires are spliced together using wire nuts. A terminal box is an organized electrical enclosure containing a DIN rail and terminal blocks that secure and label each individual wire separately. Both enclosures protect electrical connections from environmental damage.
Here is how I want you to look at it. Treat a junction box like a tomb, and a terminal box like a control hub.
If you are highly confident you won’t need to open that box again, go cheap. Buy a junction box.
But if there is even a 1% chance you will need to troubleshoot, test, or upgrade those wires later? Pay the premium for a terminal box. The extra money you spend today will save you hours of headaches tomorrow.
To see why one is a tomb and the other is a hub, let’s look at how they actually work on the inside. First up, the classic junction box.
What is a Junction Box?
How It Works
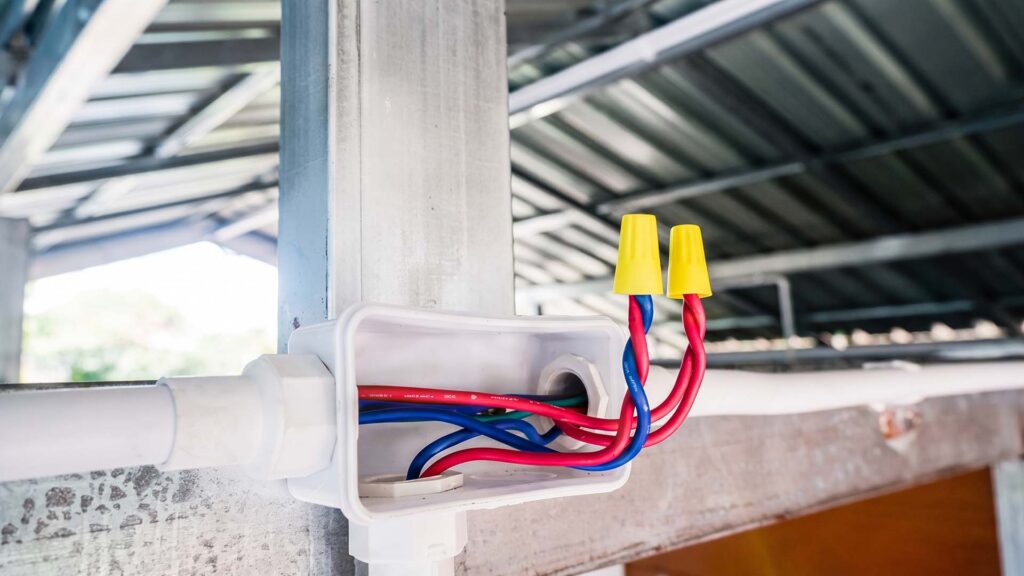
A junction box is a standardized electrical enclosure that protects wire splices. Think of it as a protective cave for your wires.
When you need to connect or split a power line, you strip the wires and twist them together. Then, you screw a plastic wire nut over the exposed copper.
These connections are known as free-floating splices. There is no structure inside the box, so the wires simply hang loose in the empty space.
The Biggest Benefits
Despite this lack of internal structure, the main reason people love junction boxes is the price tag.
The biggest benefits of using a standard junction box for basic jobs include:
- They are highly affordable: You can buy a standard plastic box for just a few dollars.
- They are fast to install: You don’t need special tools or tiny screwdrivers.
- They are simple: Just twist the wires, cap them, and screw the lid shut.
The Downsides & Failure Modes
The biggest problem with a junction box is what happens after you close it. It can quickly turn into a messy rat’s nest.
If you have a dozen wires stuffed inside, finding a single bad connection later is a total headache. You have to untwist everything just to test one wire.
But there is a much bigger risk: failure from movement. At what point do wire nuts actually fail?
Wire nuts rely on tension. If your box is exposed to wild temperature swings or attached to a vibrating machine like the 100-ton press brakes we operate at ShincoFab, the copper wires expand and contract. Once vibrations hit a constant low frequency, those wire nuts slowly back off.
When a wire-nut connection loosens, increased contact resistance can cause localized overheating and, in some failure conditions, arcing. These hazards underscore the importance of following workplace electrical-safety guidance when inspecting and maintaining equipment. During a recent internal maintenance audit of older equipment we acquired, we found that nearly 30% of intermittent machine faults in high-vibration zones were associated with loosened wire-nut connections inside standard junction boxes.
If you are dealing with heavy vibrations, complex wiring, or systems you need to test often, a simple plastic or empty metal cave won’t cut it. You need something much smarter. That brings us to the terminal box.
What is a Terminal Box?
How It Works
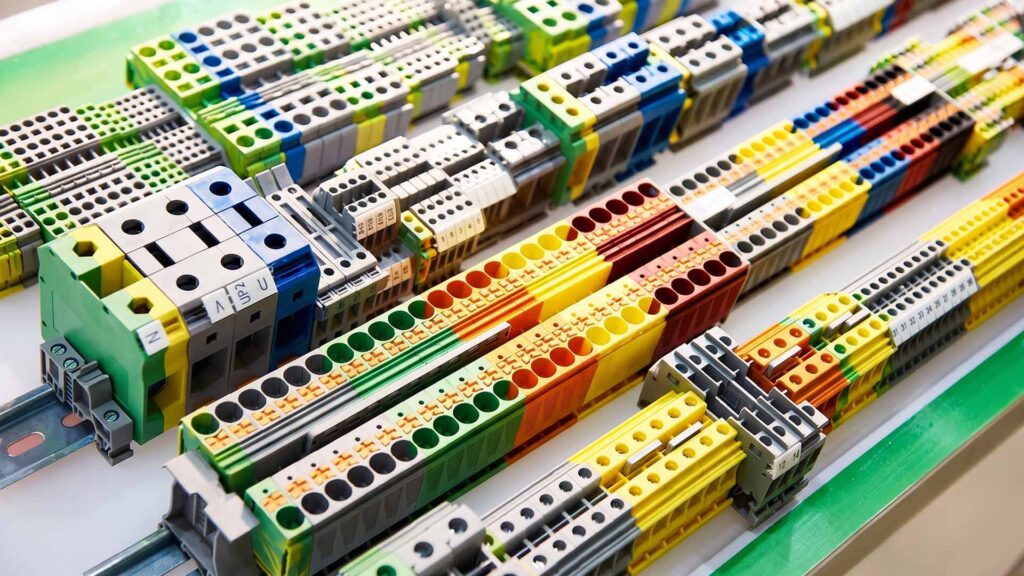
A terminal box is the direct opposite of a messy rat’s nest. It is a highly organized control hub.
Inside, you will find a metal track bolted to the back. This is called a DIN rail. Small plastic connectors, known as terminal blocks, snap tightly onto this rail.
Instead of twisting wires together, you insert each wire into its own separate slot on a terminal block. Then, you lock it down with a screw or a spring clamp. This gives you a clean, structured wiring system where every wire has a specific home.
The Biggest Benefits
The biggest advantage of a terminal box is how easy it makes troubleshooting. Every wire has its own labeled spot. It removes the guesswork of figuring out what goes where.
If a system goes down, you don’t have to untwist a bunch of wires to test the circuit. You just touch your multimeter probes directly to the metal test points on the terminal block.
On our ShincoFab production line, our maintenance engineers report that using a multimeter on a labeled terminal block reduces fault-finding time by up to 75% compared to untwisting and testing wires in a traditional junction box.
The biggest benefits of using a terminal box for industrial applications include:
- Vibration-proof: The clamps hold wires tight, even on shaking machinery.
- Easy to read: Numbered labels tell you exactly what each wire does.
- Safe testing: You can test a live circuit without exposing bare copper.
The Downsides
All this organization comes at a price. Terminal boxes cost significantly more than junction boxes. You have to buy the enclosure, the DIN rail, and the individual terminal blocks.
They also take much longer to set up. You have to strip each wire carefully, crimp metal ferrules onto the ends, and screw them into the blocks one by one. It is a slower, more deliberate process.
So, you have the cheap and fast junction box on one side, and the pricey but organized terminal box on the other. Let’s put them head-to-head to see how they stack up in the real world.
Head-to-Head Comparison
To help you make a quick decision, here is a direct comparison of how junction boxes and terminal boxes stack up across four critical factors:
| Feature | Junction Box | Terminal Box |
|---|---|---|
| Upfront Cost | Very low (approx. $25 for a standard setup) | High (approx. $85+ for enclosure & blocks) |
| Installation Time | Fast (strip, twist, and cap) | Slow (mount rail, add blocks, screw wires) |
| Vibration Resistance | Low (wire nuts can vibrate loose) | High (clamps lock wires securely in place) |
| Troubleshooting Speed | Slow (requires untangling and untwisting) | Very fast (labeled slots, direct test points) |
Wiring and Organization
Let’s talk about what happens when you open the lid. A junction box is usually a chaotic mess. Wires are twisted together, shoved inside, and bent to fit the space. It works, but it is ugly.
A terminal box is neat and tidy. The wires run in straight lines. Everything is locked into a grid. You can look at it and readily understand how the power flows.
The True Cost and Installation Time
Junction boxes win the race for speed and price. You can strip, twist, and cap wires in seconds.
Terminal boxes take patience. You have to mount the rail, place the blocks, and screw down each wire. But how much more does this actually cost?
Let’s look at a standard 10-wire setup:
- Junction Box: Cheap parts, fast install.
- Terminal Box: Pricey parts, slower install.
For example, a standard 6×6 sheet metal junction box might cost you around $25, while a pre-assembled terminal box of the same size can easily exceed $85. However, that extra upfront cost pays for itself the first time a machine goes down and you save an hour of diagnostic labor.
Yes, you pay more upfront for the terminal box. But you are buying future convenience.
Maintenance and Troubleshooting
This is where the terminal box vastly outperforms the junction box.
Imagine a machine stops working at 2 AM. Here is what troubleshooting looks like:
- Junction Box: You pull out a tangled clump of wires. You untwist the wire nuts and expose the live copper. It is slow, frustrating, and risky.
- Terminal Box: You open the door and read the labels. You touch your tester to the built-in metal slots. You find the problem in seconds.
Now that you see how they stack up, it is time to make a decision. Let’s figure out which box you need for your specific project.
How to Choose the Right Box for Your Project
When You Should Use a Junction Box
Keep it simple. You should use a junction box for basic, set-it-and-forget-it projects.
They are perfect for home wiring, simple lighting circuits, and tight budgets. If you are wiring a bedroom outlet, a junction box is generally all you need.
When You Should Use a Terminal Box
Step up to a terminal box when reliability is critical.
You need them for industrial machines, complex control panels, and high-vibration areas. If a loose wire could shut down a factory floor, it is best not to rely on a plastic wire nut. Use a terminal box.
Future-Proofing: Should You Oversize?
What if you plan to add more circuits next year? Is it cheaper to buy an oversized terminal box today, or use a large junction box and retrofit it later?
It is almost always better to buy the oversized terminal box today.
Retrofitting a junction box later means ripping apart old splices, tracing dead wires, and wasting hours of labor. The extra cost of a larger terminal box upfront is pennies compared to the labor you will waste later.
Real-Life Scenarios: Let’s Pick the Right Box
Still not sure?
Here are three real-world scenarios to help you pick the right electrical box:
- Scenario A: Wiring a new ceiling fan in a bedroom. This is a basic, set-it-and-forget-it project. The connections won’t be exposed to extreme industrial vibrations, and once the fan is installed, you are highly unlikely to ever touch those wires again. (Winner: Junction Box.)
- Scenario B: Wiring a factory conveyor belt. The motor vibrates heavily, and you have multiple sensors that might need routine testing. Just like our scrap removal conveyors at ShincoFab, you need secure connections that won’t shake loose and labeled test points for quick maintenance. (Winner: Terminal Box.)
- Scenario C: Wiring outdoor landscape lights. While the system is outdoors, the wiring itself usually involves simple, low-voltage splices that rarely require complex troubleshooting. You definitely need a waterproof enclosure (like NEMA 3R or IP65), but you do not need to pay for expensive internal terminal blocks. (Winner: Waterproof Junction Box.)
But what happens if your project strictly requires the organization of a terminal box, but your budget simply won’t allow for an expensive pre-assembled enclosure? That leads us to a highly effective workaround.
Can You Turn a Junction Box Into a Terminal Box? (The DIY Hack)
Yes, you certainly can. You do not have to buy an expensive, pre-assembled terminal box.
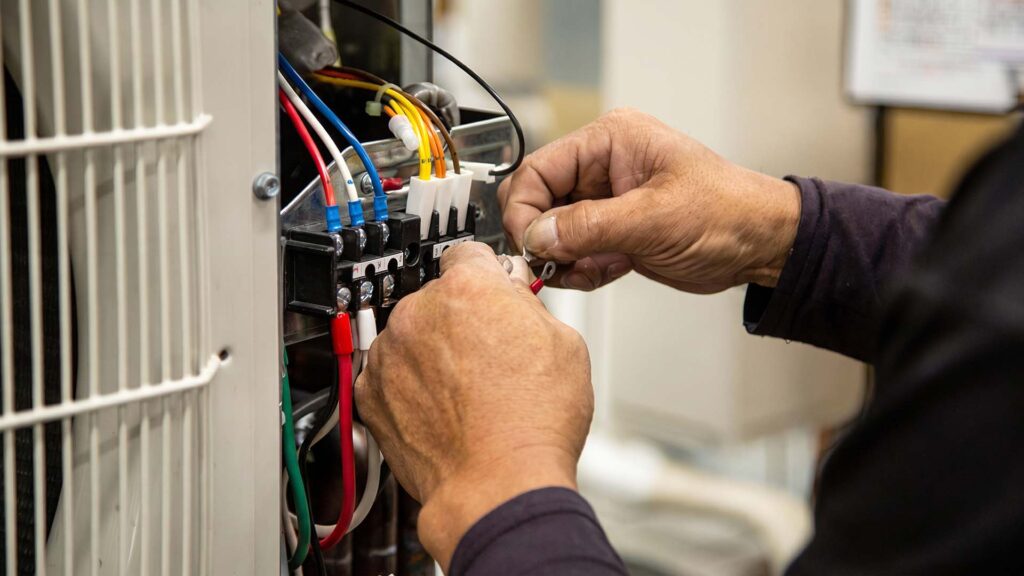
You can easily build your own hybrid. All you need is a standard, empty junction box, which is very similar to the customized NEMA enclosures we fabricate out of stainless steel every day. First, buy a cheap piece of metal DIN rail. Next, screw or rivet that rail directly into the back of the box. Finally, snap your own terminal blocks right onto the metal track.
Let’s look at the math. How much does this actually save you?
- A pre-assembled NEMA 4X rated terminal enclosure from a big-box brand can easily cost $150 to $200.
- But if you buy a high-quality, bare NEMA-rated metal junction box for around $40, add a $5 piece of DIN rail, and spend roughly $15 on terminal blocks, your total comes to about $60.
- That is a massive potential savings of $90 to $140 per box, just for turning a few screws yourself.
You get the clean, organized wiring of a premium hub on a DIY budget.
3 Costly Mistakes to Avoid When Installing Your Box
Whether you buy a box off the shelf or build it yourself, getting the right one is only half the battle. Even if you pick the perfect enclosure, a bad installation will ruin it. A poor setup can cost you time, money, and safety.
The most common mistakes to avoid when installing an electrical junction or terminal box include:
- Mistake 1: Overstuffing a junction box. It is tempting to cram one more wire into a small box. Do not do it. When wires are packed too tight, they overheat. This melts the plastic insulation and creates a massive fire hazard.
- Mistake 2: Stripping too much wire in a terminal box. Terminal blocks are designed for precision. If you strip too much insulation off the wire, bare copper will stick out of the block. If that exposed copper touches a neighboring wire, you will likely cause a short circuit.
- Mistake 3: Burying a junction box behind a wall. This is a classic rookie error. You wire up a new light, shove the junction box into the wall, and cover it with drywall. That is a severe code violation under standard electrical safety practices, requiring every electrical box to remain permanently accessible.
Speaking of building codes, you cannot just guess when it comes to electrical safety. If you want to pass inspection and keep your home safe, you need to understand the rules. Let’s break down the safety ratings you should not ignore.
Safety Rules and Ratings You Can’t Ignore
Electricity and water do not mix. Neither do bad wiring and building inspectors. You need to follow the rules to keep your project safe and legal.
NEMA and IP Ratings
If your box goes outside or in a dirty factory, it needs a shield. That is where official NEMA enclosure ratings and IP ratings come in to tell you how much water and dust a box can handle.
The most common NEMA and IP ratings for electrical enclosures include:
- Indoor use: A standard NEMA 1 box is fine for a dry basement or hallway.
- Outdoor use: Look for NEMA 3R or IP65 to block rain, dirt, and snow.
- Heavy washdowns: If you are hosing down a factory floor, you need NEMA 4X or IP66 to stop high-pressure water.
Basic NEC Code Rules & Inspection Risks
The National Electrical Code (NEC) has strict rules for wiring. If you break them, your inspector will likely fail your project.
What is the most common reason an inspector fails a junction box? Box fill limits.
People frequently stuff too many wires and wire nuts into a tiny junction box. The NEC (Article 314.16) calculates the specific amount of free space (box fill volume) each wire needs to prevent overheating and fires. If you cram them in, you fail.
How does a terminal box prevent this? It encourages you to be compliant. Terminal boxes are sized based on the exact number of terminal blocks on the rail. The design naturally prevents overstuffing because each wire has a fixed, dedicated slot.
Now you know the rules, the risks, and which box to buy. But you might still have a few lingering thoughts. Let’s wrap up by answering the most common questions people ask.
Frequently Asked Questions (FAQs)
Are junction boxes waterproof?
Not automatically. A standard metal or plastic box from the hardware store has gaps and holes. If you need it to survive the rain, you must buy one with a specific waterproof rating, like NEMA 4X or IP65. You also need waterproof cable glands to seal the holes where the wires enter.
Can I use a terminal box at home?
Yes, you certainly can. They are overkill for a simple bedroom light switch. But if you are wiring a complex smart home panel, a solar battery setup, or a heavy-duty workshop, a terminal box is a brilliant upgrade. It keeps your DIY projects safe and easy to change later.
Why do old junction boxes look so confusing?
Because they were rarely designed to be opened repeatedly. Over the years, different homeowners or electricians add new wires, change circuits, and stuff it all back inside. Without labels or terminal blocks, it quickly turns into a tangled mystery puzzle.
Whether you choose the simple junction box or the organized terminal box, always prioritize safety. Take your time, follow the code, and avoid cutting corners on your wiring.
Conclusion
Choosing between a junction box and a terminal box comes down to one simple question. Will you ever need to touch these wires again?
If the answer is no, save your money. Buy a simple junction box, cap your wires, and move on.
But if you are building a system that needs testing, upgrading, or heavy-duty reliability, a terminal box is worth the investment. The time you save during your first midnight troubleshooting session will easily pay for the box.
Do not let a cheap plastic wire nut ruin your hard work. Plan ahead, follow the safety codes, and pick the box that makes your life easier tomorrow.