Stop treating rivets as an afterthought. The fastener you choose dictates your assembly speed, product lifespan, and labor costs.
As a lead manufacturing engineer at ShincoFab, I have spent years designing and assembling sheet metal parts on our factory floor. I have seen firsthand how the wrong rivet can ruin a production run. Blind rivets are great for quick DIY fixes, but when our ShincoFab clients scale up their prototypes to professional manufacturing, it requires smarter design choices.
In this guide, I will walk you through the 7 common types of sheet metal rivets and when to use them. You will learn how to match materials to prevent rust, what tools you need, and how to spot a failing joint before it breaks.
Whether you are fixing an aluminum boat or designing a product for mass production, you will know which fastener will get the job done right.
What Is a Sheet Metal Rivet?
A rivet is a permanent mechanical fastener. A rivet is a metal pin that locks two pieces of material together.
Unlike a screw, a rivet has no threads. Unlike welding, it uses no heat. It is a highly fast and reliable method to join thin sheets of metal.
How Do Rivets Work?
A standard rivet has two parts: a head and a smooth shaft (called the tail).
The standard rivet installation process involves three steps:
- You drill a hole through your metal sheets.
- You push the rivet through the hole.
- You use a tool to smash, press, or pull the tail.
The installation tool deforms the rivet tail. The deformed tail expands wider than the drilled hole. The expanded tail compresses the metal sheets against the rivet head, creating a permanent joint. It is locked in place and resists vibrating loose.
Rivets vs. Welding vs. Screws: Which is Better?
While screws and welding are common fasteners, rivets solve specific structural problems.
Rivets are often better than screws and welding for thin sheet metal because they do not require heat, minimize material warping, and create a permanent, vibration-resistant joint between dissimilar metals.
- Screws: Useful if you need to take the parts apart later. But they have a notable drawback: they can rattle loose under vibration. Plus, thin sheet metal often lacks enough thickness for screw threads to grab onto.
- Welding: Exceptionally strong, but it creates significant heat. That heat warps thin metal and can burn off surrounding paint. Standard welding also cannot join two different materials together, like aluminum to steel.
- Rivets: An ideal middle ground. They use no heat, helping your metal stay flat and your paint stay intact. You can easily join dissimilar materials. Furthermore, they install rapidly. At ShincoFab, clients often initially ask us to weld thin aluminum enclosures. I always push back and recommend riveting instead, because welding 1.5mm aluminum almost always results in heat warpage that ruins the aesthetic of the final product.
It takes an average of 3 seconds to install a blind rivet. Compare that to 12 seconds to prep and spot weld a joint, or 25 seconds to drill and tap a threaded hole. When you are building hundreds of parts, that time reduces overall labor costs.
The rivet you choose dictates the strength and look of your final product.
7 Common Types of Sheet Metal Rivets
Not all rivets are created equal. The type you choose dictates how much weight your joint can handle.
For example, a standard 1/8” aluminum blind rivet holds about 120 lbs of shear strength, according to standard fastener load capacities in the Goebel Blind Rivets Technical Catalog. But a solid steel rivet of the same size can hold over 400 lbs. You need to match the fastener to the job.
You need to match the fastener to the job. Here are the 7 main types and when you should use them.
Solid Rivets (Best for Maximum Strength)
This is the oldest and strongest type of rivet. It is a solid metal shaft with a head on one end.
To install it, you need access to both sides of your metal. You support the head with a heavy piece of metal, then use a hammer or pneumatic gun to smash the tail flat.
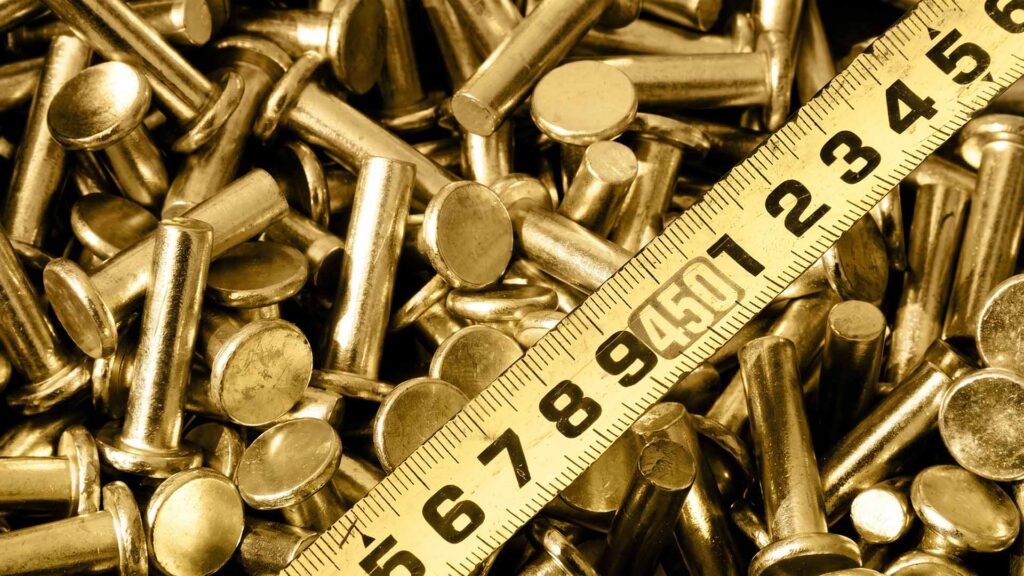
- The Benefit: Exceptional strength. This is the rivet you use if you are building an airplane, a bridge, or a heavy-duty trailer.
Blind / Pop Rivets (Best for One-Sided Access)
Blind rivets (often called pop rivets) are highly useful when you can’t reach the back of your metal.
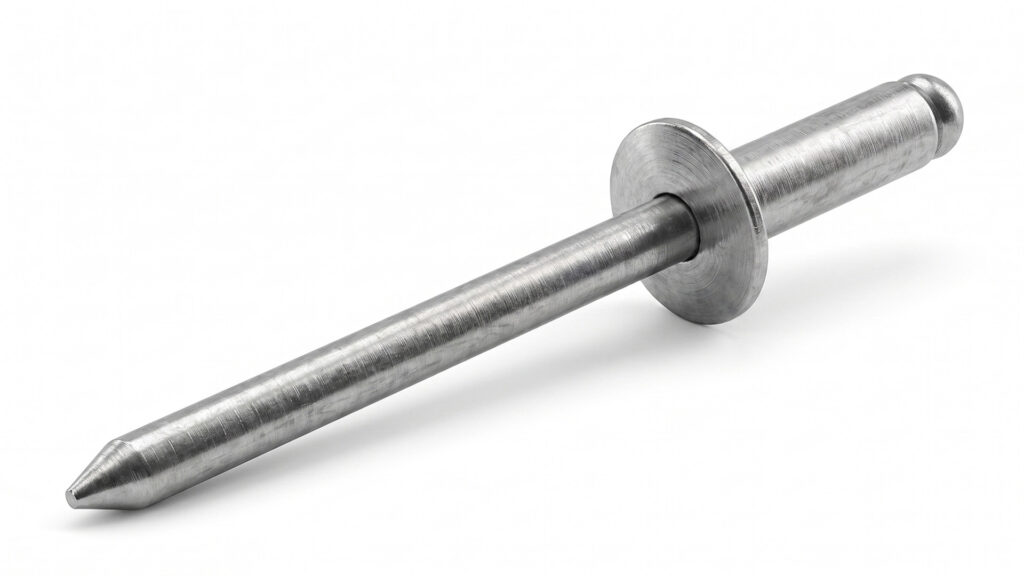
A blind rivet contains a hollow body and a center mandrel. The installation tool pulls the mandrel. The pulled mandrel crushes the rivet body against the blind side of the metal. The mandrel snaps off to complete the joint.
- The Benefit: You only need access to one side. They are ideal for sealing metal tubes, HVAC ducts, or enclosed boxes.
Tubular & Semi-Tubular Rivets (Best for Fast, Low-Force Assembly)
These look like solid rivets, but they have a shallow hole drilled into the tail.
This shallow hole allows the tail to roll outward easily when you press it.
- The Benefit: They require about 75% less force to install than a solid rivet. This makes them highly suited for fast assembly lines. They are also useful for joining brittle materials, like plastic to metal, without cracking them.
Rivet Nuts / Nutserts (Best for Adding Threads to Thin Metal)
A rivet nut is a hybrid between a rivet and a standard nut.
It installs from one side, similar to a blind rivet. But instead of clamping two sheets together, it leaves behind a permanent, reusable threaded hole.
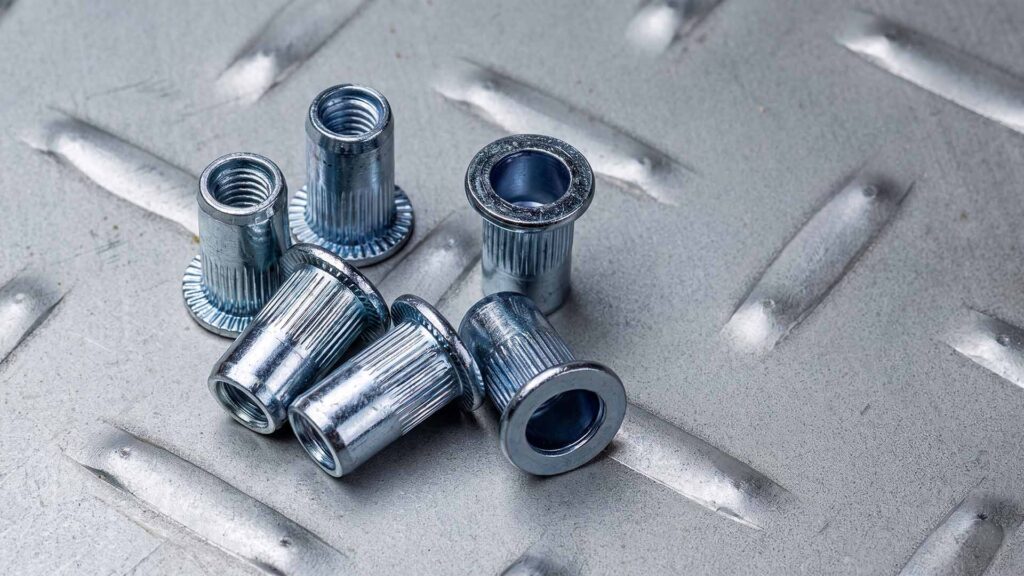
- The Benefit: It allows you to bolt heavy parts onto thin sheet metal. If your metal is too thin to tap with standard threads, a rivet nut is an excellent option.
Self-Piercing Rivets (Best for Skipping the Drill)
This is a high-tech option used heavily in car factories.
As the name suggests, you do not need to drill a hole first. A heavy automated press forces the rivet directly through the top sheet of metal. The rivet then flares out and locks into the bottom sheet without poking all the way through.
- The Benefit: You skip the drilling process entirely. This substantially reduces time and production costs in high-volume manufacturing.
Flush / Countersunk Rivets (Best for a Smooth Finish)
Flush rivets have an angled, cone-shaped head.
To use them, you drill a special countersunk hole into your metal. When you install the rivet, the head sinks down and sits flush with the surface of your sheet metal.
- The Benefit: Minimal drag and a smooth finish. If you run your hand over it, you will barely feel a bump. This is why the outside of an airplane wing looks smooth.
Drive Rivets (Best for Quick Hammer-In Jobs)
Drive rivets are a type of blind rivet, but you don’t need a special pulling tool.
They have a short pin sticking out of the head. You push the rivet into the hole and hit the pin with a standard hammer. The pin drives down and flares the tail out on the blind side.
- The Benefit: High convenience. You don’t need a rivet gun. They are suitable for quick field repairs or attaching metal panels to wood.
Best Materials for Sheet Metal Rivets
Selecting the appropriate rivet shape requires matching the material to prevent rust.
In a standardized ASTM B117 test, a basic steel rivet will start rusting in 24 to 48 hours. But a 316 stainless steel rivet can withstand over 1,000 hours in similar salty conditions. You have to match your rivet material to your environment.
You have to match your rivet material to your environment. Here are the most common options.
Aluminum (Lightweight & Rust-Resistant)
Aluminum is the go-to choice for most everyday projects. It is lightweight and naturally resists rust.
Because it is a soft metal, it is very easy to install. You won’t wear out your hands or your tools.
- Best for: Use aluminum rivets when you are joining aluminum sheets, building signs, or making lightweight frames.
Steel & Stainless Steel (Heavy-Duty & Strong)
When you need raw holding power, you need steel.
Standard low-carbon steel is tough, but it will rust if it gets wet. If your project lives outside or near the ocean, you should upgrade to stainless steel. It costs a bit more, but it fights off harsh weather and chemicals.
- Best for: Use steel for heavy structural joints, automotive frames, and marine equipment.
Copper & Brass (Great for Electrical & Decorative Uses)
Copper and brass are specialty metals. They look great and have unique physical traits.
Copper is an excellent conductor of heat and electricity. Brass is spark-proof and resists tarnishing. Both metals are soft, making them very easy to crush into a tight joint.
- Best for: Use copper for electrical appliances or roofing details. Use brass for gas appliances or decorative leather goods.
How to Choose the Right Rivet for Your Project
Picking the proper rivet is a science. It all starts with the hole you drill.
As a rule of thumb, your drilled hole should typically be 0.003 to 0.008 inches (about 0.1 to 0.2 mm) larger than your rivet diameter. If the hole is too tight, the rivet won’t fit. If it is too big, the joint will be weak and eventually fail.
Once your hole size is dialed in, use these three steps to pick the appropriate fastener.
Do You Have Access to Both Sides of the Metal?
This is your first filter. Look at your project. Can you reach behind the metal sheets?
If you can easily reach both sides, use a solid rivet. It gives you the most strength. If the back is closed off—like a metal tube or a sealed box—you must use a blind (pop) rivet.
How to Measure Rivet Grip Range
A rivet is useless if it is too short or too long. You need to know your “grip range.”
Grip range is the total thickness of all the metal sheets you are joining together.
- If the rivet is too short, the tail won’t flare out enough to lock the metal.
- If the rivet is too long, it will leave a loose, rattling joint.
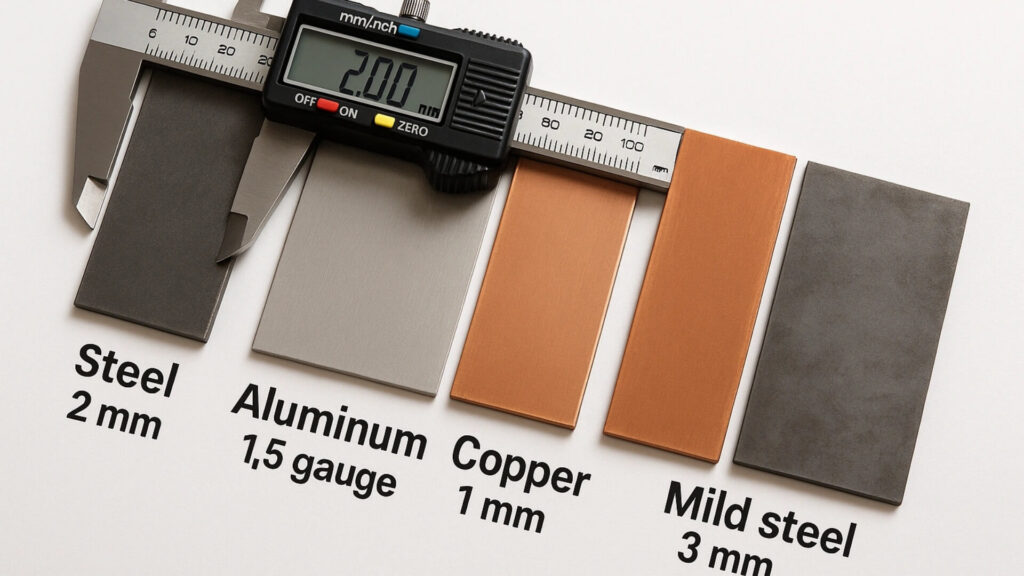
Always measure your total metal thickness with calipers. Then, buy a rivet with a grip range that covers that measured number.
How to Prevent Rust and Galvanic Corrosion in Rivets
Mixing dissimilar metals in electrical contact and in the presence of an electrolyte triggers galvanic corrosion, an electrochemical process that rapidly degrades the less noble metal. A physical barrier that electrically insulates the metals prevents this reaction.
Just last year, a client came to ShincoFab with a failed prototype they had built elsewhere. They had used copper rivets on an outdoor aluminum enclosure. Within three months, the aluminum around the rivets had oxidized and crumbled. We had to redesign the entire assembly.
Follow these simple rules to keep your project safe:
- Match your metals: This is a fundamental rule. Use aluminum rivets on aluminum sheets, and steel rivets on steel sheets.
- Avoid mixing copper and aluminum: If you put a copper rivet in an aluminum sheet, the aluminum will rapidly corrode.
- Use a barrier: If you must mix different metals, put a barrier between them. A simple rubber washer or a coat of paint can stop the chemical reaction.
What Tools Do You Need to Install Rivets?
The appropriate tool saves your hands and speeds up your work.
Hand Riveters vs. Pneumatic Guns vs. Hammers
Your tool choice depends largely on the rivet you picked and how many you need to install.
- Hammers: If you are using solid rivets or drive rivets, a standard hammer is often all you need. For solid rivets, you will also need a heavy metal block (called a bucking bar) to support the back. It is cheap, but it requires physical effort.
- Hand Riveters: For blind (pop) rivets, a manual hand squeezer is suitable for small jobs. They are generally inexpensive, often costing around $15 to $30. But beware: squeezing 50 rivets by hand will leave your forearms tired.
- Pneumatic Guns: If you are doing serious manufacturing, buy an air-powered rivet gun. You pull a trigger, and the air pressure does the heavy lifting. It costs more upfront, but it saves you hours of manual labor.
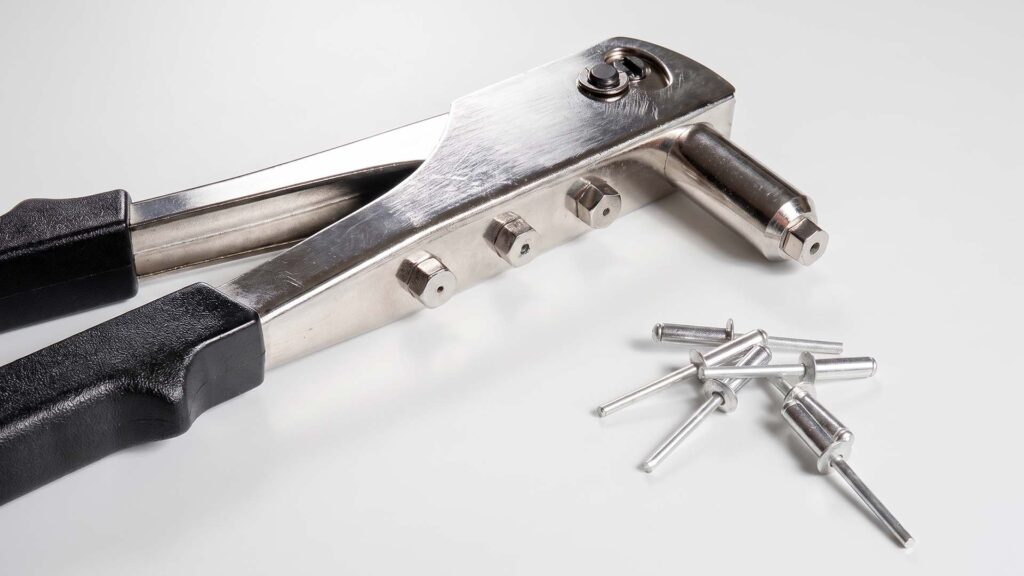
How to Calculate Rivet Tool Clearance
Here is a rookie mistake I see all the time, especially when junior designers submit CAD files to our engineering team at ShincoFab. People drill a hole right next to a metal wall or deep inside a tight corner.
The rivet fits, but the rivet gun doesn’t.
During our DFM (Design for Manufacturing) reviews at ShincoFab, we constantly have to send files back because designers forget that rivet guns have bulky heads. If you don’t leave enough space around the hole, the tool cannot sit flat against the metal. If the tool is tilted, the rivet will install crooked and the joint will be weak.
Measure the nose of your rivet gun. Leave at least an inch of clearance around your hole. This helps ensure your tool fits and your rivet installs straight.
Why Riveted Joints Fail
A riveted joint is designed to be permanent. But if you make a mistake during installation, that joint will eventually break.
Knowing why rivets fail helps you build stronger parts. Here are the three most common culprits.
Common Causes of Rivet Failure
- Hole Elongation: This happens when your drilled hole is too big. The rivet shifts back and forth under stress. Over time, the round hole stretches into an oval, and the joint gets sloppy.
- Over-Compression: More force is not always better. If you smash a solid rivet too hard, you can crack the metal sheet or the rivet itself.
- Mandrel Pull-Through: This is a common blind rivet failure. If your metal is too soft or the hole is too wide, the pin (mandrel) pulls completely through the rivet body instead of snapping off. It leaves a hollow, useless joint.
How to Visually Inspect a Rivet Joint
You don’t need specialized tools to check your work. Use your eyes and your hands.
Run through this quick checklist after you install a rivet:
- Is the head flat? The rivet head should sit flush against the metal. If there is a gap, your tool was likely tilted during installation.
- Does it spin? Try to twist the rivet with your fingers. A secure rivet will not move. If it spins, your hole was too big or your grip range was incorrect.
- Are there cracks? Look closely at the crushed tail. If you see tiny cracks, the metal was too brittle or you used excessive force.
Catching these errors early saves you from structural failures down the road.
How to Make a Riveted Joint Watertight
Pro Tip: Standard rivets have a significant vulnerability when it comes to weather. They can leak.
Solid rivets can leave microscopic gaps between the metal sheets. Blind rivets are often worse. Because the center pin snaps off, it leaves a hollow tube right through the middle of your joint. If you are repairing a metal roof or fixing an aluminum boat, water will find its way in.
However, you can waterproof your work using specific techniques.
Using Closed-End Rivets and Sealants
If you want to keep water out, you need to change your hardware and add a barrier.
Here is how you do it:
- Buy Closed-End Rivets: Instead of a standard hollow pop rivet, buy a closed-end blind rivet. The bottom of the rivet is sealed like a tiny cup. When the pin snaps, water cannot travel through the center.
- Use Rubber Washers: Slide a small rubber or neoprene washer onto the rivet before you push it into the hole. When you compress the rivet, the rubber squishes down and seals the gap under the head.
- Apply Marine Sealant: For enhanced protection, dab a little bit of silicone or marine sealant into the drilled hole before inserting the rivet. The sealant fills any tiny scratches in the metal and provides long-lasting moisture protection.
How to Safely Remove a Rivet Without Damaging Your Metal
Rivets are designed to be permanent. But mistakes happen.
Maybe you installed it crooked, or maybe you need to replace a damaged panel. You can’t unscrew a rivet; you have to destroy it. Prying it with a screwdriver will gouge your sheet metal.
How to Drill Out a Rivet in 3 Steps
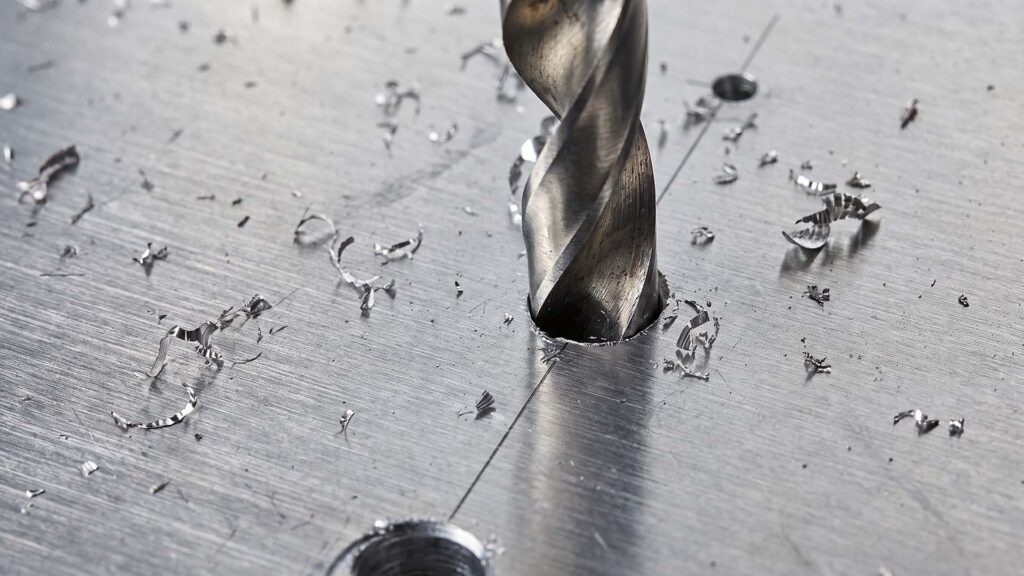
One of the safest ways to remove a rivet is to drill it out. It is fast, clean, and safe for the material.
To safely remove a rivet without damaging your metal, you must drill through the center of the rivet head using a matching drill bit and punch out the remaining tail:
- Step 1: Pick the right drill bit. Find a drill bit that matches the size of the rivet’s shaft (not the wider head). If you use a bit that is too big, you will widen the hole and damage your metal.
- Step 2: Drill the center. Place the drill bit tip into the rivet head’s center dimple. Apply slow, steady pressure. The drill cuts through the head.
- Step 3: Pop off the head. Once the drill bites through the head, the head will usually snap off and spin on your drill bit. Stop drilling immediately. You can now use a small punch tool to tap the remaining tail out the back of the hole.
Your metal is now unharmed. The hole is intact and ready for a fresh rivet.
When Should You Use PEM Hardware Instead of Rivets?
Drilling out a few rivets by hand is easy enough for a weekend project. But if you are building a product at scale, manual riveting will significantly inflate your labor costs.
This is exactly why, at ShincoFab, we actively transition our clients’ projects to self-clinching fasteners (like PEM® hardware) once their orders cross the 1,000-unit mark.
Once your production run crosses 1,000 units, switching from manual pop rivets to automated PEM hardware saves an average of 40% to 60% in labor costs.
When to Use Press-Fit Nuts and Standoffs (PEM Hardware)
Self-clinching fasteners (often called PEM hardware) are a major manufacturing upgrade from rivets.
An automated press forces the PEM fastener into the sheet metal. The sheet metal cold-flows into the fastener’s retaining groove. The displaced metal locks the fastener permanently in place.
Here is when you should make the switch:
- Press-Fit Nuts: Use these when you need strong, reusable threads in thin metal. Unlike a rivet, you can bolt and unbolt parts as many times as you want.
- Standoffs: Use these to mount circuit boards or create a fixed gap between two metal panels.
- The Benefit: They sit flush on one side of the metal. Your final product looks clean and professional.
Blind Rivets vs. PEM Nuts: Cost Comparison
A single blind rivet is cheaper than a single PEM nut. If you are building five metal boxes in your garage, stick with rivets.
But at 1,000 parts, the math flips.
Manual riveting requires a worker to align the parts, insert the rivet, and squeeze the gun. It takes time. It also leaves room for human error. PEM hardware is installed using automated presses. The machine punches the fastener straight in a fraction of a second.
You pay slightly more for the fastener itself, but you can reduce your labor time by up to 50%. Plus, your failure rate drops significantly.
Sheet Metal Riveting FAQs
Here are the direct answers to the most common sheet metal fastener questions:
What is the strongest rivet for sheet metal?
Typically, the strongest rivet for sheet metal is a solid steel rivet, offering high shear and tensile strength due to its solid, non-hollow shaft. If you only have access to one side of the metal, a heavy-duty structural blind rivet is the strongest alternative. Solid steel rivets are ideal for bridges and airplanes, while structural blind rivets are used for enclosed metal frames.
Do I need a rivet or a rivet nut?
You need a standard rivet for permanent joints, and a rivet nut if you need to bolt and unbolt removable panels. A standard rivet creates a permanent, vibration-resistant seal, while a rivet nut leaves behind reusable threads in thin metal.
- Choose a standard rivet if: You want a permanent, vibration-resistant joint that you will rarely need to open.
- Choose a rivet nut if: You need to attach a removable panel, a bracket, or a hinge. It gives you reusable threads in thin metal. This allows you to use a standard bolt to assemble and disassemble your project anytime.
Conclusion
Rivets might seem like a small detail, but they hold your entire project together. Treating them as an afterthought is a quick way to waste time, ruin materials, and inflate your labor costs.
Whether you are using an aluminum pop rivet for a weekend repair or upgrading to automated PEM nuts for a mass production run, the rules remain the same. Match your fastener to your metal to prevent rust, drill a properly sized hole, and leave enough room for your tools.
Take the time to plan your fasteners before you start cutting metal. When you choose the appropriate rivet from the start, you get a clean, professional joint that provides long-term durability. Now, grab the right tools and start building.