As a manufacturing expert who has quoted and built thousands of parts, I see the same expensive mistakes every day.
Most people think raw material is what drives up sheet metal costs. It isn’t. The real profit-killers are secondary manual labor, machine downtime, and shipping empty air. If you want to save money, you need to treat sheet metal like origami. Maximize folding and ruthlessly eliminate manual steps.
In this guide, I will show you exactly how to slash your sheet metal fabrication costs. You will learn how to set up your CAD files, pick the most cost-effective materials, design for the machines, avoid expensive welding, and cut your freight bills.
Here is how to protect your budget from start to finish.
1. Start with Smart Planning & Quoting (Phase 1: Strategy & Setup)
Let’s start before a single piece of metal gets cut. The true cost of sheet metal isn’t the metal itself. It is secondary manual labor and machine setup time. Here is how to set yourself up for success from day one.
Beware the Rule of 10
In manufacturing, every mistake you miss multiplies in cost. This is a foundational concept in quality management, often referred to by organizations like the American Society for Quality (ASQ) as the Cost of Poor Quality (COPQ) or the Rule of 10.
- Fixing a bad bend in your CAD software costs $1 of an engineer’s time.
- Finding that bad bend on the factory floor costs $10 in wasted metal and machine downtime.
- If that bad part makes it to your final assembly line? It costs $100 to fix and replace.
Catch mistakes early. It is the easiest money you will ever save.
Clean Up Your CAD Files Before Quoting
When you send a messy 3D model to a fabricator, their engineers have to fix it. They must link broken edges and figure out how your part unfolds into a flat sheet. Guess who pays for that time? You do.
To avoid this, do the prep work yourself.
- Export clean, ready-to-unfold flat patterns.
- Use standard, universal formats like STEP or DXF files.
- Remove extra assembly details that the manufacturer doesn’t need to see.
By doing this, you save valuable engineering hours, accelerate your quote turnaround time, and eliminate unexpected file preparation surcharges from your final invoice.
Know Your Volume Break-Even Point
Are you making 50 parts or 50,000? Your order size completely changes how your parts should be made.
Standard laser cutting and press-brake forming are great for small batches. You don’t have to buy expensive molds. But as your order grows, the slow machine time starts to eat into your profits.
So, when should you switch to hard stamping?
- The break-even point usually sits between 5,000 and 10,000 parts.
- At this volume, paying a large upfront fee for a hard stamping die actually becomes cheaper.
- Stamping punches out parts in seconds, drastically lowering your cost per part.
Know your target volume early so you don’t overpay for slow manufacturing.
Beware of Fake Custom Fees
Not all fabrication shops are equal. Some will charge you a premium for specialized work that should actually be a standard process.
Take large radius bump-forming. An outdated shop might struggle to make a large curve. They will charge you extra for the manual labor and time it takes them to figure it out. A modern shop has automated software and CNC machines that handle large curves easily as a standard process.
If a supplier slaps a massive specialty setup fee on a feature, ask them why. You might just be paying for their outdated equipment.
2. Pick the Right Materials (And Don’t Overpay) (Phase 2: Material & Yield)
The cost of raw metal adds up quickly. Here is how to get the best material for your budget.
A Quick Material Cost Breakdown
To keep things simple, here is a quick cheat sheet for material costs:
- Cold-Rolled Steel (SPCC): The baseline. It is cheap and strong. But it rusts easily, so you must paint or coat it.
- Aluminum (5052/6061): The middle ground. It is lighter and doesn’t rust, but generally costs roughly twice as much as steel.
- Stainless Steel (304/316): The luxury option. It looks great and survives harsh weather. But it can cost three times more than standard steel and takes longer to cut. Only use it if you truly need it.
Check What Your Fabricator Has in Stock
Ask your fabricator what they already have on their floor.
Special ordering a specific metal alloy sounds great in CAD. In reality, it means you pay premium shipping fees. You also get hit with long delays while you wait for a truck to arrive. If your design allows it, use their on-hand steel or aluminum.
Stick to Standard Metal Thickness
Metal comes in standard sizes. Do not reinvent the wheel here.
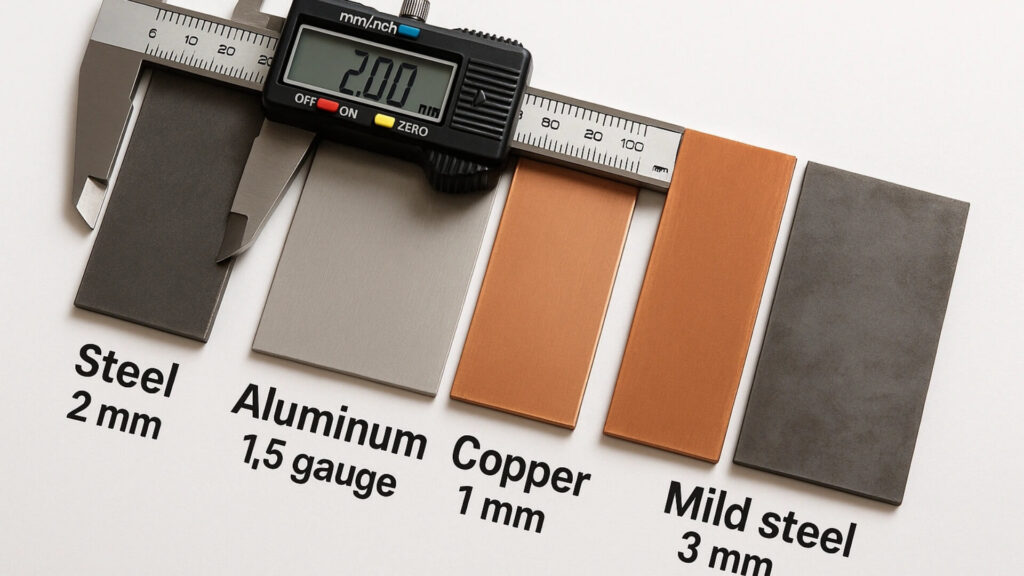
If you design a part that requires a weird, custom thickness, you are asking for trouble. Suppliers will hit you with minimum order quantities. You will pay a custom fee, and you will wait weeks for the metal to arrive. Always stick to common sheet metal gauges (like 11-gauge or 14-gauge).
Maximize Your Nesting Efficiency
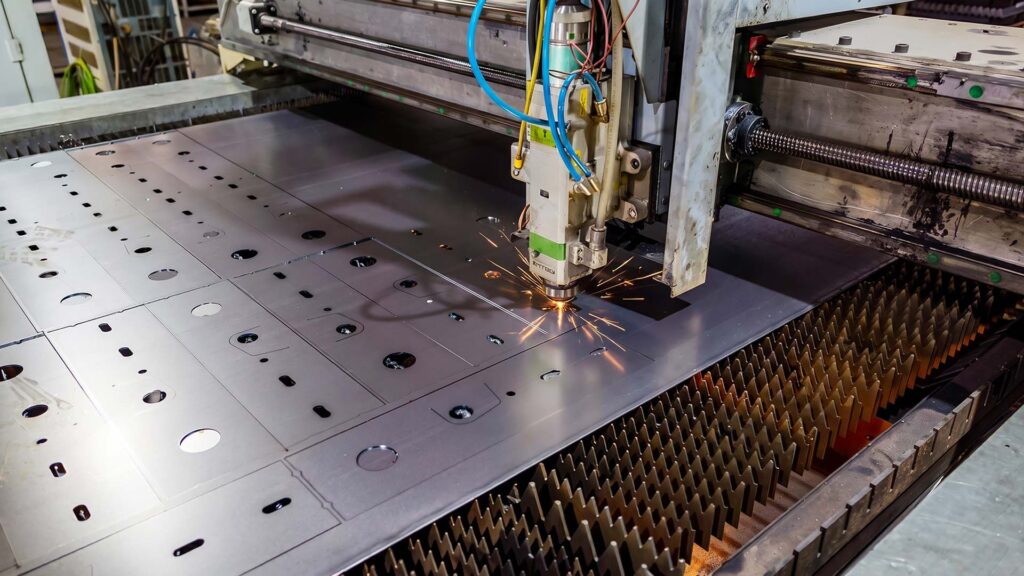
Imagine baking cookies and throwing away half the dough. That is what bad nesting does to sheet metal.
Nesting is how your flat parts are arranged on a standard 4×8 sheet of metal. You want a high Material Utilization Rate (MUR). A poorly nested sheet wastes up to 35% of your metal. A software-optimized layout cuts that waste down to just 10%.
If you are cutting large panels out of 1/8-inch aluminum, that 25% gap can easily cost you thousands of dollars in pure scrap for every 1,000 parts you order.
3. Optimize Your Design for the Machines (Phase 3: Cutting & Shaping)
Your material is picked. Now it is time to shape it. Machine time is expensive. Here is how to keep your parts moving fast.
Keep Your Bends Simple and Consistent
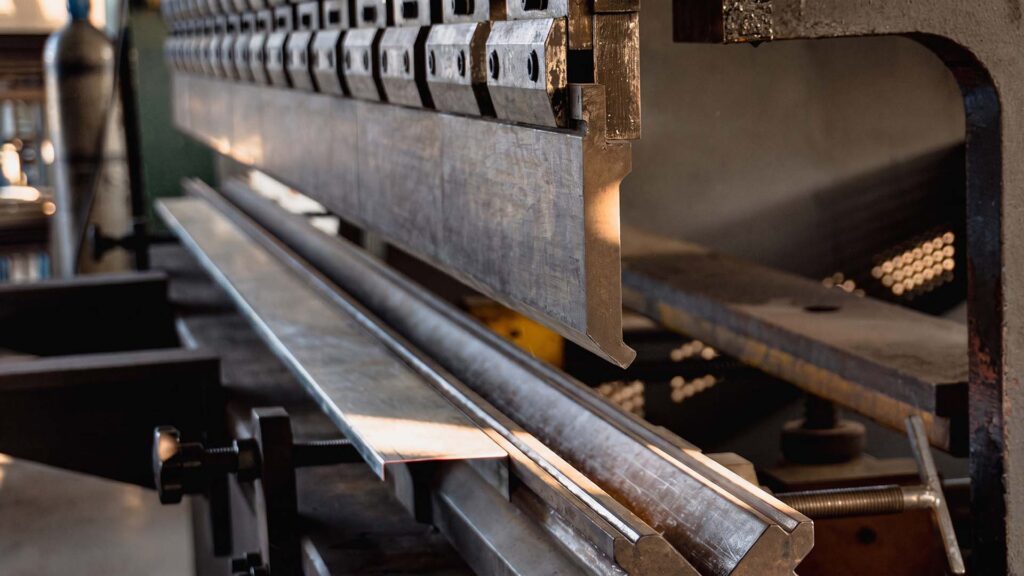
Whenever possible, keep all your bends pointing in the same direction. The machine operator won’t have to constantly stop and flip a heavy piece of metal.
Also, use the same bend radius across the entire part. Every time an operator stops a press brake to swap out a V-die for a non-standard bend radius, it adds 20 minutes of dead downtime. Assuming an average shop rate of $120 an hour, that single tool change costs you $40 in setup fees.
Keep your radii standard. Keep your bends uniform.
Loosen Up Your Tolerances
Do not ask for perfection if you don’t actually need it.
The standard tolerance for sheet metal is ±0.030”. This is plenty accurate for most parts. If you shrink that down to an ultra-tight ±0.005” just to be safe, you will pay dearly.
Specifying that tight ±0.005” tolerance can increase your scrap rate by up to 20%. It also adds strict QA inspection time per batch. You end up throwing away good metal and paying for extra labor, which can easily double your unit cost.
Simplify Cutouts and Use Standard Hole Sizes
Instead of cutting twenty tiny vent holes, cut one large rectangular slot. Avoid blind holes entirely. They are a nightmare to machine in sheet metal.
Always use standard hole sizes. If you design a standard 0.250″ hole, the fabricator can use a common punch tool and stamp it out instantly. If you ask for a custom 0.263″ hole, they have to custom-cut it or buy a special tool.
Combine Parts to Cut Down on Work
It is always cheaper to fold one piece of metal than to cut two separate pieces and join them together later. Can two separate brackets become a single folded part? If the answer is yes, combine them. You instantly eliminate extra cutting, handling, and assembly steps.
4. Rethink Assembly, Finishing, and Long-Term Use (Phase 4: Putting it together)
Assembly and finishing are where labor costs spiral out of control. Here is how you keep those costs locked down.
Avoid Welding Whenever Possible
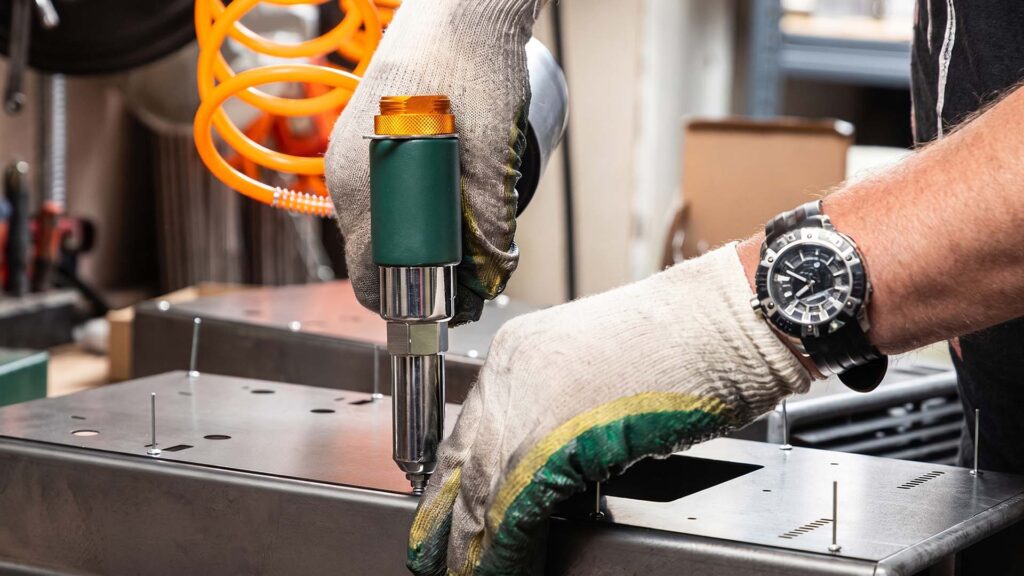
Welding destroys your budget. It requires highly paid manual labor. It also warps the metal and leaves ugly marks, which means you have to pay someone else to grind it smooth.
Avoid it whenever you can. Instead, use rivets, interlocking sheet metal bends, or press-in PEM fasteners.
Let’s look at the numbers. Assuming a skilled welder costs $80 an hour, five inches of manual TIG welding and post-weld grinding takes about 15 minutes—costing roughly $20 in labor per part. In contrast, punching four holes and pressing in four standard PEM nuts on an automated machine takes about 45 seconds. That costs under $2.
Manage the Risks of Not Welding
Skipping the weld introduces new challenges. You might worry about vibration loosening the joints or water leaking through the seams.
How do you fix this? For heavy vibration, specify structural blind rivets or use thread-locking fluids on your bolts. If your part needs a waterproof seal, design a groove for a cheap rubber gasket or apply an industrial sealant during assembly. You get the strength and seal of a weld, without the massive labor bill.
Be Smart With Paint and Finishes
When it is time to paint your part, keep it simple. Standard powder coating is almost always cheaper and much faster than wet paint.
Stick to common colors like standard black or white. If you demand a custom Pantone color, the shop has to stop production and completely clean their powder coat booth just for your batch. You will pay a hefty batch-changeover fee for that privilege.
Think About Future Repairs (Modular Design)
Let’s say you build a massive, single-piece welded enclosure. If a forklift dents it in the field, your customer has to throw the whole thing away and buy a new one.
Instead, design your product in smaller, bolted-together modules. If a side panel gets crushed, you just unbolt it. You ship them a cheap replacement panel, and everyone saves money.
5. Don’t Forget the Hidden Logistics Costs (Phase 5: Getting it out the door)
Your parts are finished. They look great. But now you have to ship them. If you ignore how your product fits on a truck, freight charges will eat your profit margin alive.
Design for Flat-Pack Shipping
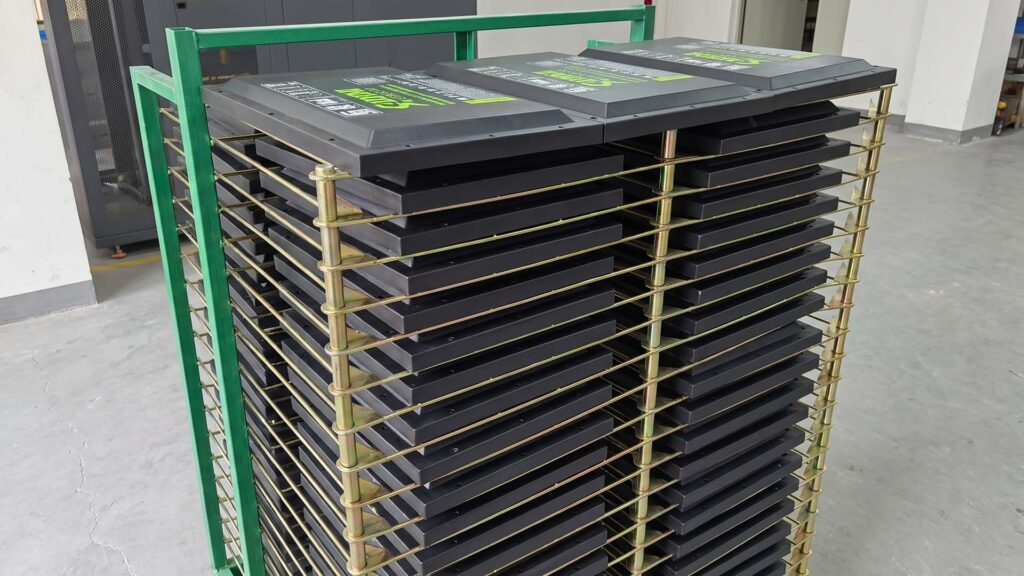
Shipping empty air is incredibly expensive. If you design large, awkward parts that can’t stack, you pay for the empty space inside the box.
Let’s look at a volumetric freight example, driven by dimensional (DIM) weight pricingused by major carriers. Imagine you are shipping 500 server-sized (24×24 inch) metal enclosures cross-country:
- If they are fully welded boxes full of empty air, they take up two entire semi-trucks. That freight bill could easily hit $4,500.
- If those same 500 boxes are designed as flat-pack, bolted-together panels, they stack densely onto just two standard wooden pallets. Your shipping cost drops to roughly $400.
You saved thousands of dollars simply by moving the final assembly to the delivery site.
Stop Paying for Wasted Time (Conclusion)
Cutting your sheet metal costs doesn’t require a miracle. It just requires a shift in how you think.
Stop focusing only on the price of raw steel or aluminum. Start hunting down wasted machine time, expensive manual labor, and inefficient shipping. If you treat your designs like origami, your profit margins will soar.
The easiest way to put these tips into practice is to work with a fabricator who actually cares about your bottom line. At ShincoFab, our team looks for these exact cost-saving opportunities every time we quote a sheet metal project. We want to help you build better parts for less.
Before you finalize your next design, take a step back. Review your CAD files, standardize your bends, and rethink your assembly. Your budget will thank you.
Frequently Asked Questions (FAQ)
What is the average cost of a custom sheet metal part?
It depends heavily on your volume and design. A simple folded bracket might cost $3 to make in bulk. A fully welded, custom-painted enclosure could cost $150. The biggest factor is always machine setup time versus order volume.
Why is my prototype so much more expensive than my bulk order?
You are paying for the machine setup time. Let’s say a shop charges $100/hr, and it takes two hours to program and set up the laser cutter and press brake. That $200 fixed cost is divided by your order size. If you order one prototype, that part costs $200 plus materials. If you order 500 parts, that setup fee drops to just $0.40 per part.
Powder coating vs. wet paint: which is cheaper?
Powder coating is almost always cheaper and faster. It requires less prep work, dries instantly, and the process is highly automated. Wet paint requires specialized skills, long drying times, and costs much more in labor.
What is the cheapest metal to use for fabrication?
Cold-rolled steel is generally the cheapest option per pound. However, it will rust if left untreated, so you must factor in the secondary cost of plating, painting, or powder coating to protect it.