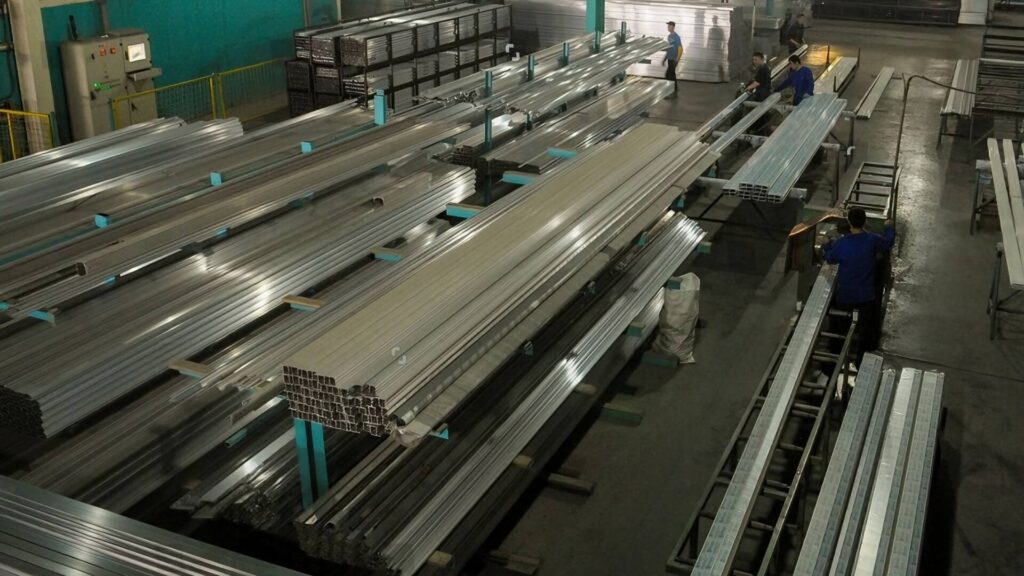
I have spent years on the sheet metal fabrication floor at ShincoFab, designing, laser-cutting, and troubleshooting industrial electrical panels. I have seen firsthand what happens when a client sends us a layout for a box that is simply too small. It leads to melted wires, ruined equipment, and thousands of dollars in wasted redesigns. I want to help you avoid that pain.
In this guide, I will show you how to choose the right electrical enclosure size without wasting money or space.
You will learn the secret to reading misleading catalog dimensions, the hidden features that steal your room, and five simple steps to calculate your ideal fit based on actual manufacturing tolerances. By the end of this article, you will know how to properly size your box so your gear stays cool, safe, and easy to fix.

How to Calculate Electrical Enclosure Size
To calculate the right electrical enclosure size, map out your internal components on a sub-panel layout. Add 6 to 8 inches for the wire bend radius, leave 20% to 30% empty space for heat dissipation, and account for internal hardware like hinges that reduce usable space.
Why Getting the Right Size Matters
Sizing your enclosure correctly saves time and prevents expensive redesigns. In our factory, steel and empty space are cheap. Overheating electronics, cramped maintenance, and asking us to fabricate a replacement for an undersized panel are very expensive.
That is why it is a best practice to design your electrical enclosure from the inside out.
What actually happens if you guess wrong and pack a box too tight? It gets ugly fast. Here is what we typically see when clients send failed enclosures back to our shop:
- VFDs trip on high heat: Electronics generate heat. Without empty space for air to flow, that heat gets trapped. Your drives will overheat and shut down.
- Ruined door seals: Thick wires take up a lot of room. If bulging wires press hard against the closed door, they will warp the polyurethane weather seal we inject into the door frame. Now water and dust can easily get in.
- Fire hazards: Shoving too many cables into a tight space forces them against hot components or sharp internal brackets. OSHA electrical hazards guidance warns that faulty fixed wiring, old wiring, and problems with cords, plugs, receptacles, and switches can all cause electrical fires. This is a serious safety risk.`
Buying an enclosure that is one size larger is the cheapest insurance policy you can get.
How to Read Electrical Enclosure Dimensions
When you look at an enclosure catalog, the big bold numbers can trick you. Manufacturers list the outside dimensions. But you do not care about the outside. You only care about the usable space inside.
Internal vs. External Enclosure Dimensions
When a catalog says a box is 12×12 inches, that is just the outer shell. You do not actually get 12×12 inches of working room.
As fabricators, we know why: the inside space is inherently smaller because of the bending and welding processes.
Consider a standard 24x20x10 NEMA 4X box. On the outside, it looks roomy. But on the inside, you lose about 2 inches of height and width, plus 1.5 inches of depth.
Why? Because when we fold the door returns on our CNC press brakes, add heavy-duty welded hinges, and install waterproof seals, those features eat up that space. Your 10-inch deep box is suddenly only 8.5 inches deep. If your equipment needs exactly 10 inches of clearance, that door will not close.
Don’t Forget the Back Panel
This is one of the most critical measurements we warn our clients to check before ordering.
You do not screw your circuit breakers and PLCs directly to the outside wall of the enclosure. You mount them to a galvanized metal back panel (or sub-panel) inside the box.
This back panel we cut for you is typically smaller than the enclosure itself.
- A 24×20 inch box does not have a 24×20 inch back panel.
- To allow for mounting studs and edge clearance, the panel is usually closer to 22×18 inches.
If your part layout requires 24×20 inches of mounting space, your parts will hang off the edge of the panel. Ensure you base your math on the back panel size, rather than the outside box size.
What Factors Reduce Internal Enclosure Space?
Several physical features steal your space before you even mount a single part.
Weatherproofing (NEMA and IP Ratings)
If your box goes outside, it needs a high NEMA or IP rating to keep water out, as outlined in the NEMA enclosure type definitions.
High-rated enclosures use thick, heavy rubber gaskets. These waterproof seals push deep into the door frame. When you close the door, that thick gasket compresses right into the area where you thought you had free room.
Box Material: Sheet Metal vs. Plastic
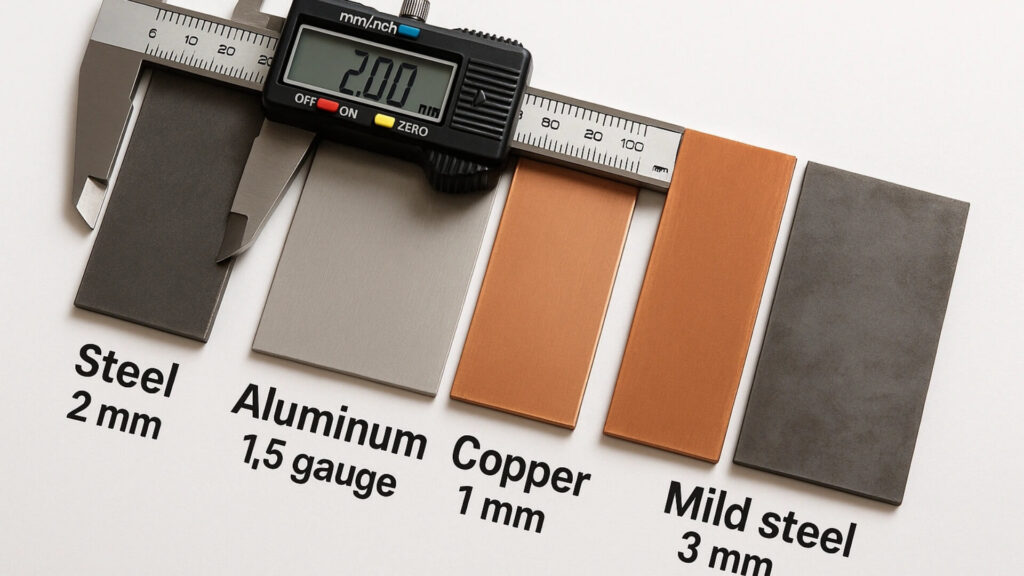
The material you choose changes your internal volume. Because we specialize in sheet metal fabrication, we see this contrast often. Metal is incredibly strong. A carbon steel or stainless steel enclosure can have very thin walls (like 14-gauge) and still take a beating, maximizing your internal space.
Plastic is different. To make a polycarbonate or fiberglass box strong enough for industrial use, the manufacturer has to make the walls much thicker, leaving noticeably less room inside compared to a metal box of the same outer dimensions.
Here is a quick comparison of how material choice affects your enclosure:
| Feature | Sheet Metal Enclosures | Plastic Enclosures |
|---|---|---|
| Wall Thickness | Very thin (e.g., 14-gauge) | Thick (to maintain structural integrity) |
| Internal Usable Space | Maximized | Noticeably reduced |
| Durability | High impact resistance | Strong, but requires bulkier walls |
Hinges, Locks, and Screws
Hardware is the biggest space thief. You might think you have a wide-open box, but look closely at the spec sheet.
You will quickly find things in your way:
- Folded metal edges (door returns) sticking inward.
- Thick welded hinges taking up the corners.
- Internal lock mechanisms swinging into your cable paths.
- Metal mounting studs welded to the back wall.
All of these pieces can block a tall relay or pinch a thick wire. Checking the technical drawing (or asking your fabricator) to see where this hardware sits is highly recommended.
5 Steps to Calculate Your Perfect Box Size
Follow these five steps to accurately calculate your electrical enclosure size:
Step 1: Map Out Your Parts
Start with a blank layout. Grab a piece of paper or use a digital CAD tool.
Draw out your major components. Include your circuit breakers, PLCs, relays, and power supplies. Get the width, height, and depth of each part. Place them on your layout as closely as possible to how they will be mounted.
Step 2: Make Room for Your Wires & The Wire Bend Radius Rule
Wires take up more space than many anticipate. You generally cannot run thick power cables in straight lines.
Thick wires struggle to make sharp 90-degree turns. If you force them, the insulation may crack or the connection could fail. They need a wide, sweeping curve. This is often described as bend radius and bending space. As recognized by NFPA 70 (National Electrical Code), cable routing and conductor bending must be handled in a way that avoids damage and maintains code-compliant installation clearances.

Because of this, the thickness of your incoming cables dictates how deep and tall your enclosure must be.
- For example, if you bring heavy 4/0 AWG power cables through standard knockout holes at the bottom of the box, you typically need at least 6 to 8 inches of clear, empty space just for the bend.
- If you mount your parts too close to the bottom, those cables will not fit.
Step 3: Give Your Gear Room to Breathe
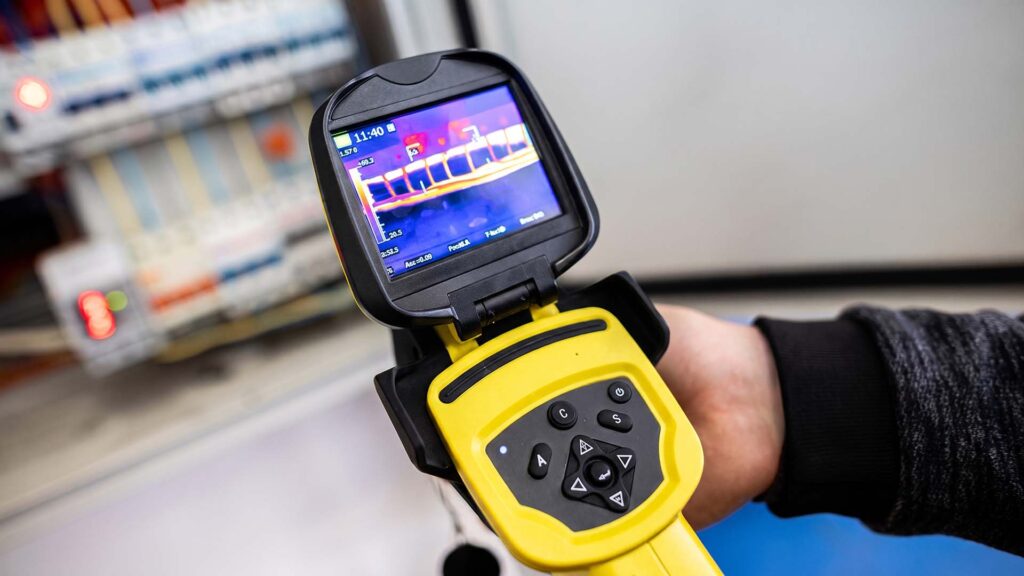
Electronics generate heat. Heat degrades electronics. You need to leave 20% to 30% of the box empty so air can circulate.
Let me give you a real-world example from a client project. A factory’s 5HP Variable Frequency Drive (VFD) kept overheating and tripping in a tight 16×16 inch box. We fabricated a new 20×16 inch enclosure for them using the exact same component layout.
That little bit of extra breathing room dropped the internal temperature by 15°F. The tripping stopped immediately.
Step 4:Factor in Your Mount Type and Door Swing Clearance
Where is this box going? A small wall-mount box has different rules than a heavy floor-standing cabinet.
However, a major trap here involves neglecting door swing clearance. People often size a box perfectly for the wall, but forget about the walkway in front of it.
If you buy a cabinet with a heavy 36-inch wide metal door, you need 36 inches of empty aisle space to comfortably open it. If your walkway is narrow, that door will hit a wall or a machine. The easy fabrication fix? We often recommend building an enclosure with double doors so each side only swings out 18 inches.
Step 5: Account for Maintenance Access and Future Expansion
Your math is almost done. Now, you must account for practical maintenance access. Imagine a part breaks in two years. Can a technician comfortably fit their hands and a screwdriver inside to swap that part? If they scrape their knuckles against the steel walls or wires, your box is too small.
Finally, plan for future upgrades. We recommend leaving at least 20% of your back panel blank. You will likely need to add an extra relay, terminal block, or breaker down the line. It is incredibly cheap to buy a bigger box today. It is very expensive to rip out and replace a crowded panel next year.
Common Standard Sizes You Will See
Here is a quick cheat sheet of common standard NEMA enclosure sizes (Height x Width x Depth in inches) and their typical applications:
| Standard Size (H x W x D) | Typical Applications |
|---|---|
| 16 x 16 x 8 | Ideal for small junction boxes or single VFD setups. |
| 20 x 16 x 8 | Good for compact control panels with minor wire routing. |
| 24 x 20 x 10 | The industry workhorse for standard PLCs and moderate control panels. |
| 30 x 24 x 12 | A solid mid-sized option offering more depth for taller components. |
| 36 x 30 x 12 | Common for larger industrial automation systems and heavy cable routing. |
Navigating Between Standard Sizes
Here is a very common problem. Your math says you need roughly 22 inches of space. But the catalog only sells a 20-inch box or a 24-inch box. What do you do?
Sizing down is typically only safe if you lack major heat-generating parts, use highly flexible wires, and have no future expansion plans. Otherwise, size up to 24 inches. Risking a fire hazard is simply not worth the minor cost savings.
When Should You Pay for a Custom Size?
Sometimes standard sizes just do not work. Maybe you have a weird, narrow wall space, or your massive cable bundles are simply too thick for a standard box.
Stop trying to force a fit. It might be time to order a custom enclosure.
If you buy from a traditional distributor, ordering a custom-sized enclosure can cost 30% to 50% more and add 3 to 4 weeks to your lead time.
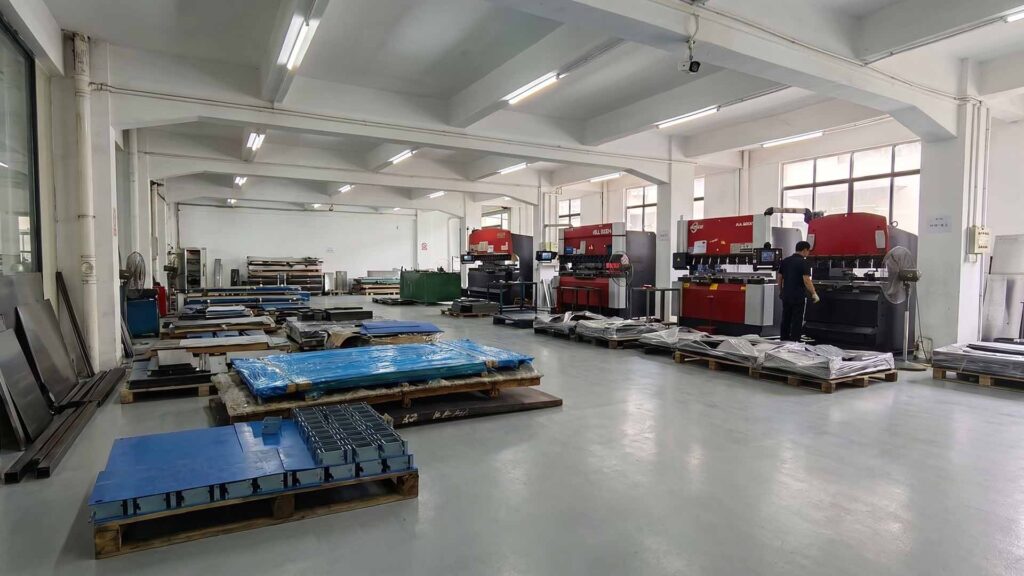
However, when you work directly with a sheet metal fabrication factory like ShincoFab, the rules change. Because we run the laser cutters and press brakes on-site, adjusting a dimension by 2 inches doesn’t require a massive supply chain overhaul. If you have a specific space constraint, getting a custom box built directly by the manufacturer is often faster and more cost-effective than you think.
Conclusion
Choosing the right enclosure size does not have to be a guessing game. If you design from the back panel out and leave room for wires, heat, and future upgrades, you will save yourself a lot of headaches.
If your math tells you that a standard size will not work, or if you just need some advice on a custom fit, we can help. At ShincoFab, our sheet metal fabrication factory builds custom electrical enclosures from raw steel to finished product every day.
We know how to efficiently turn your layout into a box that actually works on the factory floor. Reach out to us with your dimensions, and let’s get your gear properly protected on the first try.