Key Takeaways: Sheet Metal Finishes & Design Tips
- The 3 Finish Categories: Mechanical (brushing/blasting) alters the surface; Chemical (anodizing/passivation) builds a shield; Coatings (powder/plating) add an external layer.
- The Tolerance Trap: Coatings add material. Powder coating shrinks holes by up to 0.01 inches. Ensure you explicitly mask threaded holes on your 2D drawings.
- Beat the Faraday Cage: Sharp 90-degree corners reject powder coating. Add a 0.5mm radius to external edges to help prevent corner rust.
- Plan Your Hanging Points: Design a dedicated hanging hole on the B-side (hidden side) of your part to avoid unsightly clamp marks during coating.
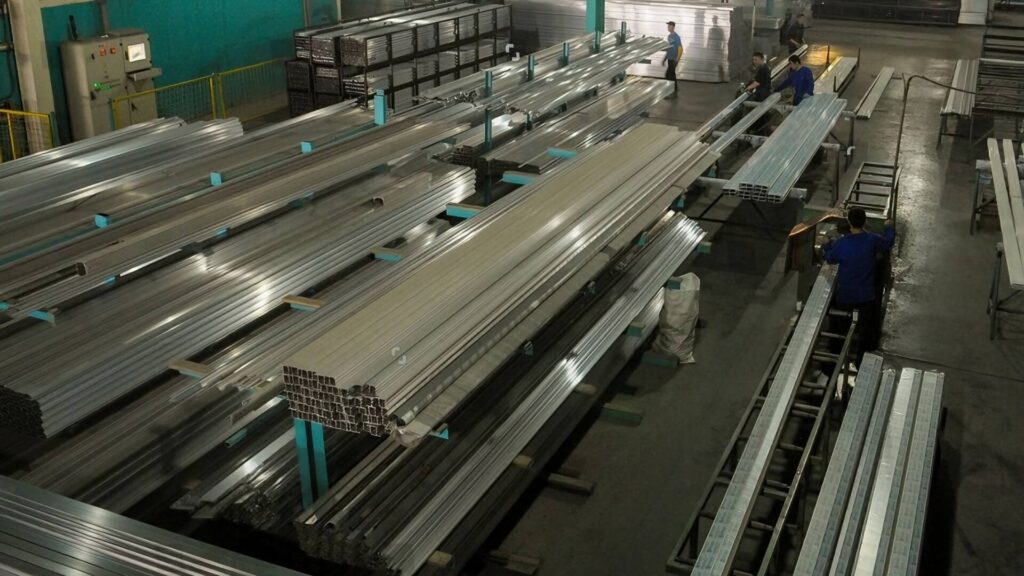
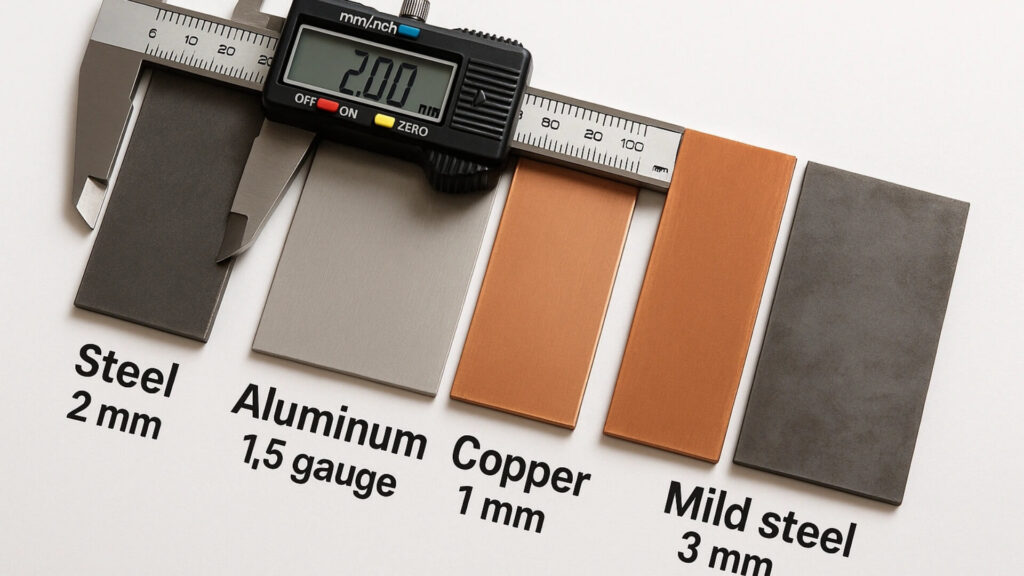
Your sheet metal finish is a physical dimension, not just a paint job. Whether you are dealing with CNC machining or large-scale manufacturing, it is critical to choose it before you finalize your CAD drawings. If you wait until the end, you risk your parts not fitting together during assembly.
Sheet metal finishing is the final step for a fabricator, applying mechanical, chemical, or physical layers to alter the metal’s surface for durability and aesthetics.
ShincoFab Real-World Case Study: The $45,000 Mistake
In more than 10 years on the ShincoFab production floor, I see this mistake result in significant financial losses. Just last year, a client in the renewable energy sector lost $45,000 and delayed their product launch by three months. They treated their finish as an afterthought and picked a basic indoor standard epoxy powder coating for an outdoor solar inverter chassis.
Within weeks, the metal corroded in the field because it lacked a zinc-primer base coat. They had to recall the units, scrap the entire batch, and start from scratch.
You do not want to make that mistake. A good finish protects your investment, provides corrosion resistance, and delivers professional aesthetic finishes. But you have to plan for it from day one.
What Are the Main Categories of Metal Finishes?
There are three main categories of sheet metal finishes: mechanical, chemical, and coatings. Mechanical finishes physically alter the raw metal surface. Chemical finishes change the metal’s top layer to build a protective shield. Coatings add a brand-new protective layer, like powder or zinc, over the part.
Mechanical Finishes (Physically Changing the Surface)
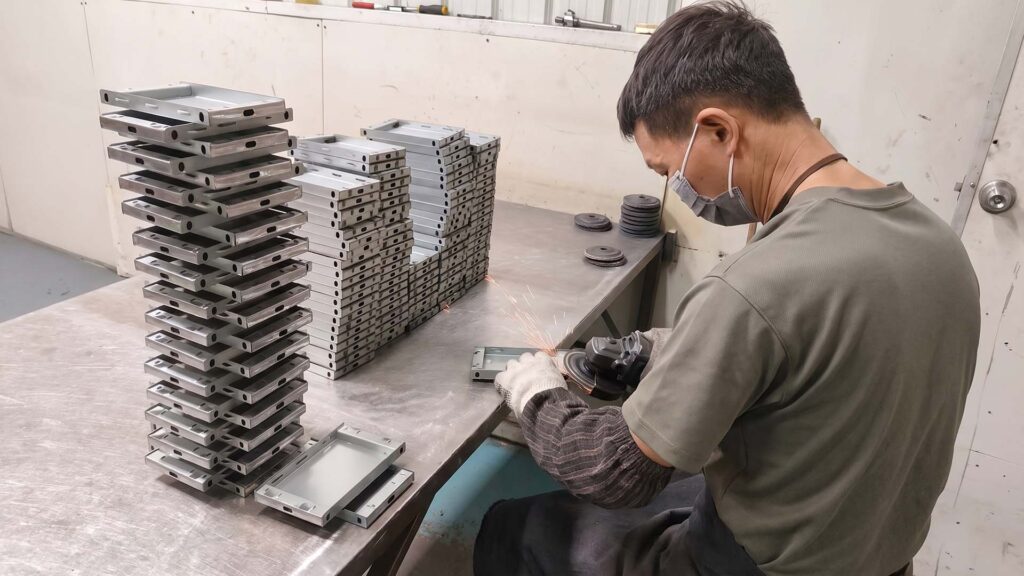
A mechanical finish is a surface treatment characterized by the use of physical force to rub, blast, or polish raw metal. These methods smooth out rough, dangerous edges left over from cutting. They also do a great job of hiding minor scratches.
- Brushing: Brushing is a mechanical finish characterized by a uniform grain applied to the metal. It is great for hiding fingerprints.
- Sandblasting: Sandblasting is a mechanical finish characterized by a smooth, matte surface created by shooting tiny glass beads or sand at the part.
- Polishing: Polishing is a mechanical finish characterized by a high shine created by actively rubbing the metal.
Chemical & Electrochemical Finishes (Changing the Metal Itself)

A chemical finish is a surface modification characterized by altering the metal itself to build a protective shield using chemistry.
- Anodizing: Anodizing is an electrochemical finish characterized by a hard, colorful oxide layer grown on metal—primarily aluminum—using electricity.
- Passivation: Passivation is a chemical finish characterized by an acid bath that restores stainless steel’s natural rust-fighting power by stripping away hidden dirt and iron.
- Chromate Conversion (Alodine): Chromate conversion is a chemical finish characterized by a protective layer on aluminum that provides corrosion resistance while maintaining electrical conductivity.
Coatings and Plating (Adding a Protective Layer)
A coating is a protective layer characterized by adding brand-new material on top of the raw part. Think of it like a heavy-duty raincoat for your metal.
- Powder Coating: Powder coating is a protective finish characterized by baked, dry plastic powder. It is incredibly tough and resists chipping.
- Painting: Liquid painting is a protective finish characterized by a wet applied layer, which is affordable and great for exact color matching.
- Galvanizing: Galvanizing is a coating process that bonds molten zinc to steel. The zinc sacrifices itself to rust so your steel part stays safe.
Here is a quick comparison of the most common finishes to help you decide:
| Finish Type | Best For | Relative Cost | Durability |
|---|---|---|---|
| Brushing/Polishing | Aesthetics and hiding minor scratches | Low to Medium | Low |
| Anodizing | Aluminum parts needing corrosion/wear resistance | Medium to High | High |
| Passivation | Medical and food-grade stainless steel | Low | Medium |
| Powder Coating | Outdoor parts requiring tough, colorful coats | Medium | Very High |
| Liquid Paint | Exact custom color matching | Low | Medium |
| Galvanizing | Heavy-duty outdoor steel protection | Low to Medium | High |
How Do You Choose the Right Sheet Metal Finish?
Choosing a finish does not have to be a guessing game. Follow these six steps to get it right.
Step 1: Match the Sheet Metal Finishing Process to Your Alloy.
Finish compatibility varies by metal. For example, anodizing is primarily used for aluminum. But even then, nuances matter. On our anodizing line, we notice that 6061 aluminum yields a highly consistent, beautiful color, while 7075 aluminum can sometimes look patchy due to its higher zinc content. We recommend checking what treatments work with your specific alloy grade first.
Step 2: Look at the Environment
Where will this part live? You need to pick a finish that fights the specific elements your part will face.
- For standard outdoor exposure: Go with powder coating or galvanizing to resist rain and UV rays.
- In harsh coastal environments: You need heavy-duty plating or marine-grade paint to withstand salty ocean air.
- For sterile medical facilities: Passivation keeps stainless steel sanitary by dissolving surface free iron to promote a robust chromium-oxide film, meeting stringent ASTM A967 or aerospace specifications.`
Step 3: Think About Wear and Tear
Does your part move? Will other parts rub against it?
What is the most durable sheet metal finish? Type III hardcoat anodizing (for aluminum) and thick nickel plating or powder coating (for steel) are among the most durable finishes available.
If your part requires high abrasion resistance, a standard paint job will chip right off. Choose a hard coat for heavy friction to give your moving parts the surface hardness they need to survive.
Step 4: Pick Your Look and Feel
How do you want the final product to look? The right finish makes your part look professional.
- Choose liquid paint or powder coating for bright, custom colors.
- Select sandblasting for a sleek, non-reflective matte finish.
- Opt for manual polishing for a mirror-like shine.
Step 5: Understand the Cost Multipliers
Which sheet metal finish is the most cost-effective? Leaving a part as bare metal and just rounding the sharp edges is typically the most affordable option. If you need an applied layer, basic liquid paint or simple mechanical sanding are generally economical choices.
But what is the actual price jump from a basic finish to a premium one? Upgrading gives you better protection, but costs scale with complexity. Let’s look at a real example. On a run of 1,000 parts, moving from basic liquid paint to a highly durable anodized finish can often increase your finishing costs by 30% to 50%, depending on part geometry and masking requirements. You pay more upfront, but you reduce long-term lifecycle costs by preventing premature field failures.
Step 6: Watch Out for Hidden Lead Times
Your finish choice can easily derail your schedule.
Which finishes can be done in-house fast? Basic brushing, sanding, and powder coating are often done under your fabricator’s roof. But what if you want specialized electroplating? That usually requires a specialty vendor. Shipping your parts to a third-party shop can add two to three weeks to your lead time.
Prototyping vs. Mass Production: Which Finish Makes Sense?
How many parts are you making? Your scale completely changes your finishing strategy.
If you are building a single prototype, keep it simple. You are just testing to see if the design actually works. Avoid over-specifying premium hardcoats unless functional wear testing is required. A raw finish, basic sanding, or a quick coat of spray paint is generally all you need. It is fast and helps keep initial R&D costs low.
But mass production is a different story.
If you are ordering 10,000 units, a raw finish may lack a premium commercial appearance. Manual polishing can become cost-prohibitive at scale. You need consistency, durability, and speed. This is when you switch to automated electroplating or a tough powder coat. These automated processes give you a uniform look across thousands of parts without slowing down the factory.
The Tolerance Trap: Will This Finish Make My Part Too Big?
You picked your finish. You finalized your design. But did you account for the thickness of that finish?
If you did not, you are in the tolerance trap. Adding a finish means adding actual material to your part. A hole machined to exact bare-metal tolerances can easily become too small after it gets coated.
How much thickness does a finish actually add? Let’s look at the numbers:
| Finish Type | Added Thickness |
|---|---|
| Electroplating | 5 to 25 microns (0.0002 to 0.001 inches) |
| Powder Coating | 60 to 120 microns (0.002 to 0.005 inches) |
This might sound like a tiny amount. But remember, a coating covers every surface. If you powder coat the inside of a hole, it adds 0.005 inches to the left side and 0.005 inches to the right side. Consequently, your precision-cut hole just shrank by a full 0.01 inches.
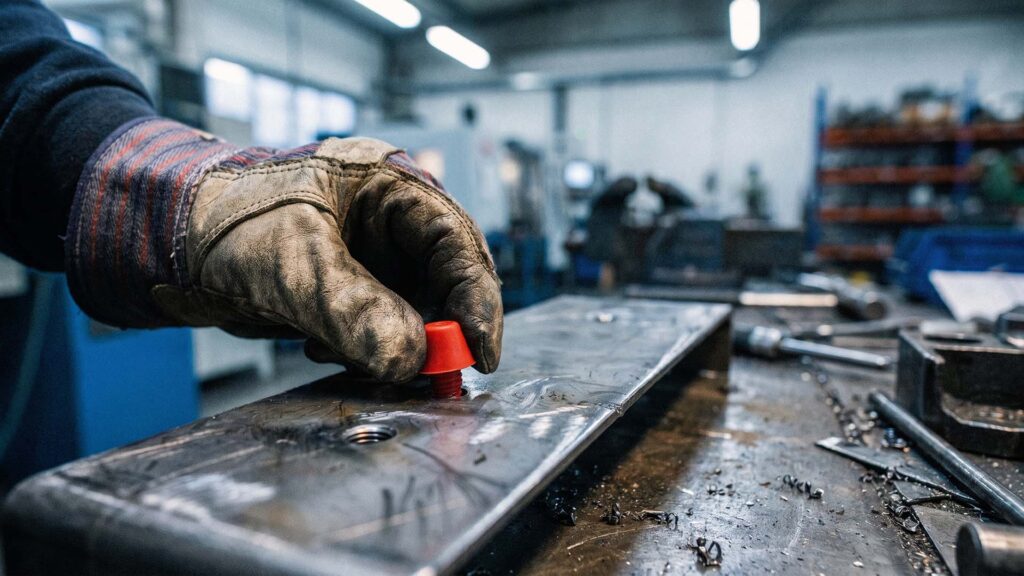
This is a nightmare for threaded holes or PEM hardware. As a result, if you don’t account for this, our assembly team has to manually run a tap through every single hole to clean out the cured powder, which results in costly secondary manual operations.
To prevent this, adjust your CAD files and 2D drawings before you cut the metal:
- Use masking for threads: Instruct your fabricator to mask threaded holes. At ShincoFab, we use high-temp silicone plugs during powder coating to keep threads clean and functional.
- Mask for electrical grounding: Coatings like powder coat act as electrical insulators. If your assembly needs to ground electrical components, you must specify functional masking areas to maintain electrical conductivity on the bare metal.
- Use precise 2D drawing callouts: Do not leave your finish up to interpretation. Clearly call out the finish on your 2D CAD drawings using exact industry standards (such as ASTM D3451 for powder coating testing or exact RAL Classic system color codes) to give engineers the exact process and thickness required.`
Why Do Sheet Metal Finishes Fail?
When powder coats peel or expensive plating flakes off, bad surface prep or flawed part design usually causes these failures.
First, let’s look at surface prep. If your metal has oil, dirt, or laser scale on it, the finish will not stick. Proper cleaning and blasting give the coating a clean surface to grab onto. But even the cleanest metal will fail if your design is flawed.
From the ShincoFab QC Lab: The Faraday Cage Effect
A batch of steel enclosures recently failed the 500-hour ASTM B117 salt-spray test. Rust appeared almost immediately, but only on the corners. This highlights a well-known industry reality: static continuous salt fog (ASTM B117) has poor correlation to real-world atmospheric conditions and often exaggerates edge-coverage failures that happen when powder coats pull away from sharp radii during curing. To prevent this, always specify edge rounding or a zinc-rich primer in your DFM (Design for Manufacturing) guidelines.
The coating was not the problem. The sharp, 90-degree edges were the problem. As powder coat cures, surface tension (and a phenomenon known in our industry as the Faraday Cage effect) pulls the material away from sharp corners, leaving the metal practically bare. The fix was simple: we went back into the CAD file and added a small 0.5mm radius to external edges. The next batch passed the rust test successfully.
Fabrication shops have to hang your parts on wire racks to spray or dip them. We routinely ask our clients to identify the A-side (cosmetic side). If you do not design a tiny, hidden hole for that hook, the shop will have to clamp the part. That clamp will leave an ugly bare spot. Adding a dedicated hanging hole on the B-side (hidden side) effectively prevents this issue.
Conclusion
Choosing a sheet metal finish should not be an afterthought. It is a core part of your engineering process.
Lock in your finish early. Make the choice while you are still building your CAD model. If you wait until the metal is already cut, you risk incurring costly rework or scrapping non-compliant parts.
Talk to your manufacturing partner before you finalize your design. Here at ShincoFab, we regularly help designers adjust tolerances, fix sharp edges, and pick the optimal coating for their specific project needs.
Do not leave your final product to chance. If you need expert guidance on custom sheet metal fabrication finishes, reach out to our engineering team at ShincoFab today. We’ll review your CAD files for tolerance traps and hanging points before a single piece of sheet metal gets cut.