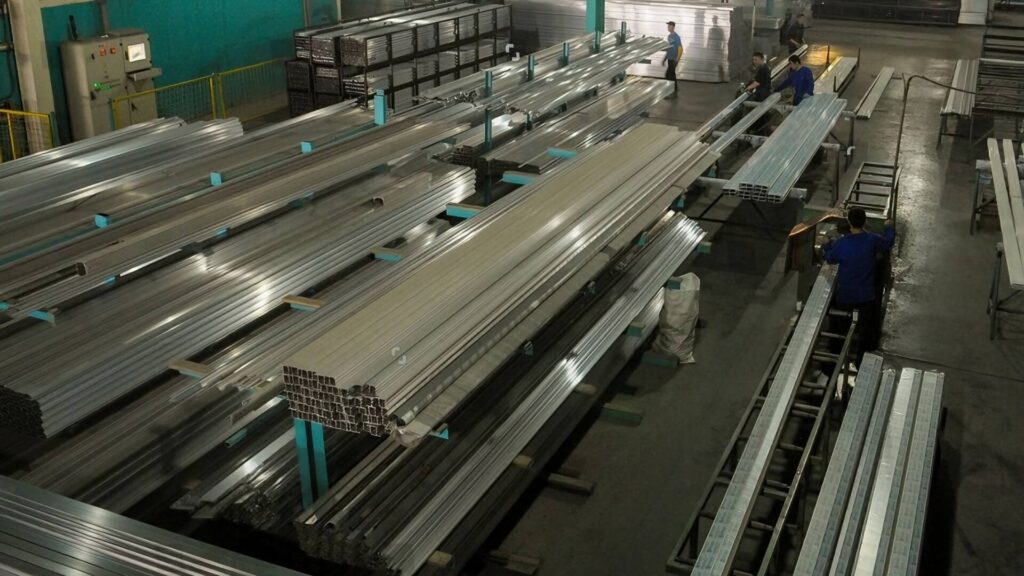
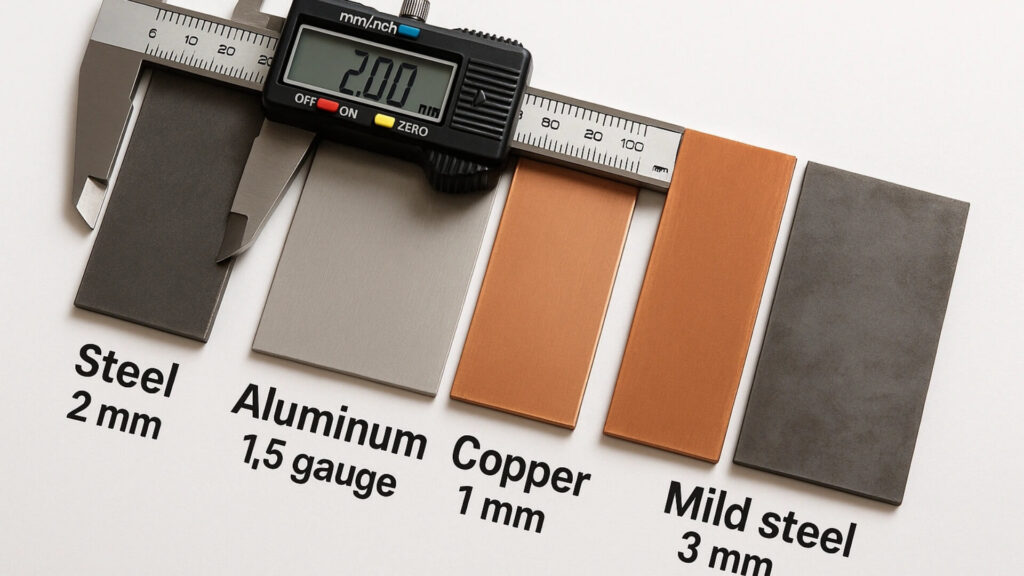
At our sheet metal fabrication factory, I have seen too many junior fabricators waste hours grinding off bad tack welds. Early on, before we standardized our assembly lines, we ruined a lot of expensive stainless steel and aluminum sheets due to minor misalignments. That stopped when we made Cleco fasteners mandatory on our shop floor.
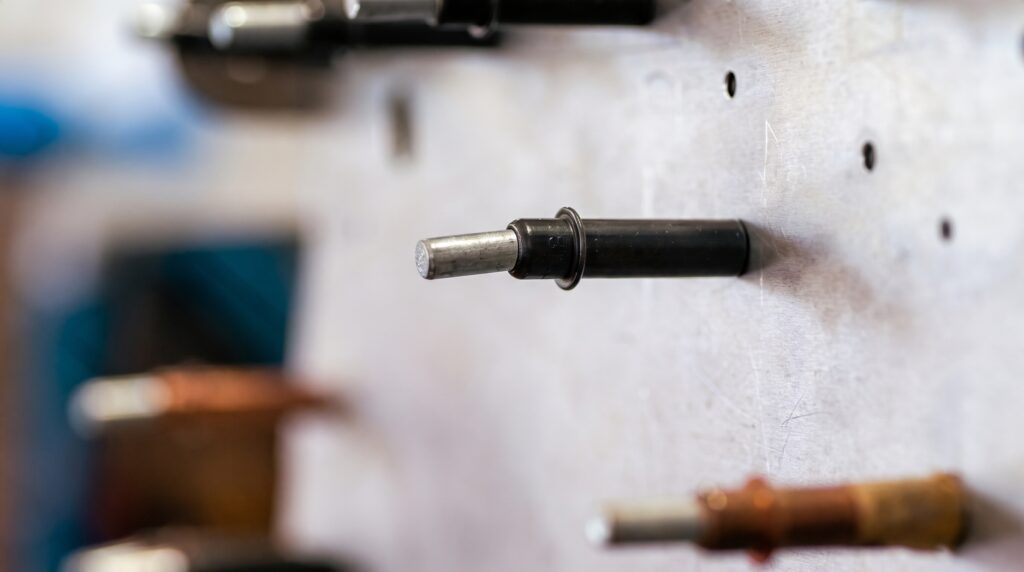
A Cleco fastener is a reusable, temporary blind rivet used in sheet metal fabrication to hold panels in precise alignment before final welding or riveting.
If you are tired of parts shifting while you work, you are in the right place. In this quick guide, I am going to explain how we practically use them daily in professional fabrication. I will show you the simple color-coding system we teach our apprentices, break down the real costs compared to traditional clamps, and share three rookie mistakes that cost real money on a production line. By the end of this read, you will know how to hold your materials securely in place so you can build like a pro.
What Exactly is a Cleco Fastener?
Imagine you are building a metal box. You need to hold two sheets of metal firmly still before you weld or rivet them.
A Cleco fastener is a small, reusable tool that temporarily locks materials together so you can finish your final assembly.
These fasteners were developed and validated for aerospace applications. Today, they are widely used in custom metal fabrication shops, composite laboratories, and auto body repair bays.
Today, they are widely used. You will find them in custom metal fabrication shops, carbon fiber labs, and auto body repair bays.
Here is my advice from running a factory floor. A lot of people think Clecos are only for giant aerospace facilities. They are mistaken. Whether you run a high-volume manufacturing shop or do serious DIY auto work, these tools are essential. You have to stop relying on clumsy C-clamps that slip, slide, and scratch up your finished surfaces (a nightmare for quality control).
If you run a small shop or do DIY auto work in your garage, these tools are essential. You have to stop relying on clumsy C-clamps that slip, slide, and scratch up your work.
A basic Cleco starter kit is highly affordable. I promise you, it will pay for itself on your very first project by helping prevent ruined materials.
In fact, trying to save a few bucks by skipping Clecos is likely costing you money right now.
Why Should You Use Cleco Fasteners?
Let’s talk about the real cost of your time and materials. A lot of builders use quick tack welds to hold parts together. But what happens if your alignment is off by just a millimeter?
In our shop, a bad tack weld on a custom 500-piece enclosure batch means grabbing a grinder, damaging the surface finish, and wasting at least 10 minutes per piece. Snapping in a Cleco takes just a few seconds. Over an entire shift, that translates to hours of saved labor and virtually eliminates scrapped sheet metal.
But what happens if your alignment is off by just a hair?
You have to grab your grinder and fix it. Grinding off a bad tack weld easily wastes 10 minutes of your time. Snapping in a Cleco takes just a few seconds.
Over an entire project, that is hours of saved labor.
If you are worried about the price, don’t be. Here is a general estimate of what you might expect to spend (prices vary by brand and retailer):
- DIY Starter Kits: A basic kit with special pliers and a handful of Clecos typically starts around $30 to $50.
- Bulk Orders: If you run a shop, buying in bulk is more cost-effective. A pack of 100 generally ranges between $50 and $80 depending on the brand.
You also need a tool to install them. Your choice comes down to how much work you actually do:
- Manual Pliers: If you only place a few dozen Clecos at a time, the standard manual pliers work great.
- Pneumatic Guns: If you install hundreds of Clecos a day like our assembly line workers do, your hands will cramp up fast. It may be time to invest in a pneumatic (air-powered) Cleco gun. Quality models often start around $60 to $80, and they do the hard work for you.
Clecos clearly save you time and money.
Cleco Fasteners vs. The Alternatives
You probably already have a drawer full of clamps and welding tools. You might wonder why you need to buy something new. Here is a quick breakdown of how Clecos beat your traditional setup:
| Alternative Tool | The Problem / Risk | The Cleco Advantage |
|---|---|---|
| C-Clamps & Vises | Heavy, bulky, and easily slip off curved or awkward shapes. | Locks directly into a tiny drilled hole for a solid grip anywhere on the metal. |
| Tack Welding | Intense localized heat easily warps thin sheet metal. | Holds materials tightly together using zero heat, ensuring an accurate fit. |
| Magnets | Attracts grinding dust and easily slides if nudged. | Provides a mechanical, locked-in grip that is highly resistant to shifting. |
(Note: The table above replaces the previous bulky H3 sections, making it much easier for readers to quickly grasp the value proposition.)
Types of Cleco Fasteners (And When to Use Them)
There are three main styles of Clecos you need to know. Picking the wrong one can easily compromise your project. Use this guide to choose the right option for your specific build:
| Cleco Style | Best Used For | Installation Tool | Material Capacity / Limit |
|---|---|---|---|
| Standard Spring-Loaded | Thin sheet metal and fast, repetitive jobs. | Manual Pliers or Pneumatic Gun | Holds up to 1/4 inch of total material thickness. |
| Hex-Nut | Thicker materials requiring massive clamping force. | Wrench | Clamps up to 1/2 inch of material or more. |
| Side-Grip | Clamping the outer edges when you cannot drill holes. | Manual Pliers | Acts like a heavy-duty clothespin; limits vary by size. |
The Cleco Color-Coding System Explained

You just drilled a hole in your metal. But how do you know which Cleco will fit correctly?
Because of standard aerospace manufacturing practices, identifying the right size takes seconds. Every standard Cleco is painted a specific color on the end. Print this quick cheat sheet out and keep it right next to your toolbox:
| Cleco Color Code | Drill Hole Size (Inches) |
|---|---|
| Silver | 3/32″ |
| Copper | 1/8″ |
| Black | 5/32″ |
| Brass | 3/16″ |
How to Use a Cleco Fastener in 5 Easy Steps

You have the right size and style picked out. Now it is time to actually use them. Follow these five steps to properly install a Cleco fastener using manual pliers.
- Step 1: Prep and clean your materials. Wipe down your metal sheets. You want clean, smooth surfaces before you join them together.
- Step 2: Drill your pilot holes. Line up your pieces how you need them. Then, drill a clean hole straight through both layers of material.
- Step 3: Insert the fastener. Grab your Cleco pliers and grip the back of the fastener. Squeeze the handle to shrink the inner jaws, slide the tip through your hole, and let go. It will rapidly expand and secure the metal.
- Step 4: Join your parts. Your metal is tightly secured. You can now safely weld your seams, solder the joints, or drive in your permanent rivets.
- Step 5: Remove the Clecos. Use your pliers to squeeze the fastener one last time. Pull it out of the hole, and toss it back in your toolbox for your next project.
3 Rookie Mistakes to Avoid When Using Cleco Fasteners
Clecos are easy to use, but we still see beginners damage good metal when they rush. Make sure you avoid these three common QA (Quality Assurance) failures:
- Leaving burrs on drilled holes: When you drill sheet metal, it leaves small sharp burrs around the hole. If they are not removed, they can interfere with proper fit-up between parts. In our factory, deburring a hole before inserting a Cleco is a strict requirement.
- Using the wrong size: Do not force a large fastener into a hole that is too small. You will stretch and damage the soft metal. When it comes time to place your final rivet, the hole will be too sloppy.
- Over-tightening hex-nut Clecos: Hex-nut Clecos give you a massive amount of clamping power. However, that power can crack delicate materials like carbon fiber. Tighten them just enough to hold the piece firmly, and then stop.
How to Clean and Maintain Your Clecos (And When They Fail)
Clecos are tough, but they are not invincible. Like any tool, they will eventually wear out. Here is what you need to know about when they fail and how to prevent it.
How and Why They Fail
The most common problem is shop debris. If metal shavings or dust get stuck inside the cylinder, which is a daily hazard in any fabrication plant, the jaws will jam. The other main issue is the internal spring. On our production lines, where a single pneumatic gun might fire a thousand times a week, the spring will eventually lose tension or snap.
But don’t worry. You will get plenty of work out of them before that happens.
- The Real Cost-Per-Use: A high-quality reusable temporary fastener is designed for repeated use in assembly work. With a single standard Cleco costing only a small amount, the actual cost per use becomes extremely low. That makes it a cost-effective choice for sheet metal fabrication
Easy Maintenance Tips
You can easily stretch out that lifespan with a little basic care. Treat them right, and they will last for years.
- Watch out for weld spatter: Keep your Clecos away from flying sparks. If hot weld spatter melts onto the cylinder, the tool is permanently damaged.
- Oil the springs: Put a single drop of light machine oil inside the cylinder every few months. This keeps the spring moving smoothly and prevents nasty rust.
Conclusion
Building with metal doesn’t have to be a frustrating guessing game. By using Cleco fasteners, you ensure a highly accurate fit without worrying about heat warping, metal shavings ruining your magnetic grips, or slipping clamps.
Whether you are tinkering in your home garage or working on the floor of a professional sheet metal factory like ShincoFab, these tools are a must-have. They save you time, protect your materials, and provide excellent value per use.
Stop wasting your weekends grinding off bad tack welds. Grab a basic starter kit, drill a few pilot holes, and see just how easy precise alignment can actually be.