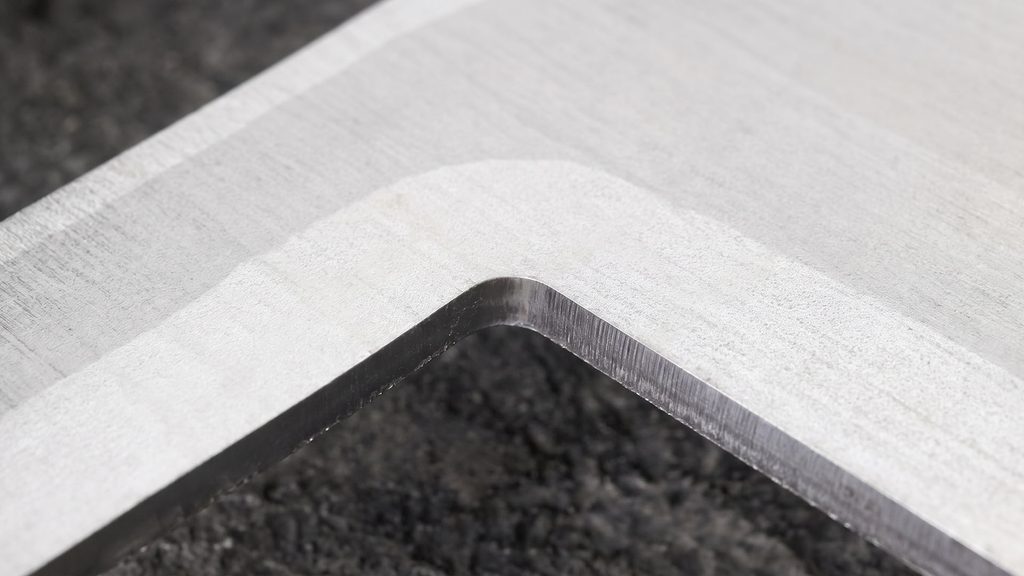
What is deburring in sheet metal fabrication? Deburring is the process of removing the sharp, jagged edges (known as burrs) left behind on metal parts after they are cut, punched, or bent.
If you just finished cutting a batch of parts and are dealing with these dangerous edges, this step is your solution. At ShincoFab, we process thousands of custom sheet metal parts every week. Whether it is 304 stainless steel coming off our laser cutters or aluminum panels from our CNC punch presses, I have seen firsthand how ignoring a tiny metal flake can destroy a client’s expensive assembly. That is why on our factory floor, deburring is not just an optional finishing step—it is the baseline for quality control.
In this guide, I will share our shop-floor experience on what deburring is, why you cannot skip it, and how we handle it at ShincoFab to ensure safety and precision.
What Exactly Is Deburring?
Deburring is a post-processing technique used to clean up a metal part after it is cut or machined. When you cut, punch, or bend a piece of metal, it rarely comes out with perfectly safe edges. This process removes dangerous sharp edges and leftover material so the part is smooth, safe to handle, and ready for powder coating or assembly.
What Are Burrs? (And Where Do They Come From?)
Think of a time you cut a piece of wood with a saw and saw splintery edges left behind. In sheet metal fabrication, those jagged edges are called burrs.
Burrs are tiny, unwanted pieces of material. Even with our high-end Amada fiber lasers at ShincoFab, slight burrs are a natural side effect of the thermal cutting process. The laser melts the metal, and as it blows the molten material away, some of it cools and clings to the bottom edge.
The 5 Common Types of Burrs
In our sheet metal shop, the specific defect we encounter depends on the cutting machine used. Here is a quick summary of the five most common burrs, what causes them, and the machines that create them.
| Burr Type | Common Cause | Typical Machine |
|---|---|---|
| Rollover Burrs | Material bends and curls over the edge | Press Brakes, Shears |
| Poisson Burrs | Metal bulges outward under heavy pressure | Cutting Tools |
| Tear Burrs | Material rips apart at final stage of punching | CNC Punch Presses |
| Cut-off Burrs | Leftover micro-joint tabs from snapped parts | Laser Cutters |
| Thermal Burrs (Dross) | Melted metal cools and hardens on the edge | Plasma, Laser Cutters |
Detailed Breakdown from Our Shop Floor:
- Rollover Burrs: Common when we bend or shear metal. The material bends and curls over the edge instead of cutting cleanly.
- Poisson Burrs: The metal gets squashed under the heavy pressure of a cutting tool and bulges outward.
- Tear Burrs: We see this jagged edge most often when using CNC punch presses on thicker sheet metal. The material rips apart at the final stage of the punch.
- Cut-off Burrs: The leftover tab of material (micro-joints). We use these tabs to keep parts from falling through the laser bed, but they leave a small bump when the part is snapped out.
- Thermal Burrs (Dross): Melted metal that cools and hardens on the edge. This is our daily battle when plasma or laser cutting thick steel plates.
Why You Can’t Skip Deburring (The Big Benefits)
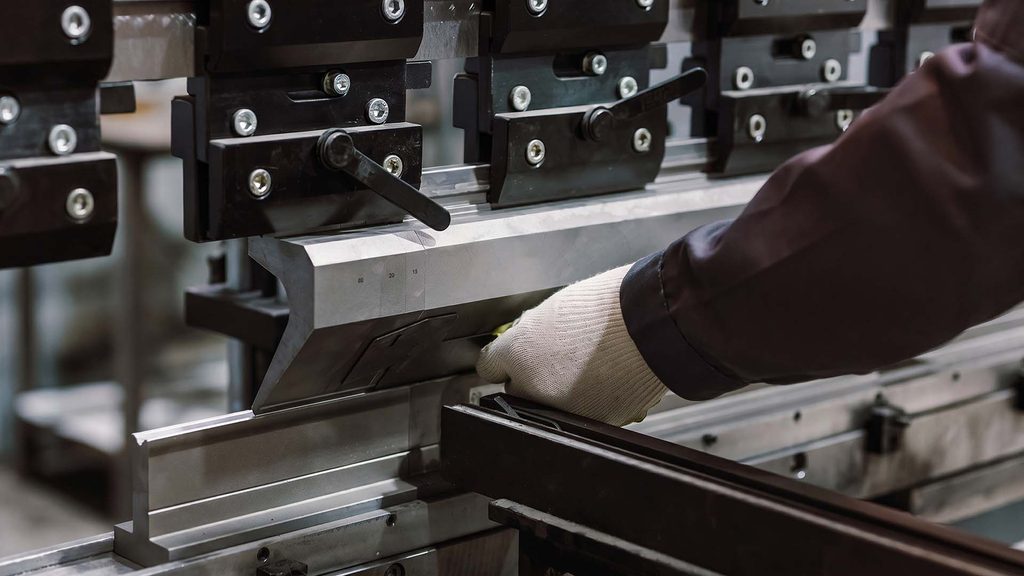
Skipping deburring to save a little lead time is a critical mistake. At ShincoFab, we consider this step mandatory to ensure workplace safety, guarantee part fitment, improve coating adhesion, and prevent costly downstream failures.
Keeps You and Your Team Safe
Sharp burrs act as tiny razor blades. Our assembly workers and welders handle these parts all day long. A single sharp edge can easily slice through a Kevlar glove. Proper deburring effectively eliminates this specific hazard, helping our shop floor align with OSHA machine-guarding safety guidance, which states that safeguards should not introduce hazards such as jagged edges or unfinished surfaces that can cause lacerations, while helping keep our clients’ assembly lines moving without injury.
Makes Parts Fit Together Accurately
Last year, we fabricated a batch of aluminum enclosures for an electronics client. A microscopic burr on an internal slot can stop a PCB board from sliding in properly. Removing burrs ensures that tabs, slots, and bends align properly within engineered tolerances.
Paint and Powder Coat Adhesion
In sheet metal, paint and powder coating perform poorly on sharp edges. If you powder coat a part with burrs, the coating may build less effectively around the sharp point during curing, creating thin spots and increasing the risk of premature corrosion. This is directly related to powder-coating edge coverage, which the Powder Coating Institute (PCI) defines as a coating powder’s ability to flow over, build, and adhere to sharp corners, angles, and edges. Later, an inadequately protected tip can rust. We routinely round off edges to help our powder coating lay flat and provide more consistent protection for the metal.
The Hidden Costs of Ignoring Burrs
Skipping this step is a massive financial risk. A loose metal flake falling off inside a client’s hydraulic enclosure can trigger a catastrophic failure, potentially resulting in tens of thousands of dollars in equipment damage and unexpected downtime. Meanwhile, running that flat part through our automated deburring machine costs just pennies per part.
How to Choose the Right Deburring Method
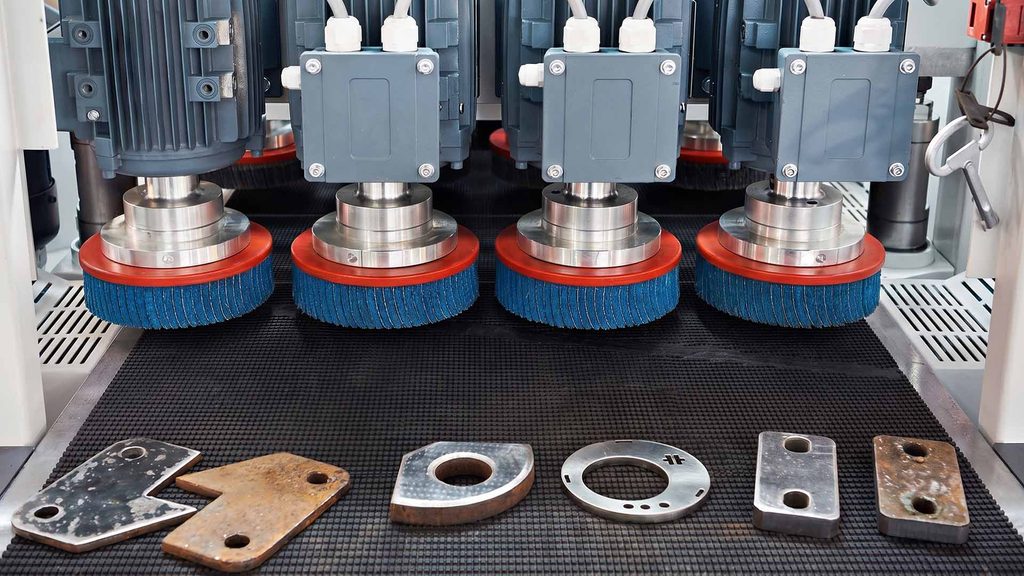
At ShincoFab, we use different methods depending on the volume and the material. Doing it by hand is fine for prototypes, but it is a hidden profit-killer for production runs.
Manual Deburring
This involves our technicians using hand tools like Noga deburring blades or orbital sanders. It is fine for a quick fix or a small 10-piece prototype run. But manual deburring takes an average of 3 to 5 minutes per part. Manual deburring lacks the strict consistency of automated machines.
Automated Flat Part Deburring (The Factory Standard)
For large sheet metal runs, we use automated flat-part deburring machines, such as the Timesavers 32 Series Rotary Brush. Laser-cut panels travel through the machine on a conveyor bed, where abrasive belts and multi-directional rotary brushes process the surface. This setup removes dross and burrs, rounds sharp edges, and can apply a consistent surface finish in a single pass—typically taking only seconds per part, depending on part size, material, and required finish.
Vibratory Tumbling
If we have hundreds of small punched parts, we toss them into a vibratory tumbler filled with ceramic media. The machine shakes them until the edges are smooth. It is incredibly fast, but we have to carefully control the cycle time so we don’t ruin tight tolerances.
Matching Your Method to Your Material (Our Shop Rules)
Material properties directly influence the deburring technique we select, so we adapt our approach to the specific alloy being processed.
- Soft Metals (Aluminum 5052/6061): Aluminum is relatively soft and can load or smear onto an abrasive when the belt is dull or the process generates excessive heat. A loaded abrasive may flatten a burr into the surface instead of removing it cleanly, creating a hidden defect. We therefore use sharp, open-coat abrasives and lighter pressure for these materials to help reduce abrasive loading when finishing aluminum.
- Hard Metals (Stainless Steel 304/316): Grades 304 and 316 are austenitic stainless steels that can work-harden significantly during cold working. When a deburring tool rubs against an edge instead of cutting effectively, repeated deformation and friction can make finishing less efficient and accelerate abrasive wear. We use aggressive, stable ceramic abrasives for these tougher alloys to maintain a consistent cut and clean edge break.
How We Inspect Your Parts to Avoid Failure
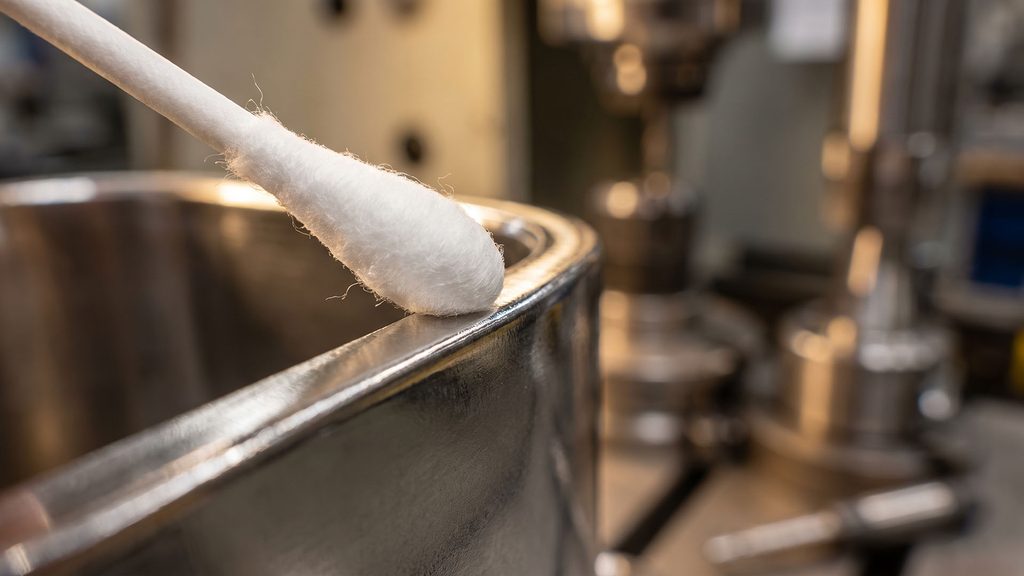
While removing burrs is critical, over-deburring can alter tight part tolerances. To prevent this, our QA team relies on a combination of quick floor checks and strict laboratory inspections to verify precise edge geometry.
The Q-Tip Test (For Quick Checks)
For a quick shop-floor check, we use a simple method called the Q-Tip test. You can verify edge quality in seconds by applying this three-step process.
- Take a standard cotton swab.
- Run it gently along the machined edge.
- Check for snags or white fibers. If the cotton catches or leaves fuzz behind, there is still a micro-burr that needs removing.
ShincoFab Quality Control
While the Q-tip is great, our QA department relies on strict visual and tactile inspections, and sometimes optical comparators for tight-tolerance aerospace parts. We ensure the edge radius meets the exact specifications called out in the client’s CAD files.
Conclusion
Deburring might seem like a small detail, but in sheet metal fabrication, it makes or breaks your final product. It helps paint stick, parts fit, and workers stay safe.
If you are just building a weekend garage project, manual tools are fine. But if you are scaling up to 1,000+ parts, you need a manufacturing partner who takes edge quality seriously. At ShincoFab, we treat deburring as a core part of our manufacturing process, not just an afterthought.
If you want to ensure your next sheet metal project comes out perfectly smooth and ready for assembly, reach out to our team today.