You want to weld aluminum, but you have probably heard it is a nightmare. People say it burns easily, warps fast, and makes weak joints.
As a lead fabrication engineer here at ShincoFab, I oversee the welding of thousands of custom aluminum enclosures, brackets, and structural parts every year. I have both made and fixed nearly every aluminum welding mistake in the book on our factory floor so you do not have to. Here is the truth we’ve learned after processing tons of sheet metal: aluminum welding is 80% preparation and 20% execution. If your weld fails, you probably just rushed the setup.
In this guide, I will show you a proven method to master aluminum using the same Standard Operating Procedures (SOPs) we use at ShincoFab. You will learn how to choose the right gear without overspending, the golden rules of cleaning, and how to lay down your first perfect bead.
Why Aluminum is So Tricky (And How You Can Master It)
Aluminum does not act like steel. If you try to weld it like steel, you will likely fail. You need to understand its three weird habits first.
The Invisible Oxide Layer
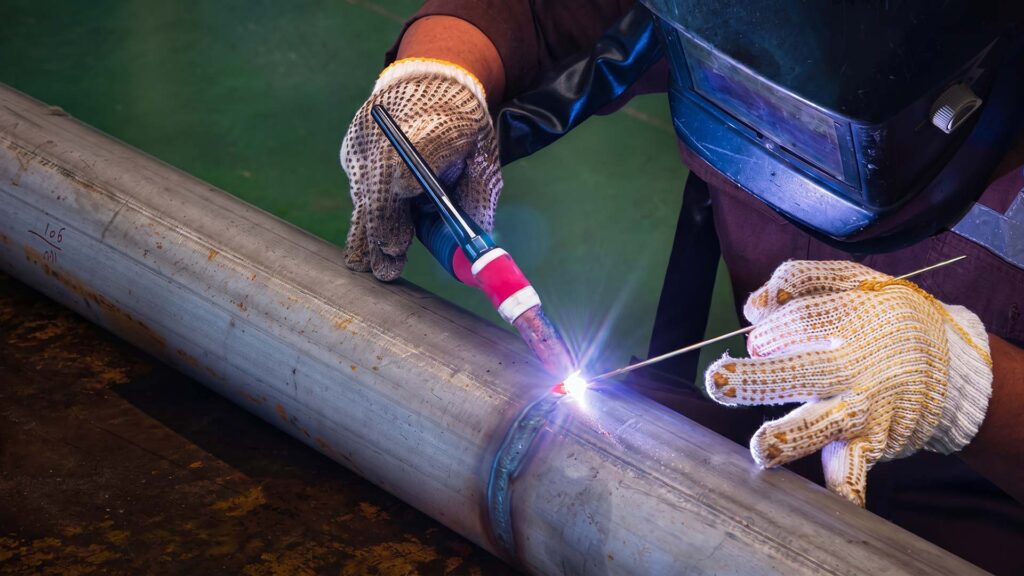
Aluminum has a tough, invisible skin called an oxide layer. This skin protects the metal from rust. But it ruins welds.
Here is the crazy part: pure aluminum melts at about 1,220°F (660°C), while the aluminum-oxide film that naturally forms on its surface melts at roughly 3,700°F (2,037°C). This huge temperature difference makes surface preparation essential before welding. When training new welders at ShincoFab, this is the first hurdle I see: if you do not remove the oxide layer thoroughly, the aluminum beneath it can melt while the surface film remains intact. This trap directly causes oxide inclusions, porosity, lack of fusion, and ultimately, a weakened joint.
It Melts Without Warning
When you heat steel, it turns glowing red before it melts. Aluminum does not do this. It gives you almost no visual warning.
It stays shiny and silver right up until it suddenly turns into a liquid puddle. On our shop floor, we refer to this as a drop-out. If you aren’t paying attention, that puddle will drop right through your welding table. You have to watch the metal closely.
It Sucks Up Heat Fast
Aluminum is a massive heat sink. It conducts heat about 5 times faster than steel.
When you start welding, the cold metal pulls the heat away from your torch. You need a lot of heat just to start the puddle. But once the metal gets hot, you have to move fast. If you stay in one spot too long, especially on the 1/16-inch sheet metals we often process, the whole piece will warp.
What Safety Gear Do You Need for Aluminum Welding?
The intense heat and unpredictability of aluminum present unique physical risks. Do not skip safety.
Clearing the Fumes
Welding aluminum creates ozone gas. Breathing this in will give you a nasty headache and damage your lungs, a hazard strictly regulated by OSHA’s welding, cutting, and brazing standards. At our ShincoFab workstations, we mandate heavy-duty fume extractors.
Protecting Your Eyes and Skin
Aluminum acts like a mirror. It reflects the bright UV light from your welding arc right back at you.
Cover all your skin. Wear thick leather gloves and a long-sleeve welding jacket. When doing high-amperage AC TIG on aluminum, set your lens shade between 10 and 13. This aligns with OSHA eye-protection guidance for handling intense arc radiation without risking eye injury.
Choosing Your Weapon: TIG vs. MIG
How do you want to weld your aluminum? Your choice comes down to speed, looks, and budget. Here is a quick breakdown of how they compare, followed by how we divide the work at our factory:
| Feature | TIG Welding | MIG Welding |
|---|---|---|
| Speed (IPM) | 5 to 10 IPM | 20 to 30 IPM |
| Machine Cost | ~$800 to $1,500 (Entry AC) | Variable (Spool guns often add $200+) |
| Best For (Thickness) | Thin metal, precision parts | Thick metal, heavy structural |
| Appearance | Highly aesthetic, neat beads | Functional, thicker beads |
When to Use TIG
TIG welding gives you the prettiest, strongest welds. It is perfect for thin metal and custom precision parts. At ShincoFab, any aerospace-grade bracket or cosmetic enclosure strictly goes to our AC TIG stations. But there is a catch: you need a machine that can do AC (Alternating Current). A good entry-level AC TIG machine typically ranges from $800 to $1,500 depending on the brand.
When to Use MIG
MIG welding is best for thick metal and fast production. For our high-volume, heavy-duty NEMA 4X enclosures, we rely on automated MIG. A factory welder can lay down 20 to 30 inches per minute (IPM) with MIG, compared to just 5 to 10 IPM with TIG. If you want to build a heavy boat hull or a thick bracket, MIG is your best bet.
Can You Stick Weld Aluminum?
Technically, yes. Practically, no. It is messy, creates weak joints, and leaves a lot of slag behind. We completely ban stick welding on aluminum parts in our facility. Avoid it unless it is a last resort.
What Gear Do You Actually Need?
Regardless of whether you choose TIG or MIG, you cannot just plug in a standard steel welding machine. You need a few specific upgrades to handle aluminum.
Wire Feeding Tools for MIG
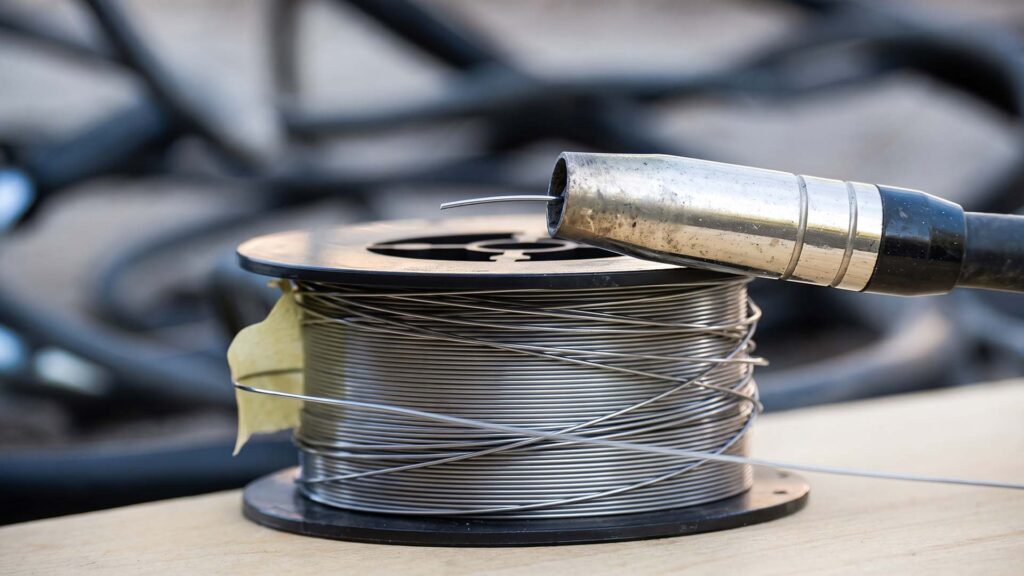
Aluminum wire is incredibly soft. Pushing it through a standard 15-foot MIG cable is like trying to push a wet noodle through a straw. It will tangle.
For hobbyists, a basic spool gun puts a small roll of wire right in your hand and generally starts around $200 to $300. However, for industrial reliability at ShincoFab, we exclusively use push-pull systems that can easily exceed $1,000, using two motors to feed the wire perfectly.
The Right Shielding Gas
You cannot use your steel welding gas on aluminum. It will ruin the weld. You typically need pure Argon gas (or an Argon-Helium mix for thicker parts). Set your flow meter to 15-20 CFH (Cubic Feet per Hour).
Picking the Best Filler Metal
Keep it simple. For most general repairs, use 4043 filler wire. It flows easily and looks great. If you need a stronger weld, or if the part requires anodizing (a service we frequently provide for custom fabrication), use 5356 filler wire.
How Do You Clean and Prep Aluminum for Welding?
Even with the right wire and gas, your weld will fail if the metal is dirty. Remember our rule: aluminum welding is 80% preparation. This is the exact prep protocol we enforce on the factory floor.
Step 1: Wipe Away the Grease
Take a clean rag and wipe the metal down with acetone. Do not use brake cleaner. As noted in OSHA chemical-safety guidance, ultraviolet light and heat from a welding arc can react with chlorinated solvents found in some brake cleaners to create deadly phosgene gas. Wipe the joint until the rag comes away visibly clean.
Step 2: Brush Off the Oxide
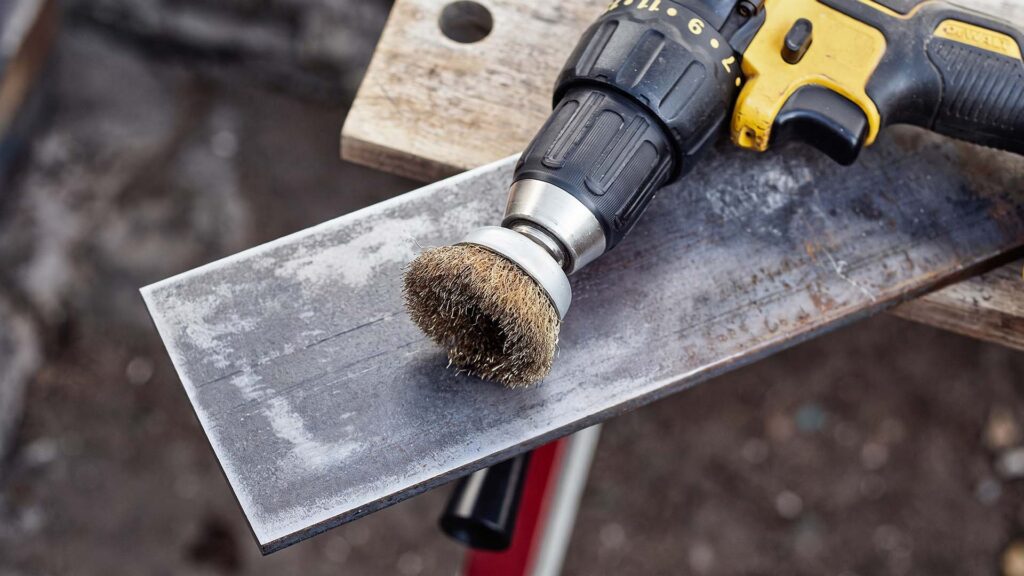
Take a stainless-steel wire brush and scrub the weld zone. Only use this brush on aluminum. If you use it on steel first, you will push rust straight into your clean joint.
Once you brush the metal, you are on the clock. Our ShincoFab internal rule is: you must weld within 8 hours of brushing before the oxide layer fully reforms. Clean it right before you weld.
The 3-Step Scrap Aluminum Practice Plan
Before any new hire touches a live client project at our shop, they have to pass this basic practice plan. Before touching your final project, pass this 3-step aluminum practice run:
- Run flat beads on 11-gauge scrap.
- Practice lap joints to fuse edges.
- Weld T-joints to master torch angles.
Here is how to execute each phase of the plan:
Step 1: Flat Beads
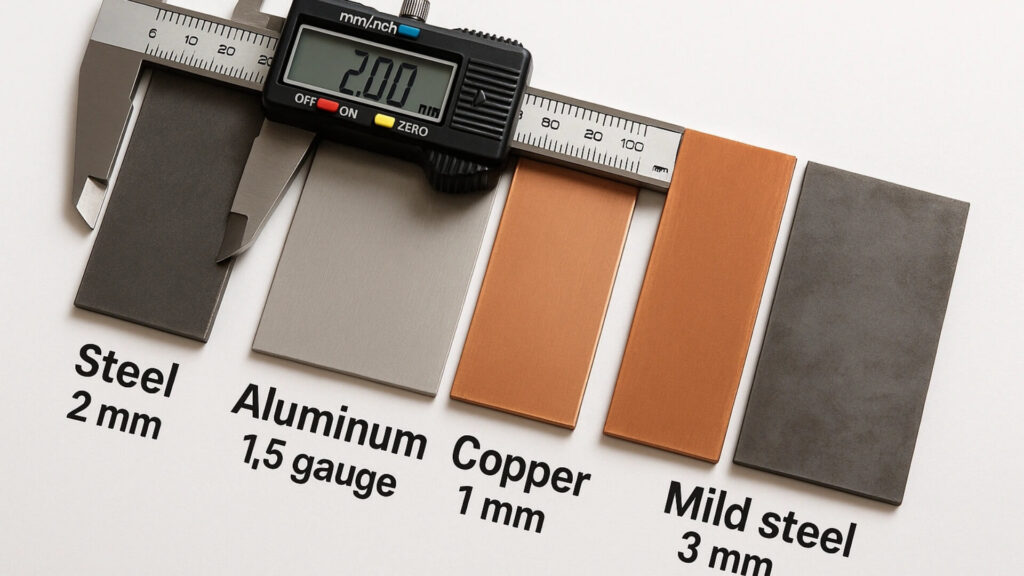
Go buy some 1/8-inch (11-gauge) aluminum scrap metal. This thickness is perfect for beginners because it won’t burn through instantly. Run straight lines on a flat piece of scrap.
Step 2: Lap Joints
Overlap two pieces of metal. Practice melting the top edge into the bottom piece. You want to fuse them together without burning away the top edge.
Step 3: T-Joints
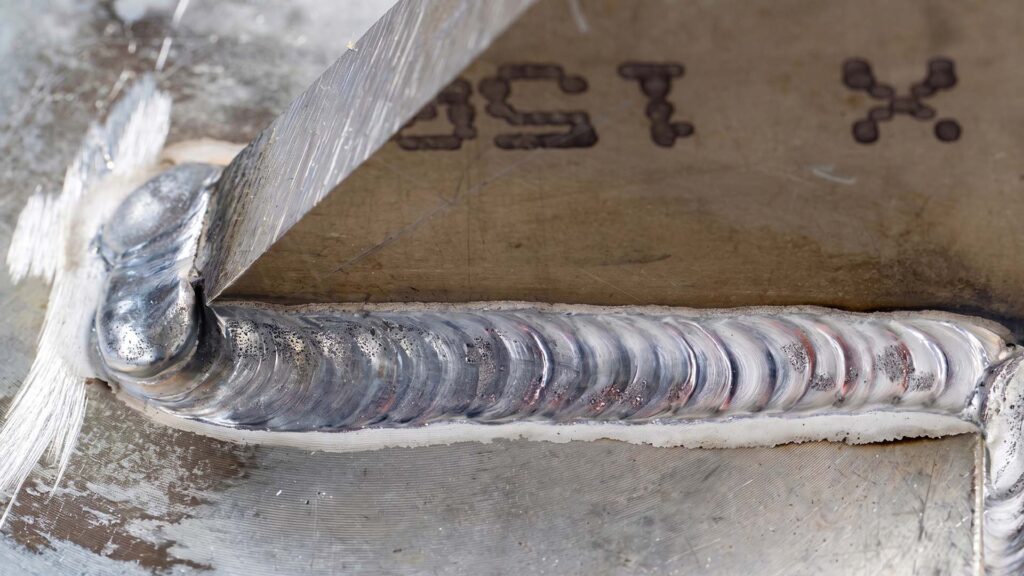
Stand one piece up on the other to make a “T” shape. Practice feeding your wire deep into the tight corner. This teaches you torch angle and puddle control.
Step-by-Step: Your First Aluminum Weld
Once you feel comfortable navigating joints on scrap metal, it is time to strike an arc on your actual workpiece.
Setting Up Your Machine
If you are TIG welding, follow a general rule of thumb: set your machine to 1 amp for every 0.001 inch of metal thickness. So, for 1/8-inch metal (0.125 inches), set your machine to 125 amps.
Getting Your Angle Right
As a general rule, push the puddle. Avoid pulling it. Angle your torch forward about 15 degrees. Pushing the gas forward cleans the metal ahead of your weld. If you pull, you will trap dirt in the joint.
Managing Your Heat
Start hot to get the puddle going. Once the metal heats up, you need to move faster. Keep your hands moving.
How to Test Your Practice Welds (The Vise & Hammer Test)
A finished weld can look perfect on the outside but be full of hidden bubbles on the inside (porosity). At ShincoFab, we use macro-etching and hydraulic presses for QA (Quality Assurance), but at home, you can do this:
The Bend Test
Just 5% porosity can cut the tensile strength of your weld in half. Take your practice T-joint and clamp it into a heavy bench vise. Grab a big hammer. Smash the vertical piece until it bends flat. If the metal bends, your weld is strong. If the weld snaps in half, you did not use enough heat, or your metal was dirty.
Fixing Common Aluminum Welding Mistakes
If your practice piece snapped during the bend test, reference this quick troubleshooting guide to identify the mistake:
| Problem | Primary Cause | Quick Solution |
|---|---|---|
| Burning Holes (Burn-Through) | Moving too slow or amps too high | Turn the heat down or speed up your hands |
| Black Soot (Smut) | Bad gas coverage | Check Argon tank; ensure flow is at 15-20 CFH |
| Weak, Bubbly Welds (Porosity) | Poor preparation (dirty metal) | Grind bubbles out, clean with Acetone, re-weld |
Here is a closer look at how to correct these issues:
Burning Holes (Burn-Through)
You are moving too slow, or your amps are too high. Turn the heat down or speed up your hands.
Black Soot (Smut)
This means your gas coverage is bad. Check your Argon tank and ensure your flow meter is at 15-20 CFH.
Weak, Bubbly Welds (Porosity)
Over 90% of porosity defects are caused by bad prep. Stop welding. Grind the bubbles out, clean the joint with Acetone, and try again.
How to Fix Dirty, Old Cast Aluminum Parts
The troubleshooting steps above apply to fresh sheet metal. However, if you are repairing cast aluminum tooling fixtures or automotive parts, the rules change.
Why Cast Aluminum is Different
Cast aluminum acts like a giant metal sponge for oil, dirt, and water. It is incredibly frustrating to weld because trapped dirt bubbles up right into your puddle.
Prep and Weld Tips for Cast Parts
Grind out the crack deeply with a carbide burr. Then, use a propane torch to preheat the part to a range of 200°F to 300°F. This bakes the trapped oil and moisture out of the pores and helps prevent the brittle cast metal from cracking as it cools.
Conclusion
Whether you are tackling tricky cast parts or standard flat sheet metal, the core principles remain the same. Aluminum welding does not have to be a nightmare.
If you take away one thing from this guide, let it be the same rule we enforce at ShincoFab: respect the prep work. Clean your metal, brush off that oxide layer, and use the right gas. Do not rush. Buy some scrap metal, set up your machine, and practice your T-joints. Smash them with a hammer to prove they are strong. Once you master the heat control and the cleaning process, you will unlock a whole new level of fabrication. Grab your safety gear, turn on your Argon, and go strike your first arc. You’ve got this.