Most people treat sheet metal hardware like a line item in a catalog. You pick a thread size, check the price, and move on.
At ShincoFab, I have spent years on the factory floor watching this mistake damage metal parts. Just last month, we had to scrap a pallet of 5052 aluminum enclosures because a client specified the wrong fastener for an outdoor environment, leading to galvanic corrosion during our salt-spray testing. A great design is severely compromised if the wrong fastener causes your product to rust, rattle, or fail on the assembly line.
In this guide, I will show you a reliable process for choosing the right sheet metal hardware. You will get the rules to pick the best fastener, match metals to minimize corrosion, and design your CAD files so parts fit together smoothly. I will also share the hidden tooling costs and shop-floor fixes for when things go wrong.
Let’s get straight to it so you can build a stronger, better product today.
How to Select Sheet Metal Hardware: Strategy & Planning
Why Hardware Selection Makes or Breaks Your Design
Picking the wrong hardware compromises good products. A weak joint causes rattles. The wrong metal causes rust.
If you wait until the end of your design to think about hardware, you will pay for it later. Planning early saves you from headaches. It keeps your assembly line moving fast. It also keeps your budget under control.
5 Quick Questions to Find Your Perfect Hardware
Answering five questions about vibration, disassembly, accessibility, thickness, and environment will help you find the right hardware for your project. Ask yourself these questions before you look at a catalog:
- Disassembly: Do I need to take this apart later? If yes, use screws or bolts.
- Vibration: Will this part vibrate? If yes, avoid standard screws. Use rivets or locking nuts instead.
- Accessibility: Can I reach the back of the joint? If no, you need blind rivets or self-clinching nuts.
- Thickness: How thick is my metal? Thin metal needs self-clinching hardware. You cannot tap threads into a paper-thin sheet.
- Environment: Will this sit outside in the rain? If yes, you need matching, rust-resistant metals.
How to Design Hardware for Repairability
Customers want to fix their own stuff. New eco-regulations are also forcing companies to make repairable products.
If you use permanent rivets extensively, your customer faces roadblocks. They cannot easily replace a dead battery or a cracked screen. By using standard, removable screws, you make your product upgradeable. This choice builds brand loyalty. It also keeps your product out of a landfill.
How to Avoid Supply Chain Delays with Factory Equivalents
Many engineers just slap a proprietary brand name, like PEM®, onto their CAD drawings. This can be a trap.
I recently saw a robotics startup almost miss their product launch. They hard-specified a proprietary US-based brand for their chassis hardware, which had a 10-week lead time. Our purchasing team at ShincoFab had to intervene. If you manufacture overseas, demanding a specific brand causes supply chain delays. You might wait weeks just for a box of standard nuts.
Instead, specify the size, thread, and material you need. Add a note to your drawing that explicitly allows for factory equivalents. When we switched that startup to identical, locally sourced hardware, we cut their lead time down to 4 days and saved them approximately 30% on fastener costs.
What Are the Main Types of Sheet Metal Hardware?
The 4 Core Hardware Options
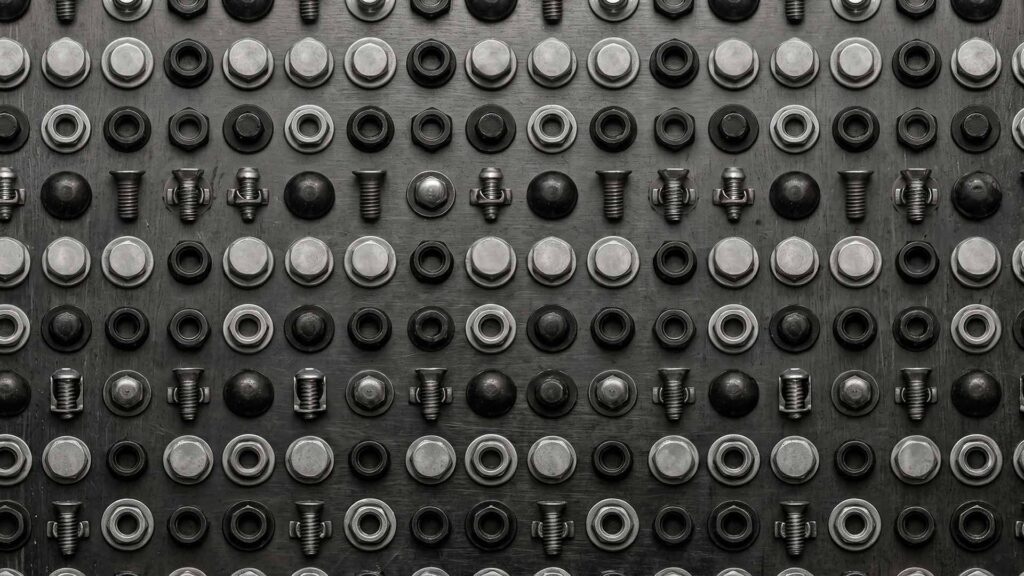
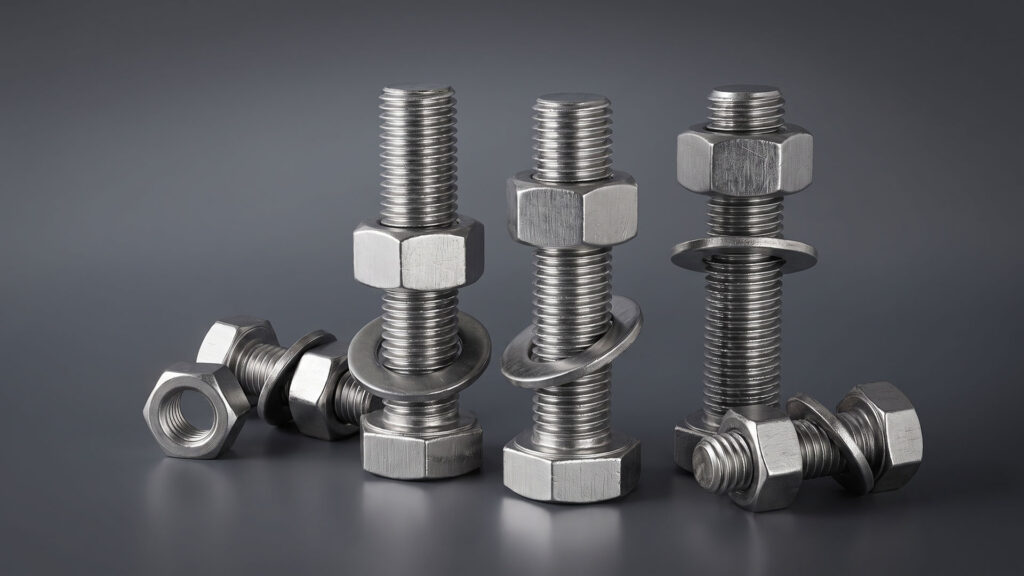
The four main types of sheet metal hardware are rivets, screws, nuts and bolts, and self-clinching fasteners. Each one solves an assembly problem:
- Rivets: Fast and permanent. These are great for quick assembly. You just pop them in and move on. However, avoid using them on highly dynamic parts because heavy vibration can cause them to loosen over time.
- Screws: Easy to remove. Screws are the best choice for parts that need future maintenance. Self-tapping screws cut their own threads as you drive them in. Machine screws go into pre-tapped holes for a precise fit.
- Nuts and Bolts: Maximum strength. Grab these for structural strength. They offer maximum clamping force. The trade-off is they are heavy and bulky. You also need access to both sides of the metal to install them.
- Self-Clinching Fasteners: Perfect for thin metal. You press them into a pre-punched hole. The metal cold-flows into the ridges of the hardware. They lock together to become one piece with your part.
Data Slot: The True Cost of Hardware
When estimating sheet metal hardware costs, you should include both the part price and the manual labor required for installation. Compare the typical loaded costs of different hardware types below (Note: Prices are approximate averages and vary by supplier):
| Hardware Type | Estimated Part Cost (per 1k) | Install Time | Estimated Loaded Cost | Best For |
|---|---|---|---|---|
| Standard Nut & Bolt | ~$20 | 12 hours | ~$380 | Low volume, heavy duty |
| Weld Nut | ~$45 | 8 hours | ~$285 | Thick metal, permanent |
| Self-Clinching Nut (Manual) | ~$60 | 6 hours | ~$240 | Medium volume, thin metal |
| Self-Clinching Nut (Automated) | ~$60 | 1.5 hours | ~$105 | High volume mass production |
Sheet Metal CAD Design Rules for Hardware
How to Match Hardware Material to Your Sheet Metal
You shouldn’t mix metals blindly.
- Hardness: Your self-clinching hardware must be harder than your sheet metal. Think about it. If you press a soft aluminum nut into a hard steel sheet, the nut will crush. It fails to grip properly.
- Galvanic Corrosion: If you put steel hardware into an aluminum part and leave it outside, it becomes a miniature battery. The dissimilar metals react and corrode. Whenever possible, match your hardware to your sheet metal. Use aluminum hardware in aluminum parts to keep rust away.
Can You Laser Cut Holes for Self-Clinching Fasteners?
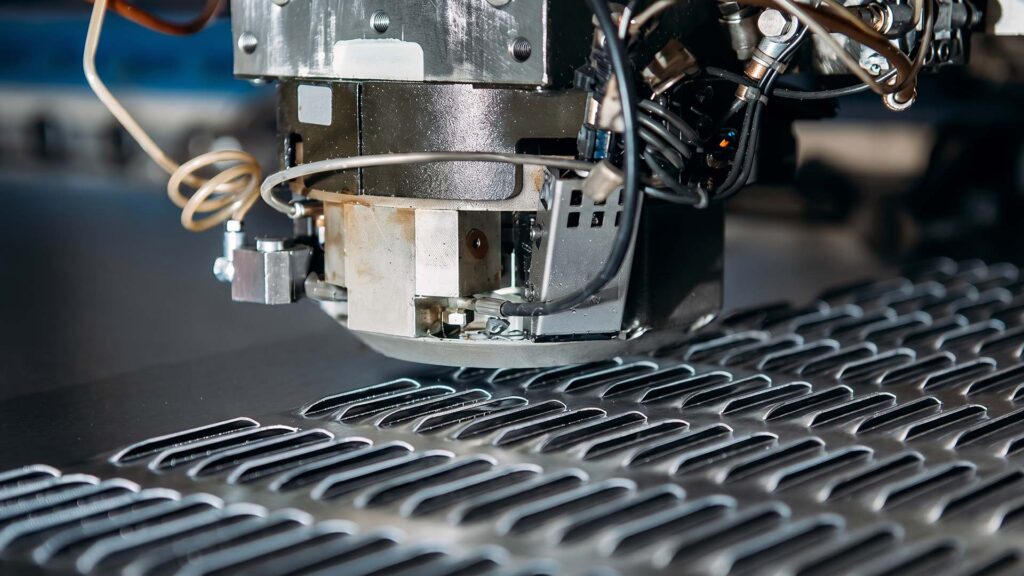
It is highly recommended to use a CNC punch press instead of a fiber laser for self-clinching fastener holes to prevent hardening the metal edge. Here is how the two methods compare:
- CNC Punching: The metal edge stays soft. The fastener’s knurl bites in perfectly.
- Laser Cutting: The edge becomes too hard. Lasers create a Heat Affected Zone (HAZ) that melts and hardens the edge of the hole. The metal cannot easily flow into the grooves. The fastener may spin in place or push out. Punching holes is the standard best practice for self-clinching hardware.
Key Design Rules for Placing Hardware
Follow three CAD design rules for hardware placement: check minimum metal thickness, maintain edge distance, and verify countersink depths:
- Thickness: Check the shank code on the hardware spec sheet to verify minimum metal thickness. If your metal is 0.040 inches thick, make sure your hardware’s shank is shorter than that. Otherwise, it may stick out and disrupt your flush fit.
- Edge Distance: Avoid putting a hole too close to an edge or a bend. The metal will likely bulge or warp when you press the hardware in. A good rule of thumb is to keep the hole at least two times the metal thickness away from any edge.
- Countersinks: If you want your screw heads to sit flat, use a countersink. Just ensure your metal is thick enough to hide the entire screw head without punching through the bottom.
How to Install Sheet Metal Hardware During Assembly
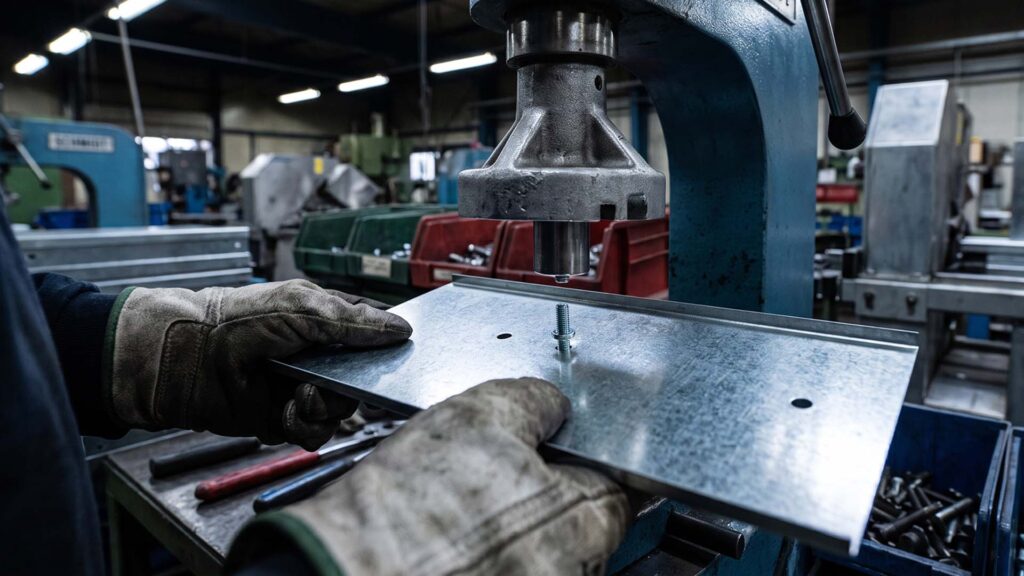
How Much Does Sheet Metal Hardware Tooling Cost?
Be sure to factor in the tools you need. Blind rivets are generally highly cost-effective to install. You typically just need a basic hand tool (often around $20 to $30). Self-clinching nuts are highly effective, but they require a heavy-duty arbor press. If you are a small shop or a DIYer, stick to hardware you already have the tools to install. It is generally not advised to buy premium fasteners if you lack the equipment to press them in.
Finishes and Coatings: When to Install
Surface finishes can damage your hardware if you do things in the wrong order.
- Painting and Powder Coating: Install your standoffs and rivets before you paint.
- Plating and Anodizing: I once saw an engineer from another company write off an estimated $10,000 worth of aluminum chassis because they asked the factory to press steel standoffs in before anodizing. Steel hardware dissolves in an aluminum anodizing tank. It is critical to install your stainless steel hardware after the anodizing process is finished. At ShincoFab, our CAM engineers flag and separate these steps in your routing sheet to prevent this disaster.
Data Slot: Designing for Surface Finishes
When applying surface finishes to sheet-metal parts, account for the coating build-up in critical holes, slots, threads, and mating features. Use surface-finish dimensional allowancesbased on the specified process and coating thickness: powder coating commonly requires clearance for approximately 0.08 mm of coating per side, while Type II anodizing typically adds about 0.01 mm per side. For tapped holes and tight-tolerance fits, specify masking, post-finish tapping, or a finish-specific allowance confirmed with your finishing supplier. Use the following guide to protect fit and keep threads functional:
| Finish Type | Added Thickness | Hole Oversize Needed |
|---|---|---|
| Anodizing (Standard) | Minimal | + 0.00 mm |
| Zinc Plating | 0.01mm – 0.02mm | + 0.02 mm |
| E-Coating | 0.02mm – 0.04mm | + 0.05 mm |
| Powder Coating | 0.06mm – 0.10mm | + 0.10 mm to 0.15 mm |
Data Slot: Quality Control and Validation
How do you know your hardware won’t fail in the field? You test it to the breaking point.
Reliable factories use a torque-out or push-out test machine. They take a sample panel and insert an M4 standoff. Then, they use a hydraulic press to push it until it snaps. If the catalog says the fastener should hold 200 lbs of force, but it pops out at 150 lbs, the factory stops the line. It is highly recommended to perform destructive testing on your first batch.
How to Fix Common Sheet Metal Hardware Mistakes
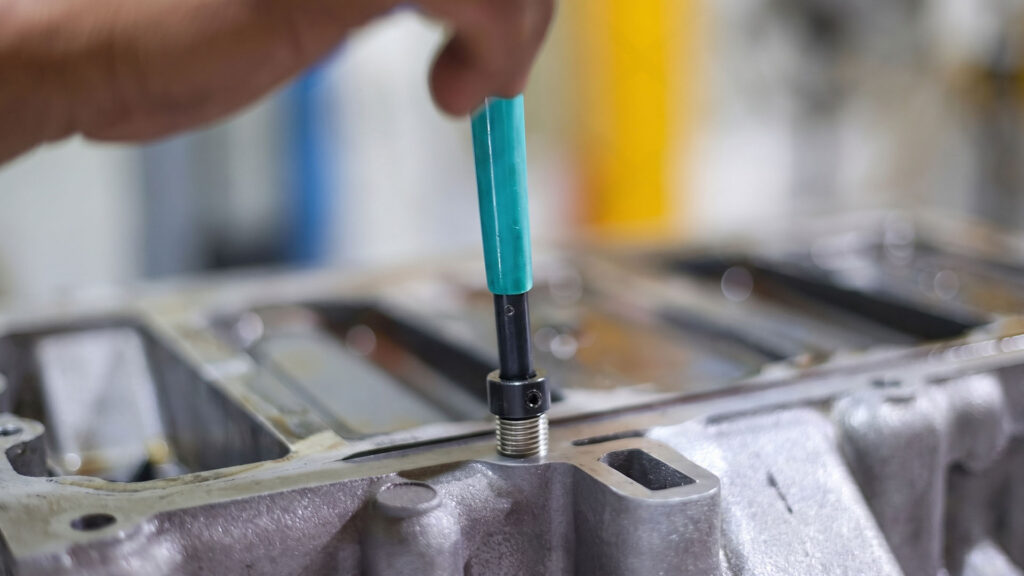
How to Fix Stripped Threads, Spinning Rivets, and Pushed-Out Hardware
You can often fix common sheet metal hardware mistakes like stripped threads, spinning rivets, and pushed-out fasteners using shop floor techniques. Try these fixes first:
- Stripped Threads: Did someone over-tighten a screw and strip the tapped hole? Just drill the hole slightly larger. Next, install a threaded insert like a Helicoil. It gives you stronger threads.
- Spinning Rivets: If a pop rivet is spinning and won’t drill out, do not panic. Grab the flange with a pair of locking pliers. This holds the rivet still. Then, drill through the center with a sharp bit.
- Pushed-Out Hardware: If a self-clinching nut popped out, your hole was likely too big. You can usually save the part. Switch to a slightly larger weld nut and tack-weld it into place.
Fixing shop floor mistakes is a great skill to have. But when you hear the hydraulic ‘pop’ of a hardware press on the floor, you want to know it’s done right the first time. Planning your hardware from the start is the optimal approach.
Conclusion
Choosing the right sheet metal hardware does not have to be a guessing game. By planning early, matching your metals, and designing for the factory floor, you stop failures before they happen. Remember, a fastener is only as good as the hole it goes into.
At ShincoFab, we see these sheet metal challenges every day on our factory floor. A reliable manufacturing partner will help you catch these hardware mistakes before you waste money on a bad production run.
Before you finalize your next CAD file, run it through the rules in this guide. You will save time, cut your assembly costs, and build a product that lasts.