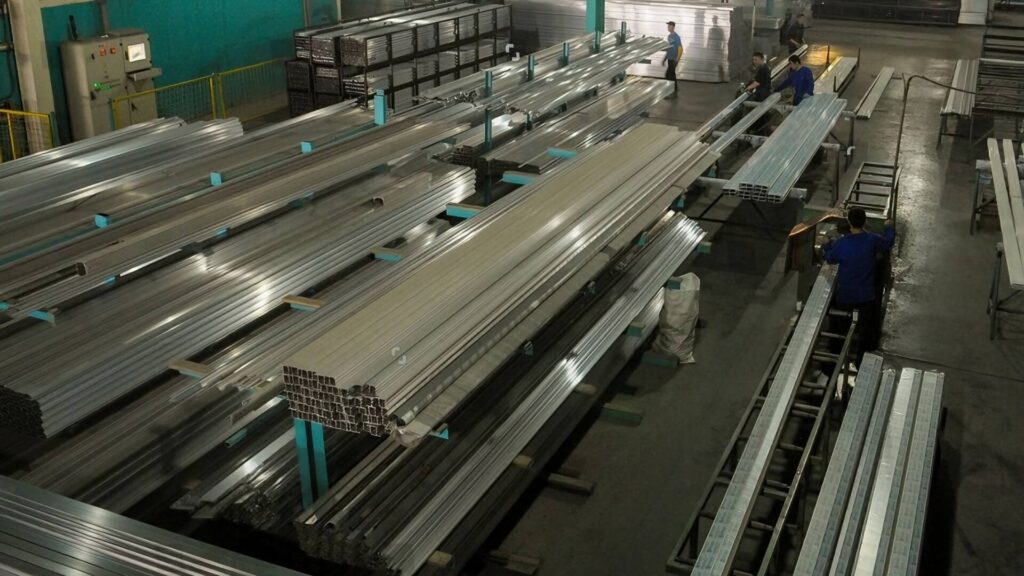
I have spent over a decade on the production floor at ShincoFab, our sheet metal fabrication facility, breaking taps, stripping holes, and fixing ruined parts. When you process thousands of metal components a week, you learn what works and what will destroy a client’s project.
If you want to understand how to thread metal without the headaches, you are in the right place. In this guide, I will show you how we cut clean threads on our shop floor. You will learn the tools you need, the step-by-step cutting method, and how to remove a broken tap. As a sheet metal factory, I will show you why you should never tap thin sheet metal directly.
No complicated engineer talk or textbook theories. Just the raw, practical advice we use at our workbenches every day. Let’s get to work.
What Does It Mean to Thread Metal?
Threading metal is cutting spiral grooves into a piece of metal. These grooves let you twist two parts together so they stay locked tight. Think of the ridges on a water bottle cap. That is a thread.
Tapping vs. Threading (What’s the Difference?)
People often use the words “tapping” and “threading” like they mean the same thing. On the factory floor, mixing these up causes miscommunications.
- Tapping makes internal threads. You do this inside a hole. Think of the inside of a metal nut. We call these “female” threads.
- Threading makes external threads. You do this on the outside of a metal rod. Think of the outside of a bolt. We call these “male” threads.
If you want to screw a bolt into a flat metal plate, you need to tap the hole in the plate.
The Difference Between Metric and Imperial Threads
When clients send us CAD drawings at ShincoFab, we see two systems:
- Imperial (Standard): This uses Threads Per Inch (TPI). For example, a 1/4-20 screw is 1/4 inch wide, with 20 threads packed into one inch.
- Metric: This measures the distance between the peaks. An M8 x 1.25 screw is 8mm wide. The gap between each thread peak is 1.25mm.
If you mix them up and try to force a metric bolt into an imperial hole, you will ruin your metal part. We’ve seen junior machinists do this, and it results in scrapped material.
The 70% Thread Engagement Rule
Thread engagement is how much the inside and outside threads touch. You might think you need 100% contact for a strong hold. You don’t.
When I train new operators, I forbid aiming for 100% contact. It takes too much torque to cut a 100% thread. If you try it, you will snap your cutting tool in half. Instead, aim for 70% thread engagement.
Here is why 70% is our internal design guideline, a practice informed by data and safety margins commonly used in mechanical design handbooks such as the authoritative Machinery’s Handbook.
- It gives you all the holding strength required by 99% of engineering specs.
- It leaves clearance in the hole so your tool doesn’t jam with chips.
- It speeds up production and saves us thousands of dollars in broken taps each year.
What Tools Do You Need to Thread Metal?
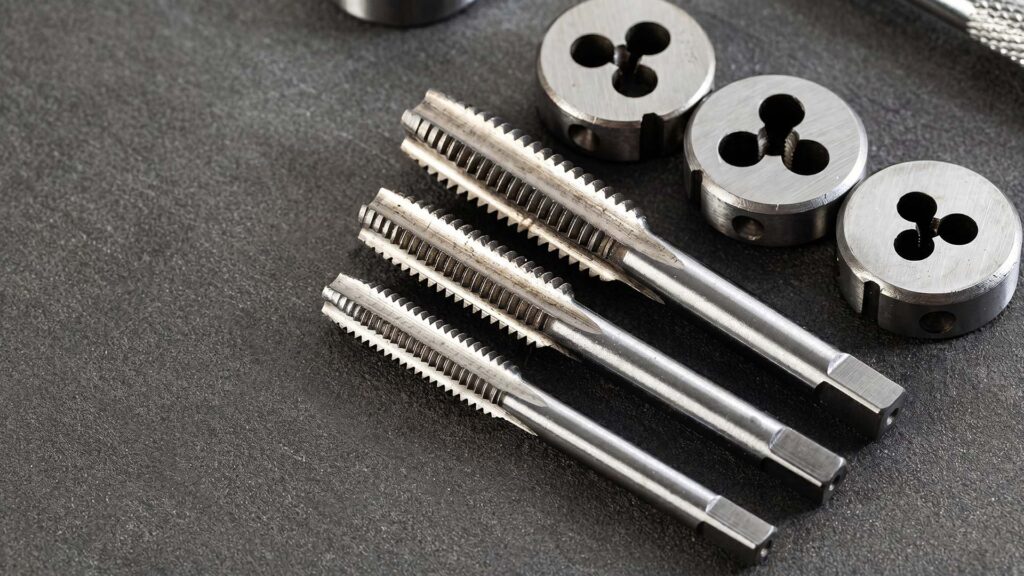
You do not need a large toolbox to thread metal. Even in a professional shop, hand-tapping relies on a few items.
Taps for Holes (And Which Type to Use)
- Taper Taps: The threads at the tip are flattened down. Always use a taper tap first to start the cut straight.
- Plug Taps: Use this after your taper tap to cut deeper into the metal.
- Bottoming Taps: You only use these to push threads to the bottom of a “blind” hole.
Dies for Rods and Bolts
If you want to make your own bolt, you need a die. You place the die over the end of a bare metal rod. As you twist it down using a “die stock” wrench, those inner teeth shave the metal away, leaving external threads.
Why You Need Cutting Fluid ?
Do not try to cut metal dry. I can tell from across the shop floor if someone is tapping dry just by the screeching sound.
When metal grinds against metal, it creates friction and heat. If you skip cutting fluid, the metal shavings will friction-weld themselves to your tap. This creates jagged grooves. Within minutes, the tap will bind up and snap.
A few drops of cutting fluid fix this. It cools the tool, flushes away chips, and gives you clean, smooth threads that pass our quality control checks.
How to Cut Perfect Threads (Step-by-Step)
Getting Your Pilot Hole Size Right
Everything starts with the pilot hole. If your drill bit is too big, the screw will pull out. If it’s too small, your tap will get stuck.
You need the correct size to hit that 70% sweet spot. For example, to get a 70% grip on a standard 1/4-20 screw, you must use a #7 drill bit. Never guess this. We have tap drill charts taped to every drill press in our factory, calculated from standard ASME Unified thread geometry. Always verify your drill size against a tap drill chart based on ANSI/ASME B1.1 threads before you touch your drill.
Standard Tap Drill Size Chart (70% Engagement):
| Thread Size | Tap Drill Size |
|---|---|
| 1/4-20 | #7 |
| 5/16-18 | F |
| 3/8-16 | 5/16″ |
| 1/2-13 | 27/64″ |
| M6 x 1.0 | 5.0mm |
| M8 x 1.25 | 6.8mm |
Keeping Your Tools Straight
Once your hole is drilled, place the tip of your tap into it. You must hold the tool straight. Use a machinist square to check your angle from two different sides. A crooked tap is the #1 reason I see parts fail quality inspection.
The Forward and Backward Hand Tapping Method
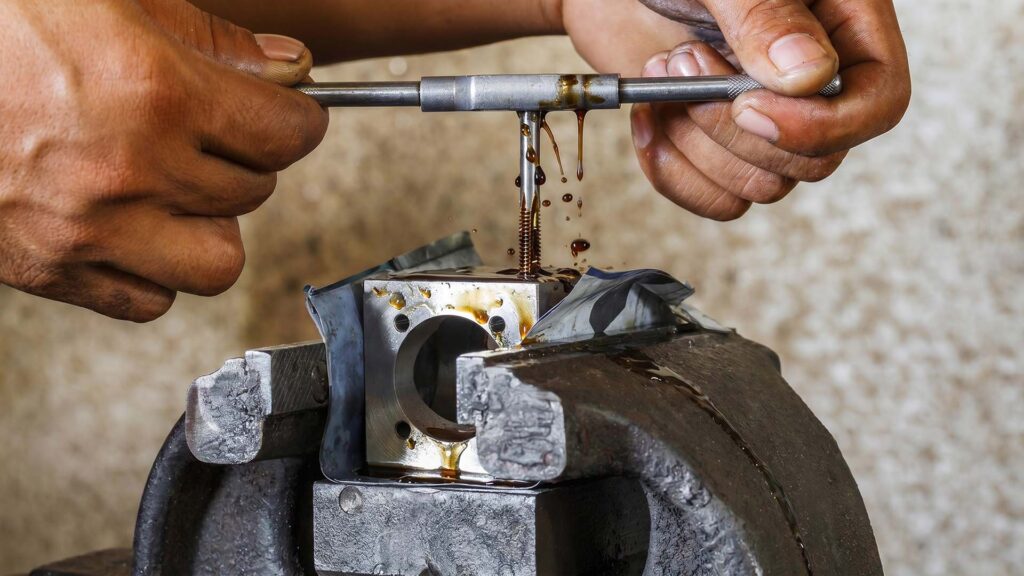
Add a few drops of cutting fluid to the hole and apply steady downward pressure on the tap. To cut clean threads by hand, follow this standard three-step forward and backward method:
- Cut the Thread: Turn the tap clockwise for half a turn until you feel it bite into the parent metal. Stop turning.
- Break the Chip: Turn the tap in reverse (counter-clockwise) for a quarter of a turn until you feel or hear a distinct “snap.” That sound is the metal shaving breaking off inside the flute of the tap.
- Repeat and Clear: Alternate half a turn forward to cut, and a quarter turn backward to break the chip, until you reach the desired depth of the hole.
If you skip the reverse turn, long, continuous metal chips will pack tightly inside the hole. This will instantly jam the tool, tear out the fresh threads you just cut, and likely snap your tap in half.
The Manual Finger-Tight Thread Check
You do not always need formal Go/No-Go thread gauges for a quick initial inspection on the shop floor. Clean the metal flakes out of the hole, and perform a manual fit test by twisting your bolt in by hand.
- Check for Wobble (Oversized): Pinch the bolt head and push it from side to side. If you feel it clunking or clicking against the walls, the thread tolerance is too loose. This connection is unsafe and will fail under load.
- Check for Binding (Undersized): If the bolt gets stuck halfway and requires a wrench to keep turning, the thread is either cut too tight or the hole is still packed with debris.
A properly tapped hole passes the two-finger test: it allows the correct bolt to spin all the way down smoothly using just your thumb and index finger.
How to Remove a Broken Tap ?
It happens to everyone. You push too hard, and snap. At ShincoFab, a broken tap used to mean a delayed shipment and a scrapped part. But you can save it.
First, do not try to drill it out. Taps are made of hardened steel and will melt your drill bits.
If a small piece is sticking out, grab locking pliers, clamp tight, and twist backward. If it broke below the surface, you need a tap extractor. Slide its steel fingers down into the open grooves of the broken tap, slide the collar down to lock them, and twist it out.
Pro Shop Trick: Broken taps are wedged with metal chips. Before you pull, we hit the surrounding metal with a torch. The thermal expansion breaks that grip enough to back it out.
How Do You Thread Different Types of Metal?
At our facility, we change our approach based on the material we are cutting.
Threading Aluminum
You might think aluminum (like standard 5052) is easy to thread because it is soft. That softness is the enemy. It doesn’t break into flakes; it peels off in gummy ribbons that jam the tap. Use plenty of fluid, and back the tap out every few turns to clear those ribbons.
Threading Stainless Steel
Stainless steel (like 304 or 316) is a different beast. If you push too lightly or dwell too long in the cut, the material will rapidly undergo strain hardening (work-hardening), making the surface harder and more difficult to cut on the next pass.
We track tool life closely. A standard tap might cut 1,000 holes in aluminum on our CNCs, but that same tap will snap after just 50 holes in 304 stainless steel. Use sulfur-based cutting oil and never force the turn.
The Golden Rule for Thin Metal
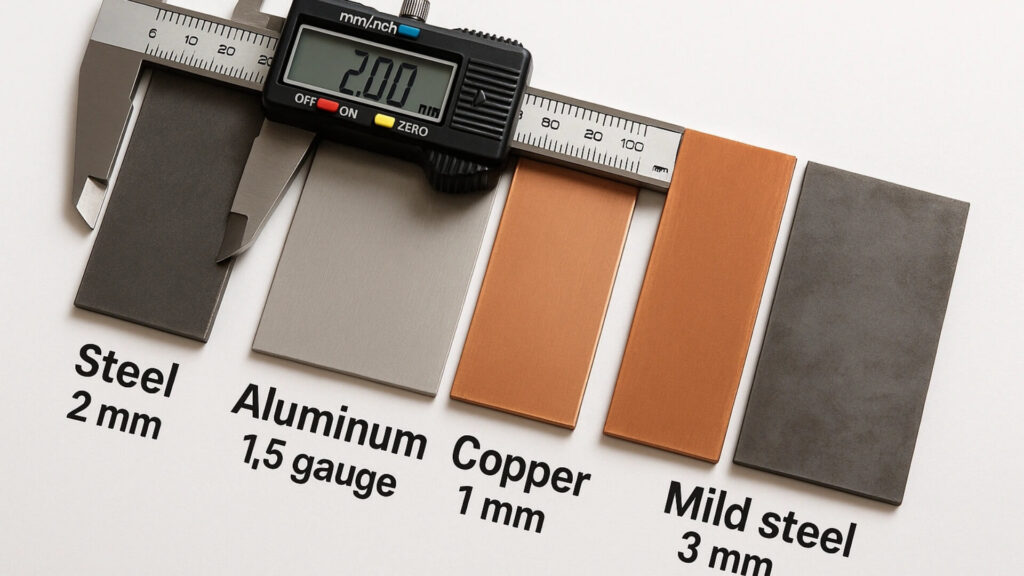
As a sheet metal fabrication factory, we see clients make this mistake constantly: they send us designs asking to tap threads directly into 1mm sheet metal. We reject those drawings.
How Thick Does Metal Need to Be?
To get a safe hold, your screw needs to grip at least three to four threads. If your metal is less than 1/8-inch thick, you do not have enough material. The screw will rip the threads out when you apply torque.
Cost & Time: Tapping vs. Threaded Inserts (PEM Nuts)
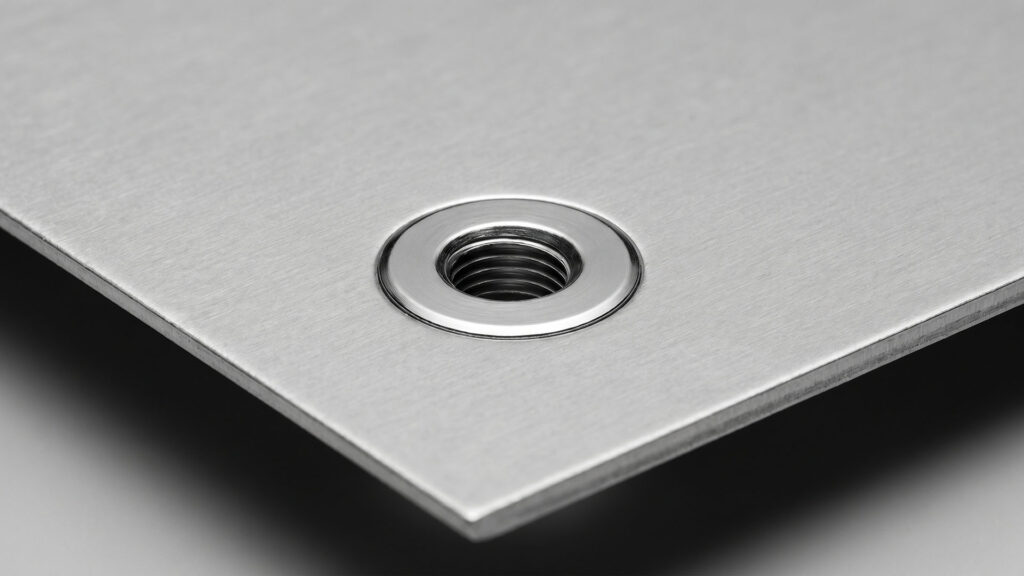
So, what is the industry standard solution? For most sheet metal enclosures, we rely on self-clinching hardware inserts. The specific go-to choice on our shop floor is the PEM® self-clinching nut from PennEngineering, as their original technology provides the most reliable grip.
While tapping a hole requires no extra hardware and appears costless, let’s look at real factory economics. Tapping a hole on a CNC machine takes 10 seconds of machine time. Pressing a PEM nut into a blank hole using a hardware press takes 3 seconds and costs pennies per unit. Spending those pennies gives you a steel thread that will never strip out of the metal.
Extruded Holes and Welded Fasteners
If the part takes abuse, we use two other workarounds:
- Extruded Holes: Our punch presses punch the hole and stretch the metal upward to form a collar. This doubles the thickness so we can tap it.
- Welded Fasteners: We weld a steel nut directly over the blank hole for grip strength.
How to Fix Stripped or Damaged Threads
When a hole loses its grip, the threads are stripped due to over-tightening, cross-threading, or corrosion.
Repair vs. Replace
Before you fix it, ask if it is worth the effort. If you ruin a bracket, throw it in the scrap bin. But if you stripped a thread on a custom baseplate, a $40 thread repair kit is your best friend.
Will Drilling a Bigger Hole for an Insert Weaken the Metal?
People panic when they realize they have to drill the damaged hole wider to fit a Helicoil (wire insert). They worry they will weaken the parent metal.
It does the opposite. Adding a stainless steel insert makes the hole stronger than the bare metal. For example, a threaded hole in bare aluminum might strip out at 1,500 pounds of force. Reinforce that same hole with a stainless Helicoil, and it can hold over 3,000 pounds. You are upgrading the part.
Conclusion
Threading metal does not have to be a guessing game. If you drill the correct pilot hole, use the right cutting fluid, and manage your chips, you will get clean, strong threads.
Just remember that our golden rule at ShincoFab is to never try to tap thin sheet metal directly. Always design for a threaded insert like a PEM nut.
We rely on these rules every day on our production floor to deliver parts to our clients. We know firsthand that taking a few seconds to do the job right saves hours of fixing ruined metal later. Grab your tools, double-check your drill bit size, and start building.