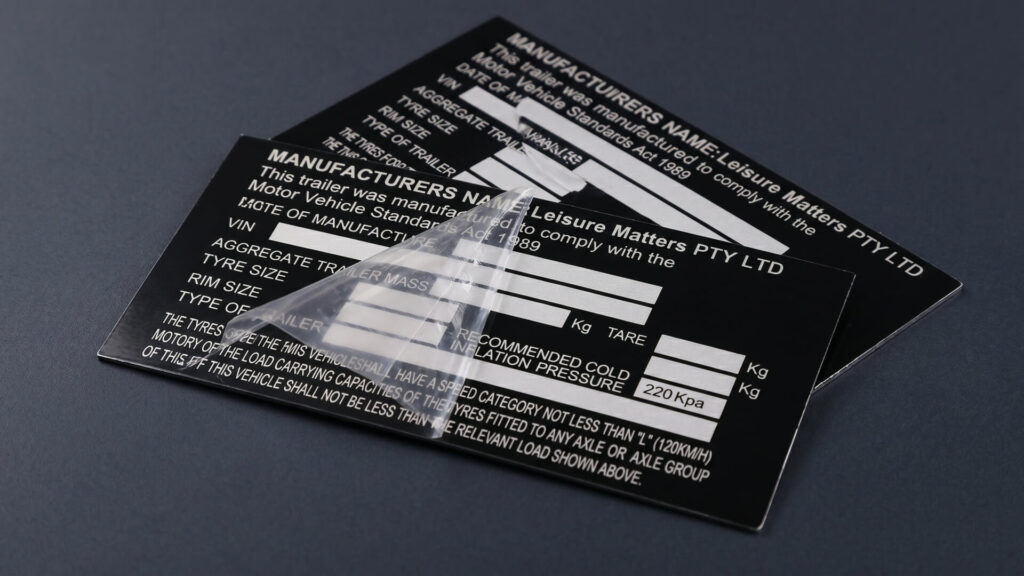
Silk screen printing on metal is a precise manufacturing process that uses a stencil and a tightly stretched mesh screen to press ink directly onto a metal surface. It creates a permanent, chemical-resistant bond that ensures logos, safety warnings, and text survive harsh industrial environments where cheap stickers would fail.
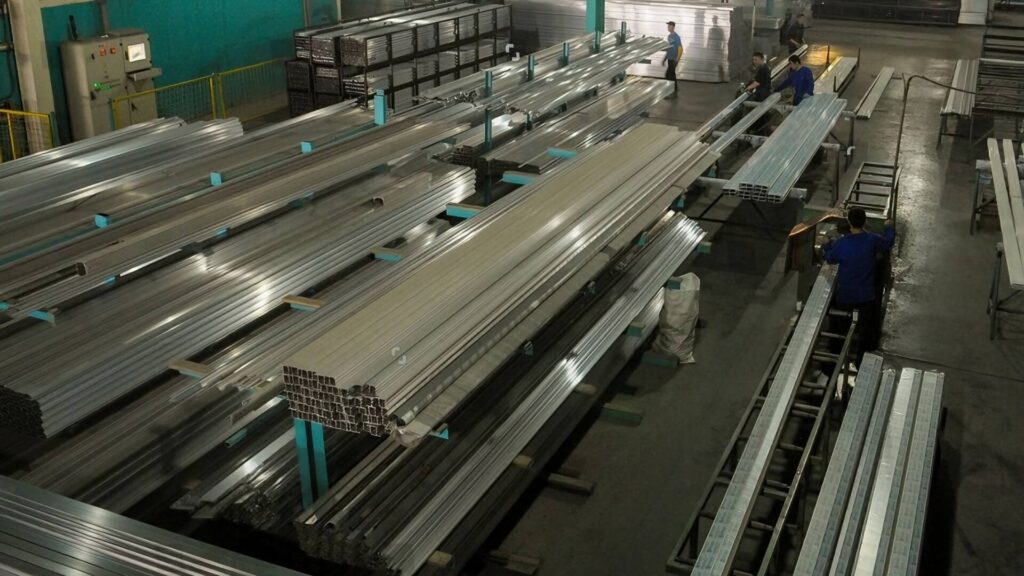
At ShincoFab, our sheet metal fabrication team prints tens of thousands of metal components. We know exactly what makes ink permanently grip bare aluminum and why it flakes off when applied incorrectly. In this factory-floor guide, you will learn how the process works, the best metals and finishes to use, how to pick the right ink, the true cost of bulk orders, and how our Quality Control (QC) team fixes common adhesion failures.
What Is Silk Screen Printing on Metal?
Silk screen printing on metal is a highly precise manufacturing process that uses a custom photo-emulsion stencil and a tightly stretched mesh screen to press ink directly onto a metal surface. The ink passes only through the open mesh spaces, creating a crisp, permanent text or logo directly on the substrate.
How the Process Works (On Our Shop Floor)
Let’s break down how this actually happens at ShincoFab. You don’t need an engineering degree, but you do need to understand the physical reality of the process.
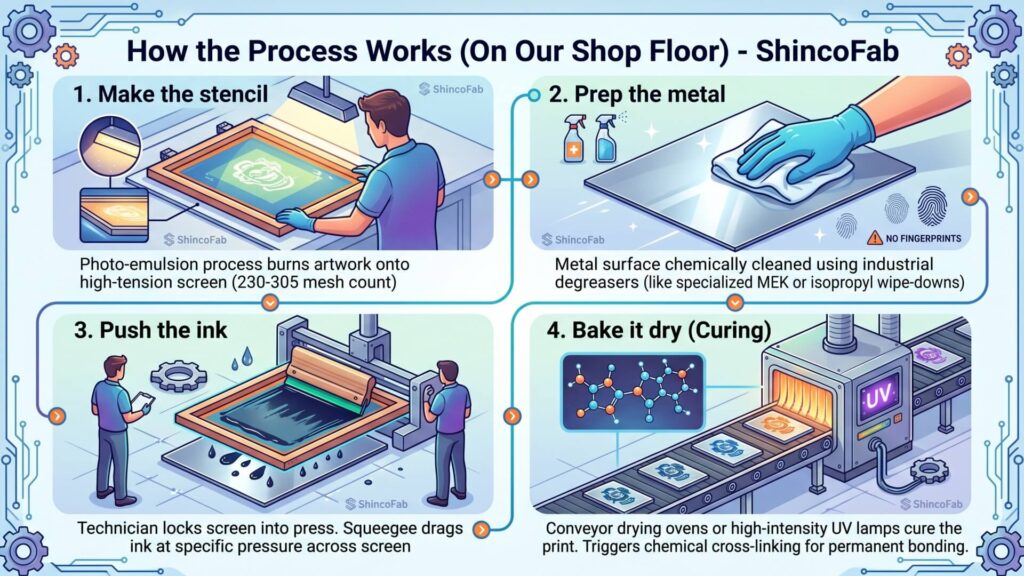
- Make the stencil: First, a photo-emulsion process burns your artwork onto a mesh screen. For fine metal text, we typically use a high-tension screen (usually between 230 to 305 mesh count) so the ink doesn’t flood the substrate.
- Prep the metal: We wipe down and chemically clean the metal surface using industrial degreasers (like specialized MEK or isopropyl wipe-downs). If a fingerprint is left on the metal, the ink will peel off later.
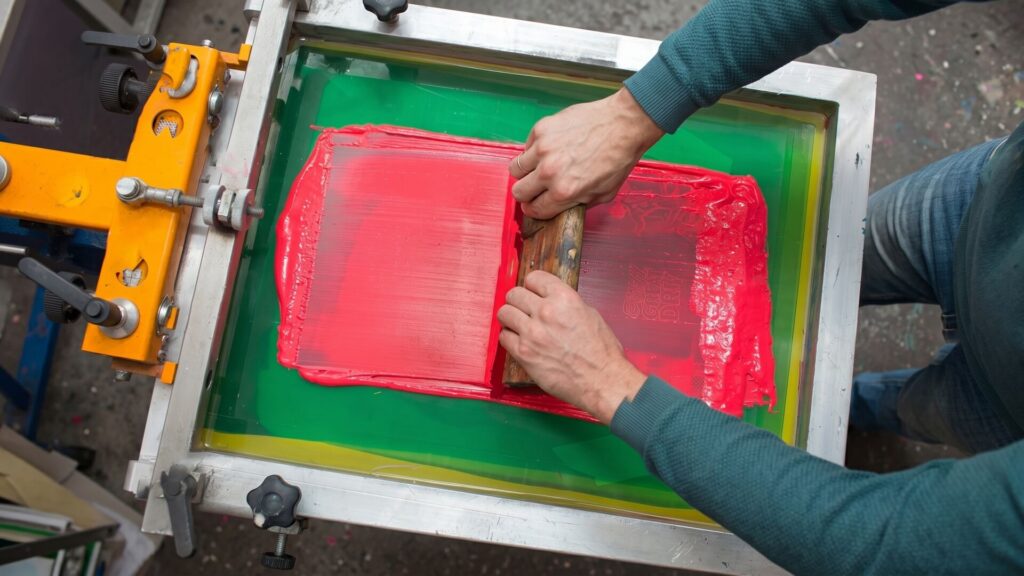
- Push the ink: A technician locks the screen into our printing press over the metal part. A flat rubber blade (squeegee) drags ink across the screen at a specific pressure.
- Bake it dry (Curing): Wet ink on metal is useless. Conveyor drying ovens or high-intensity UV lamps cure the freshly printed metal components. This triggers a chemical cross-linking process, permanently bonding the ink to the metal.
Why Should You Choose Silk Screening? (The Benefits)
You might be wondering why you shouldn’t just use a heavy-duty vinyl sticker. The answer comes down to toughness and professional aesthetics.
Built-In Durability for Harsh Environments
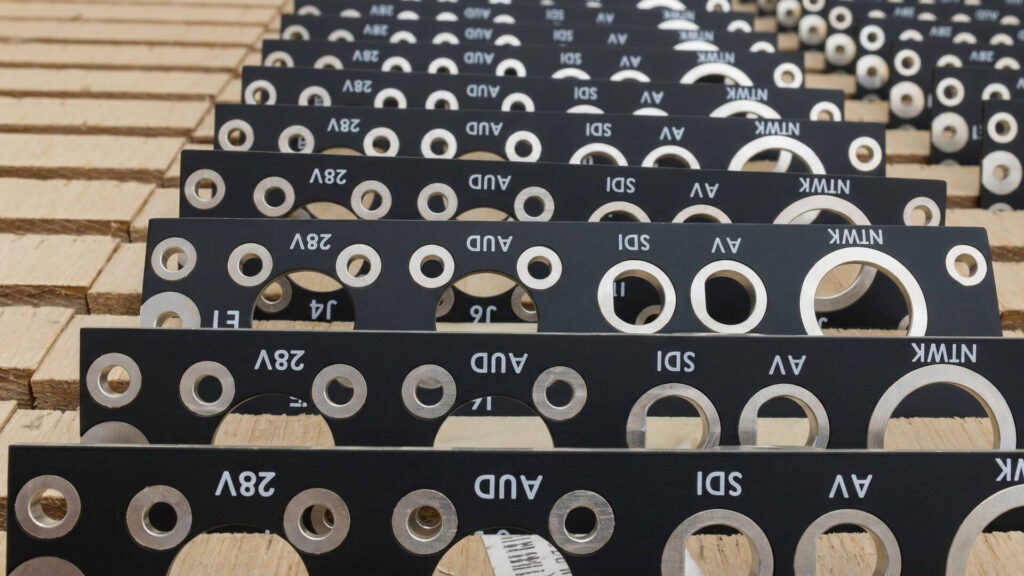
When our clients order custom enclosures for outdoor telecom equipment, cheap labels won’t survive.
Silk screening creates a permanent bond. Once our ovens cure the ink, it achieves industrial-grade toughness.
- Weatherproof: It survives baking sun and heavy UV rays without peeling.
- Chemical-resistant: Engine oil, grease, and strong industrial solvents won’t smear your text.
- Scratch-resistant: We frequently perform the ASTM D3359 cross-hatch adhesion test on our printed batches. Properly cured screen printing won’t chip even if you take a blade to it.
Perfect Color Matching for Your Brand
A faded, off-color logo makes a highly-engineered electronic chassis look cheap. At ShincoFab, our clients are obsessed with their brand colors.
With silk screening, you get precise color matches. We formulate our inks strictly according to the standardized Pantone Matching System (PMS) to ensure your exact brand colors are reproduced accurately.
- Vibrant solids: The ink goes on thick, leaving a bright, tactile finish you can actually feel.
- No Pixelation: Unlike digital UV flatbed printers, screens lay down a solid block of color without weird micro-banding or fuzzy dots.
How Long Does Silk Screen Ink Last on Metal?
When properly formulated and cured, silk screen ink on metal offers exceptional longevity. For indoor industrial equipment, the print will typically outlast the machine itself, remaining vibrant for 10 to 15+ years. For outdoor enclosures exposed to direct sunlight, harsh weather, and UV radiation, catalyzed epoxy inks easily last 5 to 7 years before showing top-layer degradation. Adding a protective clear coat can push outdoor lifespan well past the 10-year mark.
How Much Does It Actually Cost? (The Manufacturer’s Perspective)
Let’s get straight to the pricing. When a client asks me for a quote, I have to explain that in silk screening, you pay for the prep, not the print.
Bulk Pricing Saves You Money
Creating a custom screen takes shop time. A technician prepares the vector file, burns the stencil, and calibrates the press.This fixed setup cost typically ranges from $50 to $150 per color.
If you just need 10 metal brackets printed, the cost per part is high because you absorb that $150 setup fee across 10 units (effectively adding $15 to every single part). But if you order 1,000 units? The math flips. Once our press is running, stamping each extra piece takes seconds.
- Small batches (1-50 pieces): High cost per part. (For these, I often recommend our clients switch to UV digital printing if they don’t have strict durability needs).
- Large batches (100+ pieces): Silk screening costs plummet to just $0.10 to $0.50 per part and the absolute clear winner.
- Repeat orders: Massive savings. At ShincoFab, we store your screens in our library. When you re-order next month, we skip the setup process entirely.
Standard Turnaround Times: Cost isn’t the only factor; time is money. For professional B2B fabrication shops, standard lead times for high-volume silk screening batches typically range from 5 to 10 business days, depending on the complexity of the prep work and current oven schedules.
Silk Screening vs. Laser Engraving and Pad Printing
Before deciding on a marking method, it helps to see how silk screening stacks up against the alternatives. Here is a quick comparison of the three most common industrial marking techniques:
| Feature | Silk Screen Printing | Laser Engraving | Pad Printing |
|---|---|---|---|
| Best Application | Flat sheet metal, large enclosures, brand logos | Serial numbers, barcodes, bare medical tools | Curved parts, uneven shapes, tiny internal dials |
| Color Options | Exact Pantone (PMS) matching, multiple colors | Single color only (raw, burned metal hue) | Limited spot colors per pass |
| Durability | High (chemical & UV resistant) | Extreme (physically etched into substrate) | Moderate (prone to physical scratching) |
| Volume Cost | Extremely low per-part cost at scale | Medium to High per-part cost (slow process) | Low per-part cost |
Can You Do This at Home? (DIY vs. Hiring a Pro)
I frequently see hobbyists on forums asking if they can screen print metal in their garage. Yes, you can, but it is much harder than printing a cotton t-shirt.
If you are selling these components to B2B customers, I highly recommend hiring a professional fabrication shop. Why? Solvent-based metal inks create toxic fumes requiring serious ventilation and respiratory protection per OSHA Standard 1910.134. More importantly, DIY heat guns cannot maintain the precise 300°F ambient temperature for a continuous 20 minutes. I’ve had panicked clients bring us DIY jobs where the logo rubbed off during shipping, begging us to strip and reprint them using our industrial ovens.
Material Selection for Metal Silk Screening
The combination of substrate and ink dictates the success of your print. Here is how we pair them up on the shop floor.
Which Metals Are Best for Silk Screening?
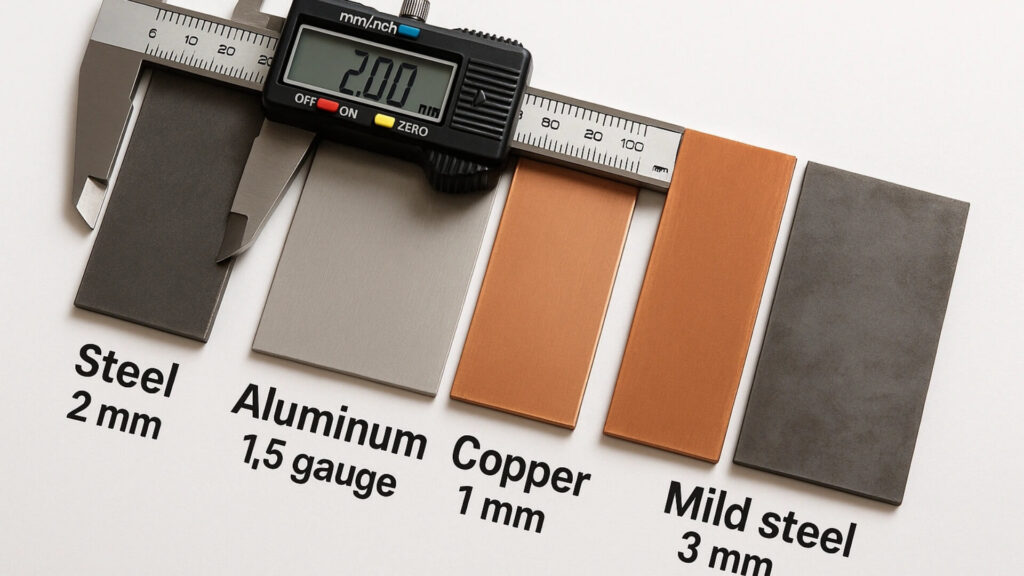
The surface you print on completely changes how the ink handles. The best metals for silk screen printing include aluminum, stainless steel, powder-coated metals, and anodized aluminum.
- Aluminum: Lightweight and easy to work with. The ink grips raw aluminum securely if chemically cleaned.
- Stainless Steel: The heavy-duty tank. It looks premium, but it can be slick. We often have to ensure a flawless degrease phase before printing on brushed stainless.
- Powder Coating (Our Favorite): This is a dream surface for silk screening. The ink forms a permanent bond with a matte or satin powder coat. Additionally, since powder-coated parts have already been cured at 400°F during their own coating process, they can safely withstand the 300°F / 20-minute oven cycles required to completely cross-link two-part epoxy inks. But beware: heavily textured powder coats (“sand” or “wrinkle” finishes) will distort fine text.
- Anodized Aluminum: It gives a high-tech vibe, but the microscopic porous structure of an anodic film means standard inks won’t adhere properly. You must use the correct catalyzed ink or solvent dyes that can penetrate these nanometer-sized pores, otherwise the print will eventually wipe right off.
Which Inks Work Best on Metal?
Ink on metal has to fight to survive. At ShincoFab, we stock different formulas for different end-use environments.
- Solvent-Based / Epoxy Inks (Two-Part): These are our heavy hitters. We mix a hardener (catalyst) into the base ink at a strict ratio (typically 10:1 or 4:1 depending on the brand) before printing. Once mixed, the ink has a limited “pot life” (usually 4 to 8 hours) before it hardens in the bucket and becomes unusable. They chemically bite into the metal and are highly resistant to harsh chemicals. Once baked in our ovens at 300°F for 20 minutes, they withstand extreme industrial wear.
- UV-Cured Inks: UV-Cured Inks are photopolymer formulas that harden instantly when exposed to concentrated ultraviolet light. Built for pure speed, we blast the freshly printed metal with intense UV lamps to freeze the ink solid in seconds. They are great for high-volume indoor electronics.
How to Format Artwork for Metal Silk Screening ?
If I had a dollar for every time we received a low-resolution JPEG for a printing job…
To avoid delays in our engineering department, set up your files correctly:
- Vector Files Only: We need .AI, .EPS, or .PDF vectors. No JPEGs.
- Mind your clearances: Don’t put text closer than 3 millimeters to a sharp sheet metal bend or a countersunk hole. The screen cannot press flat there.
- Line weight and Fonts: Ink spreads slightly on metal. Keep lines at least 0.010 inches thick and fonts above 6-point.
Why Is Surface Prep Non-Negotiable?
Once your digital vector artwork is approved and the mesh stencil is burned, the physical manufacturing stage begins. But the best ink in the world will not stick to a dirty plate. Raw sheet metal comes off our CNC machines covered in cutting fluids and fine metallic dust.
If we skip the chemical wash line, the ink visually looks fine. Consequently, when the invisible residual oil evaporates a week later, the logo simply falls off. Therefore, you must never rush prep. It is the single most important step in our entire factory process.
3 Common Shop-Floor Mistakes (And How Our QC Fixes Them)
Even pros run into issues. When a batch hits our Quality Control desk looking bad, it’s usually one of these three reasons:
1. The Ink is Bleeding (Fuzzy Edges)
Crisp lines that become messy puddles indicate the mesh count of the screen is too low. The holes are too big, letting a flood of ink pour onto the metal.
- Our Fix: We wash the metal clean, rip the screen off, and burn the design onto a tighter high-mesh screen (e.g., 305 mesh) to restrict ink flow.
2. The Adhesion Fails (The Flake Test)
We run an adhesion tape test on our batches. Ink pulling off with the tape reveals a fundamental prep failure. The ink bonded to invisible surface oils, not the metal.
- Our Fix: We stop the press. The metal goes straight back to the chemical wash station for a deeper solvent wipe-down before we try again.
CASE STUDY: Fixing a Telecom Enclosure Adhesion Failure
The Problem: A client brought us a batch of 500 outdoor telecom enclosures printed by a cheaper supplier. The logo was flaking off just from the friction of the shipping box.
The Diagnosis: We performed an ASTM D3359 tape test. The ink peeled instantly. Our engineers found microscopic traces of CNC cutting fluid that the previous supplier failed to wash off before printing.
Our Fix: We chemically stripped the enclosures bare, ran them through our two-stage specialized MEK wash line, and reprinted them using a catalyzed epoxy ink. After baking at 300°F, the new print survived extreme cross-hatch blade testing without a single chip.
3. Blurry Text on a Rough Finish
Printing a 6-point font on a rough, textured powder-coated panel causes the wet ink to fall into the microscopic valleys of the texture.
- Our Fix: You can’t out-print physics. We either advise the client to switch to a smooth satin powder coat, or we boldly thicken the font in their art file so it survives the bumpy surface.
How Do You Remove Silk Screen Ink from Metal?
If a print fails QC or you need to repurpose a part, removing the ink depends entirely on whether it has been cured. For uncured or freshly printed ink, an industrial solvent wipe (like pure MEK or Acetone) will easily strip it clean.
However, once a two-part epoxy ink is fully baked and cross-linked into aluminum or stainless steel, standard solvents won’t work—which proves its durability. To remove fully cured ink, you must use heavy-duty chemical paint strippers or mechanically strip the metal bare using media blasting (sandblasting) before re-prepping the surface.
Conclusion
Silk screening on metal doesn’t have to be a headache. Whether it’s matching the right catalyzed ink to an anodized finish or mandating strict chemical wash-downs, success is purely in the details.
At ShincoFab, we know firsthand that a flawless print starts long before the ink is open—it starts with how precisely the raw sheet metal is cut, bent, and prepped. If you set up your files correctly and respect the curing process, your metal components will not only look professional, but they will survive whatever the real world throws at them.